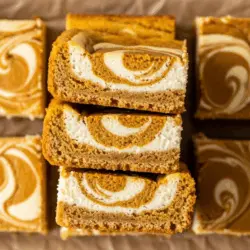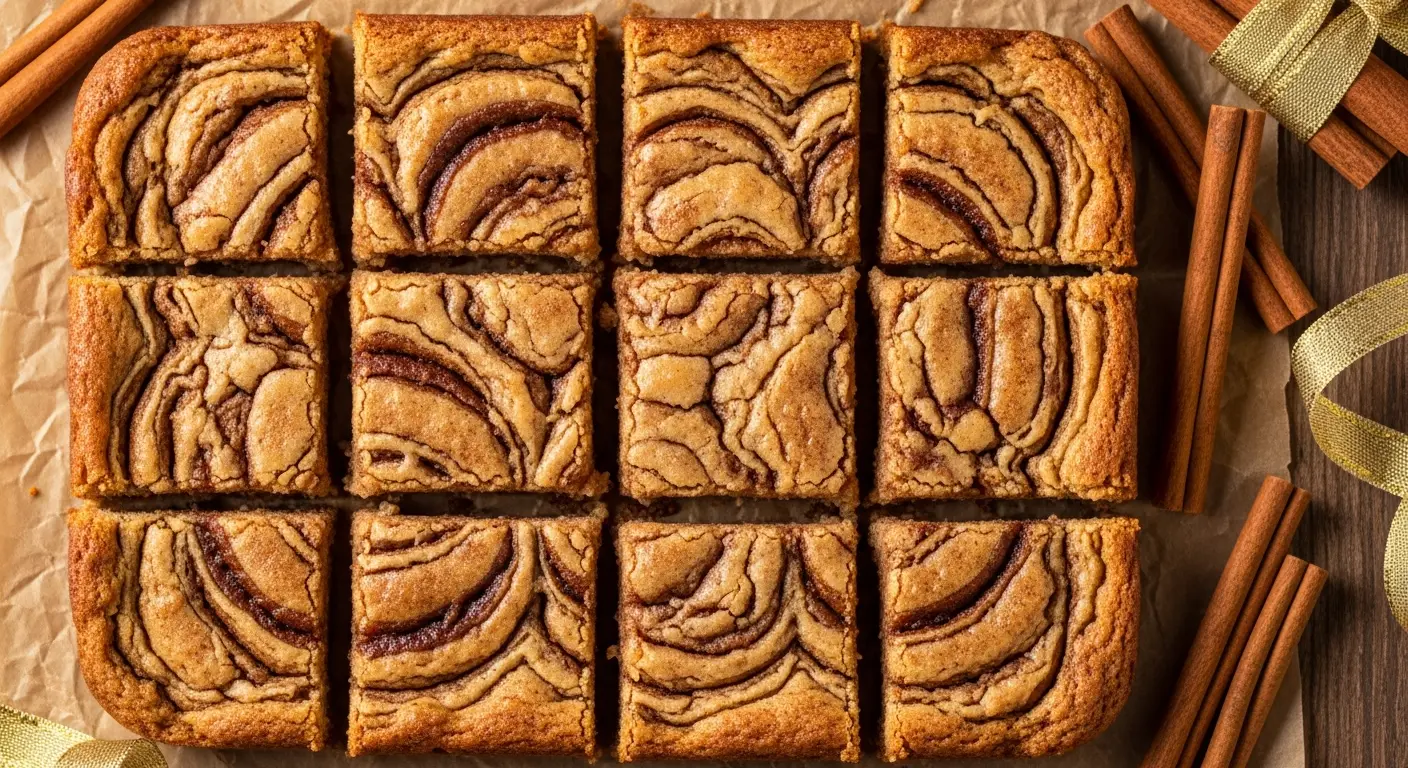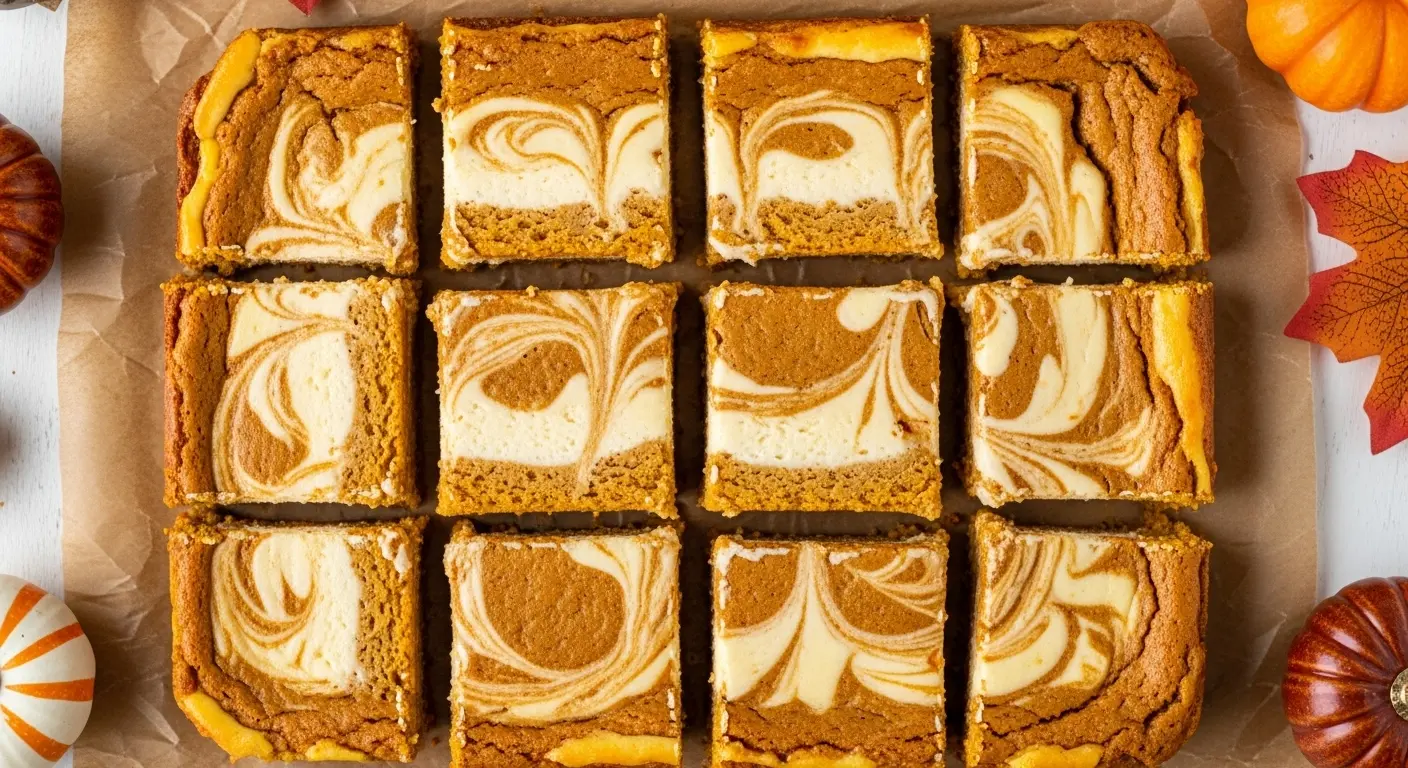
When crisp leaves fall and cinnamon fills the air, there’s one dessert I always turn to, swirled cheesecake pumpkin bars. This recipe captures everything I love about autumn baking: rich pumpkin spice, silky cheesecake, and a buttery base that ties it all together. Whether you’re heading to a potluck or just craving something cozy with coffee, these bars strike the perfect balance between festive and indulgent. In this post, I’ll walk you through my go-to recipe, share tips I’ve learned the messy way, and sprinkle in a few twists so you can truly make it your own.
Table of Contents
Why Swirls Make All the Difference
Let’s talk swirl science. The visual appeal is obvious, those creamy cheesecake ribbons dancing through golden pumpkin batter look like they belong on a bakery shelf. But beyond the looks, that swirl adds layers of flavor. Every bite becomes a little surprise: a burst of tangy cream cheese here, a hit of nutmeg and cinnamon there. It keeps your tastebuds guessing in the best way.
Getting the swirl right doesn’t require perfection. In fact, the more organic and free-form your swirl, the better. You’re not aiming for symmetry, you’re chasing that rustic, homemade look that makes guests say, “Wow, did you make these?” A gentle figure-eight motion with a butter knife or skewer usually does the trick.
Whether you’re baking alongside your kids or whipping up a solo batch after work, the swirl adds just enough “wow” without adding stress. It’s one of those easy wins that makes swirled cheesecake pumpkin bars a staple in my fall recipe lineup.
If you’re also into swirled-style desserts, don’t miss these Pumpkin Bars with Chocolate Swirl or go full flavor bomb with Easy Pumpkin Pie Cookies.
Ingredients & Baking Tools for Cheesecake Pumpkin Bars
Swirled Cheesecake Pumpkin Bars Must-Haves
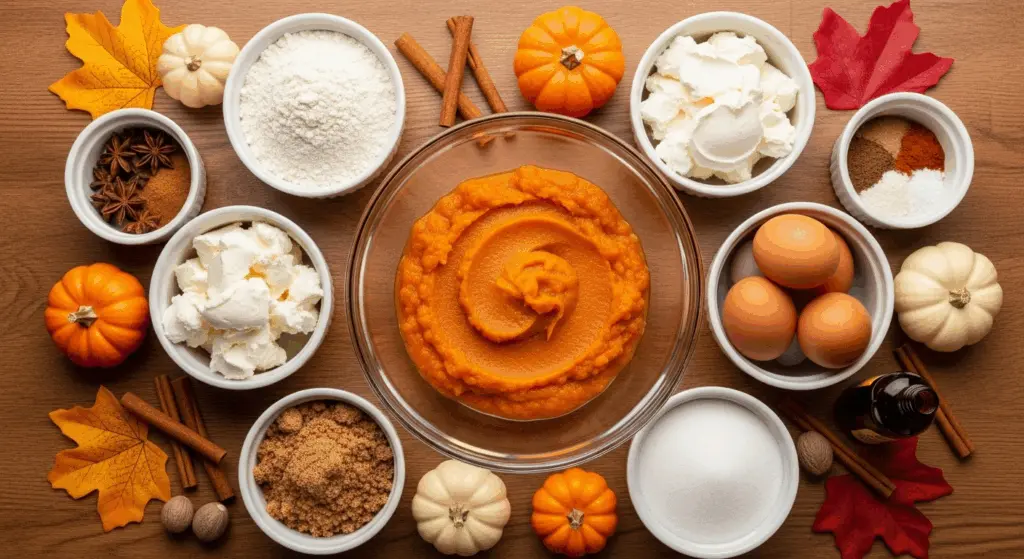
If you want bakery-level results from your own oven, the first step is stocking up on the right ingredients. The magic of swirled cheesecake pumpkin bars comes down to balance, smooth, spiced, creamy, and just the right amount of sweet.
Here’s what I always reach for:
- Pumpkin puree (not pumpkin pie filling): You want pure pumpkin for that rich, earthy base.
- Full-fat cream cheese: This makes the cheesecake swirl luscious and tangy. I use Philadelphia for consistent results.
- Brown sugar: Adds a deep, molasses-y sweetness that pairs beautifully with pumpkin.
- Granulated sugar: For the cheesecake layer, keeps it light and balanced.
- Eggs: Help everything set with that custard-like finish.
- Pumpkin pie spice: The all-star blend of cinnamon, nutmeg, ginger, and cloves.
- Vanilla extract: A splash rounds everything out.
- All-purpose flour: Just enough to hold the structure without making it cakey.
- Butter: Melted, of course. It adds richness and helps create that soft, chewy texture in the base.
For a fun twist, I sometimes substitute a graham cracker crust or toss in some mini chocolate chips, like I do in these Pumpkin S’mores Cookies when I want to make things a little more indulgent.
Kitchen Tools for Perfect Bars Every Time
Your tools can make or break this dessert, literally. You don’t need anything fancy, but the right basics help the process go smoothly (and keep clean-up minimal).
Here’s what’s in my kitchen when I make these:
- 9×13-inch baking pan: The perfect size for even layers and clean slices.
- Parchment paper: For easy removal and mess-free edges.
- Electric hand mixer or stand mixer: Cream cheese needs a smooth blend, no lumps allowed.
- Two mixing bowls: One for pumpkin batter, one for cheesecake swirl.
- Rubber spatula: For folding and scraping, don’t waste that batter!
- Butter knife or skewer: To create those gorgeous, bakery-style swirls.
I also keep a wire cooling rack nearby, cooling completely is key for clean cuts. You can even prep this recipe in advance and refrigerate overnight, just like I do with my Easy Moist Pumpkin Roll.
A well-equipped kitchen and a few simple tools are all you need to create magic with this recipe. And once you master the swirl? You’ll find yourself using it in everything from blondies to brownies.
Step-by-Step to Swirled Cheesecake Pumpkin Bars
Mixing and Swirling the Right Way
If you’ve ever hesitated to swirl cheesecake into pumpkin batter thinking it’s “too fancy,” let me stop you right there. This is one of those recipes that looks impressive but is totally doable. It’s about rhythm, not perfection.
Step-by-step process:
- Preheat your oven to 350°F (175°C). Line a 9×13 baking pan with parchment paper, leaving an overhang to lift the bars out easily after cooling.
- Make the pumpkin base: In a large bowl, whisk together melted butter, brown sugar, eggs, pumpkin puree, vanilla, and pumpkin pie spice. Stir in the flour until just combined.
- Make the cheesecake layer: In a separate bowl, beat softened cream cheese with sugar, egg, and vanilla until silky smooth, no lumps.
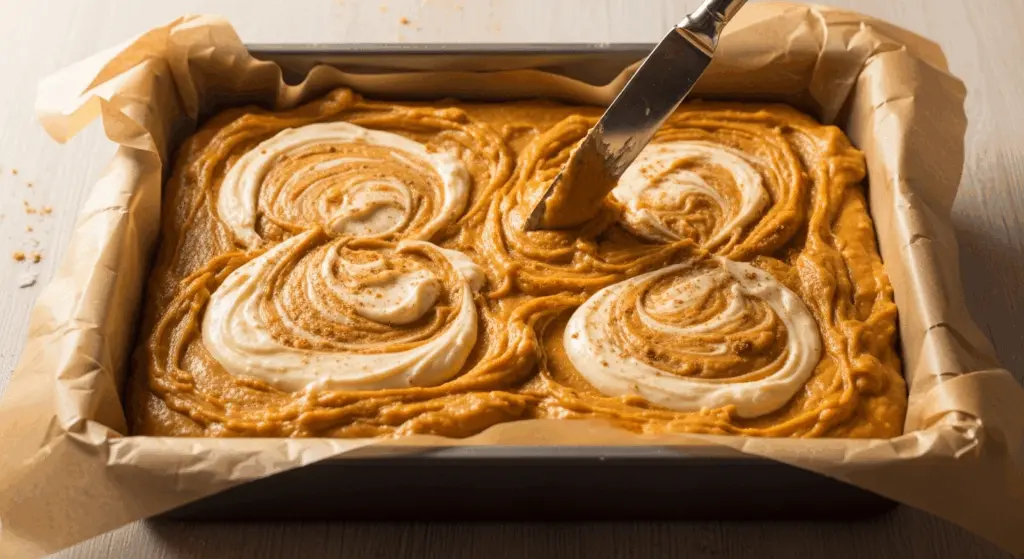
- Assemble: Pour the pumpkin batter into your prepared pan, reserving about ¾ cup. Smooth into an even layer. Dollop spoonfuls of the cheesecake mixture over the batter.
- Swirl it: Spoon the reserved pumpkin batter in random spots over the cheesecake layer. Use a butter knife or skewer to gently swirl everything together using figure-eight motions.
The goal is to create ribbons, not blend everything into one beige layer. That swirl creates those signature marbled pockets, and trust me, it’ll wow anyone who lays eyes (or fork) on it.
I love pairing these with a hot drink and a few cozy fall desserts like Pumpkin Chocolate Chip Baked Oatmeal for a laid-back brunch.
Baking, Cooling, and Cutting Tips
Once your masterpiece is swirled, bake it for 35 to 40 minutes, or until the edges are set and the center jiggles just slightly. Every oven runs differently, so check around the 33-minute mark and give it a gentle nudge.
Pro Tips for Success:
- Don’t overbake: Cheesecake continues to set as it cools. If it looks slightly underdone in the center, that’s perfect.
- Cool completely in the pan on a wire rack, then chill for at least 2 hours in the fridge for best slicing results.
- Use a sharp knife and wipe between cuts for those bakery-style squares.
If you’re feeling extra fancy, add a light dusting of powdered sugar before serving, or even a drizzle of maple glaze, like the one in my Easy Pumpkin Cheesecake Bars.
Chewy edges, creamy centers, and that striking swirl… these swirled cheesecake pumpkin bars are a fall showstopper you’ll bake on repeat.
Storage, Variations & Serving Ideas for Cheesecake Pumpkin Bars
How to Store or Freeze Like a Pro
One of the best things about swirled cheesecake pumpkin bars? They’re just as good (if not better) the next day. The flavors deepen, the texture sets perfectly, and honestly, they make a next-morning coffee taste like magic.
Here’s how to make them last:
Fridge:
Store the bars in an airtight container in the refrigerator for up to 5 days. Place parchment or wax paper between layers to prevent sticking.
Freezer:
Wrap individual bars tightly in plastic wrap, then seal them in a freezer-safe container or zip-top bag. They’ll keep for up to 2 months. Thaw overnight in the fridge for best texture.
Serving Tip:
Let them sit at room temp for 10–15 minutes before serving to get that soft, creamy bite without the chill. You can even microwave them for 8–10 seconds if you’re impatient like me.
These hold up beautifully alongside other make-ahead fall bakes like Apple Pie Thumbprint Cookies or Pumpkin Caramel Sticky Buns, making them perfect for Thanksgiving spreads or Friendsgiving brunches.
Creative Variations for Every Occasion
Want to put your own spin on the classic? Here are a few delicious detours I’ve tried and loved:
- Gingersnap Crust: Swap the base for crushed gingersnap cookies for a spicy twist.
- Chocolate Chip Pumpkin Cheesecake Bars: Add mini chocolate chips to the pumpkin batter like I do in these Chocolate Pumpkin Cheesecake Bars.
- Maple Cream Cheese Swirl: Mix maple syrup into the cream cheese layer for a fall-forward flavor bomb.
- Nutty Crunch: Add chopped pecans or walnuts to the batter for texture and toasty flavor.
- Gluten-Free Version: Use a 1:1 gluten-free flour blend and confirm all other ingredients (especially pumpkin puree and vanilla) are certified GF.
Serving a crowd? You can double the batch and bake it in a sheet pan. Or cut smaller squares for mini dessert platters with other fall goodies like Peanut Butter Butterfinger Cookies and Pumpkin S’mores Cookies.
This recipe is meant to flex and evolve with your taste buds, and your pantry. However you twist it, you’ll get that warm, spiced, creamy bite every time.
FAQs
How do you swirl cheesecake into pumpkin bars?
Spoon the cheesecake mixture over the pumpkin base and use a butter knife or skewer to make figure-eight motions. The goal is to create distinct ribbons without overmixing.
Can you freeze swirled cheesecake pumpkin bars?
Yes! Wrap individual slices tightly in plastic, then place in an airtight container or bag. Freeze up to 2 months. Thaw overnight in the fridge.
What’s the best cream cheese to use for cheesecake bars?
Use full-fat cream cheese for the creamiest texture. Philadelphia brand is a classic because it blends smoothly without lumps.
How long do swirled pumpkin cheesecake bars last?
Stored in the fridge, they’ll stay fresh for 4-5 days. For longer storage, freeze them and enjoy within 2 months.
Swirled cheesecake pumpkin bars aren’t just a fall dessert, they’re a celebration in every bite. With a few simple ingredients, the right swirl technique, and a little love from your oven, you’ll have a tray of bars that’s as beautiful as it is crave-worthy. Whether you’re prepping for a holiday table, gifting a neighbor, or just baking for yourself on a Sunday afternoon, this recipe delivers that perfect mix of creamy, spicy, sweet, and festive.
And hey, if your swirl’s not perfect? That just means it’s homemade. The best kind.
