These Pumpkin Scones with Cinnamon Maple Glaze were born from my love of cool mornings, warm ovens, and the scent of cinnamon in the air. They’re soft, flaky, and just sweet enough, perfect for breakfast, brunch, or an afternoon treat. With simple ingredients and no fancy equipment, you can whip up bakery-style scones that impress. Whether you’re new to baking or a seasoned home cook, this recipe makes fall feel just a little more delicious.
Let’s get into the first part of what makes these Pumpkin Scones truly special.
Table of Contents
Why Pumpkin and Glaze Belong Together
Pumpkin on its own is mellow, it’s the spices and the sweetness that lift it. That’s where this cinnamon maple glaze steps in, not just as a topping but as a co-star. The glaze seeps into the warm scone, complementing the earthy pumpkin with rich maple notes and a hint of cinnamon heat.
Think of it like this: the pumpkin lays the foundation, warm and comforting. Then comes the glaze, smooth, sweet, and slightly spicy, cutting through the richness with a touch of elegance. This combo isn’t just good, it’s unforgettable.
I’ve tested versions without the glaze, and they just don’t hit the same. That drizzle turns your scone into a showstopper, something you’d proudly plate at brunch or box up for a neighbor. It’s the difference between good and great.
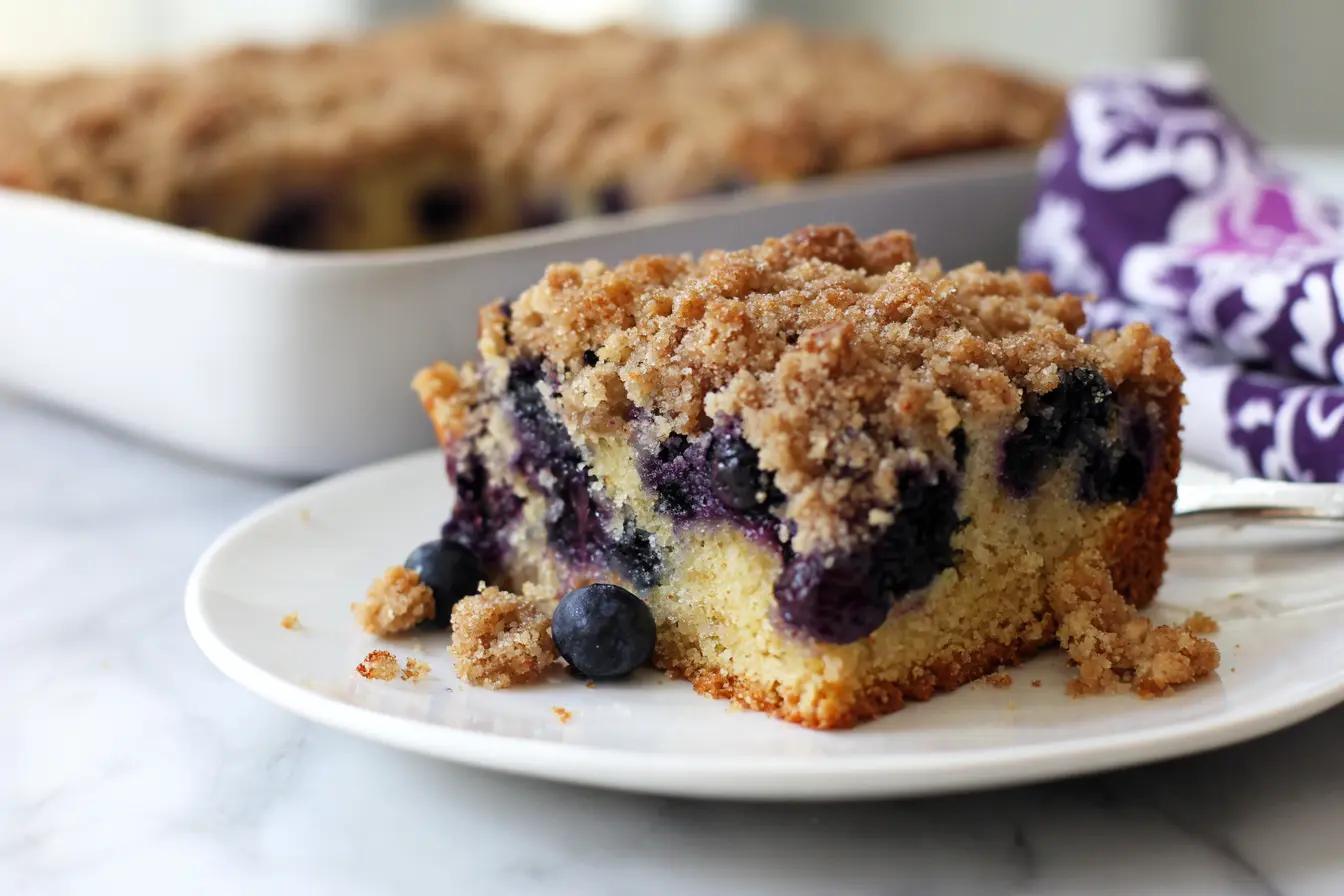
Speaking of great, these pumpkin cheesecake cookies also show how creaminess and pumpkin play together beautifully. And if you like playing with spice profiles, don’t miss the brown butter pumpkin snickerdoodle cookies, they’re fall’s favorite cookie, reimagined.
Now that you’ve got a taste of the story and why this combo works, let’s move on to the essentials, how to actually make the perfect batch.

Pumpkin Scones with Cinnamon Maple Glaze
Equipment
- Mixing bowls
- Pastry cutter or forks
- Whisk
- Measuring cups & spoons
- Sharp knife or pizza cutter
- Baking sheet
- Parchment paper
- Wire cooling rack
- Spoon or piping bag (for drizzling)
Ingredients
For the Scones:
- 2 cups all-purpose flour
- 1 tbsp baking powder
- 2 tsp ground cinnamon
- 1 tsp pumpkin pie spice
- ½ cup cold salted butter cubed
- ½ cup light brown sugar
- ½ cup pumpkin purée
- 1 large egg
- ½ cup heavy cream
- 1 tsp maple extract
- ½ cup chopped pecans optional
For the Cinnamon Maple Glaze:
- 1 cup powdered sugar sifted
- 2 tbsp real maple syrup
- 2-3 tbsp heavy cream adjust for consistency
- ½ tsp maple extract
- ¼ tsp pumpkin pie spice or cinnamon
Instructions
- Preheat oven to 400°F (200°C). Line a baking sheet with parchment paper.
- Whisk together dry ingredients: flour, baking powder, cinnamon, and pumpkin pie spice.
- Cut in the cold butter using a pastry cutter or fingers until mixture resembles coarse crumbs.
- In another bowl, whisk pumpkin, brown sugar, egg, cream, and maple extract.
- Gently combine wet and dry ingredients until a soft dough forms. Don’t overmix.
- Turn dough onto a floured surface. Pat into a 1-inch thick round and cut into 8 wedges.
- Place on prepared baking sheet and chill 10 minutes (optional for better rise).
- Bake for 18–22 minutes, until golden brown. Let cool on a wire rack.
- Prepare glaze by whisking all glaze ingredients until smooth.
- Drizzle glaze over cooled scones and allow to set for 5-10 minutes.
Notes
- Calories: 290
- Fat: 14g
- Carbs: 36g
- Sugar: 16g
- Protein: 4g
(Estimates will vary depending on ingredients used.)
Baking the Perfect Pumpkin Scones
Ingredients That Matter (And Easy Swaps That Work)
Let’s talk about what really goes into the best Pumpkin Scones, and how to work with what you’ve got in your pantry.
Each ingredient plays a role in giving the scones their signature flaky texture, soft interior, and that warm, fall-forward flavor. But I get it, not everyone keeps maple extract or pumpkin pie spice on hand. Here’s the breakdown:
- All-purpose flour is your base. If you’re gluten-sensitive, a 1-to-1 gluten-free baking mix works just fine.
- Baking powder gives the scones their lift. Make sure it’s fresh, expired baking powder leads to flat, dense results.
- Cinnamon + Pumpkin Pie Spice bring in the cozy. No pumpkin pie spice? Mix your own: 1 tsp cinnamon, ¼ tsp ground ginger, ⅛ tsp cloves, and a pinch of nutmeg.
- Cold salted butter is non-negotiable. It must be cold, this is what gives you flaky layers. Unsalted butter is okay too; just add a pinch more salt.
- Heavy cream binds everything with richness. No cream? Use full-fat canned coconut milk or whole milk with a tablespoon of melted butter.
- Light brown sugar adds moisture and a caramel undertone. You can sub in coconut sugar or maple sugar for a slightly deeper flavor.
- Pure pumpkin purée, not pumpkin pie filling, is the heart of this recipe. The filling includes added sugars and spices, which would throw off the balance.
- Maple extract intensifies the glaze’s flavor. No extract? Use extra maple syrup in the glaze or a splash of vanilla.
- Chopped pecans are optional but recommended for crunch. Walnuts work great too, or skip them for a nut-free batch.
Having the right ingredients (or smart swaps) sets the stage for soft, tender scones that still hold their shape beautifully in the oven. It’s all about balance, which you’ll also find in this easy pumpkin pie cookies recipe, another fall favorite made from humble ingredients.

Mixing & Shaping Without Mistakes
Scones aren’t difficult, but they are picky. To get those golden, bakery-style triangles with a soft center and crispy edges, technique matters.
Start by cutting your cold butter into the flour mixture. You can use a pastry blender, two forks, or even your fingertips. Stop when the texture looks like coarse crumbs with little pea-sized chunks of butter still visible. Those pockets of cold fat melt in the oven, creating that irresistible flake.
Now, combine your wet ingredients, cream, pumpkin, sugar, egg, and extract, and pour into the dry mix. This is the crucial part: don’t overmix. Stir gently until it just comes together. Overworking the dough activates gluten, which leads to tough scones.
Turn the dough onto a lightly floured surface. Pat (don’t roll) it into a round disc about 1 inch thick. Use a sharp knife or pizza cutter to slice it like a pie into 8 even wedges.
Place the wedges on a parchment-lined baking sheet, spaced slightly apart. If you have time, chill the tray for 10 minutes before baking. Cold dough + hot oven = maximum rise and flake.
Then, bake at 400°F for about 18-22 minutes. They should be golden, slightly firm on the edges, and a toothpick should come out clean when inserted.
Want more practice shaping dough like a pro? Try these pumpkin chocolate chip baked oatmeal bars for an easier, slice-and-bake alternative that still delivers on cozy pumpkin vibes.
Cinnamon Maple Glaze Perfection
Making the Glaze Velvety Smooth
If Pumpkin Scones are the star of the show, then this cinnamon maple glaze is the standing ovation. It’s silky, sweet, slightly spicy, and ridiculously easy to make. The trick? Balance. You want it thick enough to cling, but thin enough to drizzle like a dream.
Here’s what goes into it:
- Powdered sugar: This is your base. Sift it for a smoother glaze.
- Real maple syrup: Don’t settle for imitation. Real maple adds a complex sweetness that ties in beautifully with the pumpkin.
- Heavy cream: It thins out the sugar while adding richness. If needed, you can use milk, but the glaze will be slightly runnier.
- Maple extract: A little goes a long way, this intensifies the maple flavor without adding more liquid.
- Pumpkin pie spice: Just a hint in the glaze creates flavor continuity with the scones.
Start by whisking the powdered sugar with 1-2 tablespoons of cream and syrup. Add the maple extract and spice. Stir until smooth, then adjust consistency. Too thick? Add a teaspoon of cream. Too thin? More sugar.
What you want is a glaze that runs slowly off your spoon, like honey on a cool day. It should coat the back of the spoon and leave thick ribbons as it drizzles. You can even test it on the side of a bowl or your finger (we won’t tell).
This glaze is so good, I’ve repurposed it for other fall treats like moist pumpkin roll cake and even on pumpkin snickerdoodle cookies. Trust me, it elevates everything it touches.
Drizzling Like a Pro
You’ve baked, cooled, and patiently resisted sneaking bites. Now it’s time for the moment of glory, glazing.
Wait until the scones are completely cool. If they’re warm, the glaze melts and disappears instead of sitting pretty on top. Line them up on a wire rack set over a baking sheet to catch the drips.
Use a spoon, a small piping bag, or a fork. Personally, I go with a spoon and let it fall naturally in thin, irregular streams across each wedge. It’s rustic, beautiful, and lets the texture of the scone shine through.
Want bakery-style shine? After glazing, let them sit uncovered for 30 minutes so the glaze sets with a slight crackle.
Want a thicker look? Apply two layers, let the first firm up slightly, then go again.
These little touches make a big visual impact, especially if you’re gifting or serving these scones for guests. I’ve done exactly that during fall brunches and even mailed a batch to a friend who swears they arrived “like they came from a boutique bakery.”
And if you’re craving more drizzle-worthy bakes, don’t miss the gooey goodness on these pumpkin caramel sticky buns, same vibes, more indulgence.

Storage, Freezing & Custom Twists
How to Store Pumpkin Scones
One of the best parts of baking a batch of Pumpkin Scones is knowing they’re just as satisfying the next day, if stored properly. These scones stay soft and flavorful for several days, and they freeze beautifully, too.
After baking, let the scones cool completely and allow the cinnamon maple glaze to set fully. Then, transfer them into an airtight container and store at room temperature for up to 3 days. Line the container with parchment paper and place another layer between stacked scones to prevent sticking.
If you want to keep them longer, refrigerate in a sealed container for up to 5 days. Just warm them for 10-15 seconds in the microwave to bring back that fresh-baked warmth.
For long-term storage, skip the glaze and freeze the fully baked and cooled scones in a freezer-safe bag for up to 3 months. To serve, let them thaw at room temp, then glaze just before enjoying.
Freezing raw dough is another great option. Cut and shape the dough into wedges, freeze on a tray until solid, then store in a zip-top bag. Bake straight from frozen, adding 2-3 extra minutes.
These smart storage tips also work wonders with recipes like easy pumpkin pie cookies and brown butter pumpkin snickerdoodles, so you can keep your fall baking stash ready year-round.
Custom Twists & Troubleshooting Tips
Once you’ve mastered the classic recipe, it’s easy, and fun, to make these Pumpkin Scones your own. From add-ins to creative flavors, here are some ideas to make your next batch uniquely yours:
Flavor Boosters:
- Add orange zest to the dough or glaze for a citrusy twist that brightens up the pumpkin.
- Mix in mini chocolate chips or white chocolate for a sweet surprise.
- Swirl in a spoonful of almond butter for a nutty depth that complements maple beautifully.
Texture Additions:
- Fold in dried cranberries or chopped dates for a touch of tartness and chew.
- Replace pecans with toasted walnuts or pumpkin seeds for crunch and color.
- Sprinkle coarse sugar or cinnamon sugar on top before baking for a crispy, sparkly crust.
Common Troubleshooting:
- Dry scones? You might’ve added too much flour or overmixed the dough. Use spoon-and-level method to measure flour, and mix just until combined.
- Flat scones? Your baking powder could be expired, or your butter too soft. Use cold butter and check your leavening freshness.
- Runny glaze? Add more powdered sugar, one tablespoon at a time.
- Thick, clumpy glaze? Thin it out with maple syrup or cream, one teaspoon at a time.
Whether you’re a classic scone fan or a kitchen tinkerer, this recipe’s solid foundation lets you customize freely. And if you’re all about cozy seasonal flavors, don’t skip the baked pumpkin spice donuts, they’re a softer, cakier cousin to these scones, but equally addictive.

FAQs
What is the secret to moist scones?
Cold butter and minimal mixing are key. Keep your butter and cream chilled, and mix just until the dough comes together. Overmixing develops gluten, which makes scones dry and tough.
Can I use canned pumpkin in scones?
Yes! In fact, 100% pure canned pumpkin is ideal for this recipe. Just be sure not to use pumpkin pie filling, which includes added sugars and spices that can throw off the balance.
How do you keep pumpkin scones from being dry?
Measure your flour properly (spoon and level), use heavy cream for moisture, and don’t overbake. A slightly underbaked center keeps the scones soft and tender.
Can I freeze pumpkin scones with glaze?
It’s best to freeze them unglazed. Freeze baked scones in a sealed bag for up to 3 months, then thaw and glaze before serving. Glazed scones tend to lose texture when frozen and thawed.
There’s something soul-satisfying about baking in the fall, the warmth, the spices, the sweet aroma that fills the house. These Pumpkin Scones with Cinnamon Maple Glaze wrap all of that into one buttery, golden triangle of joy. Whether you’re serving them fresh from the oven, packing them for a fall picnic, or gifting a box to a friend, this recipe hits the cozy sweet spot every time.
Keep a batch of dough in the freezer and you’ll always be just a few steps away from fall comfort, even in July. And if you’re anything like me, once you’ve tasted the combination of pumpkin and maple-cinnamon glaze, these scones won’t just be a seasonal treat, they’ll be a year-round craving.