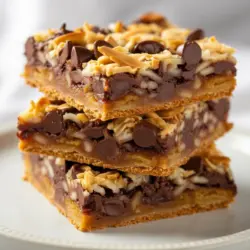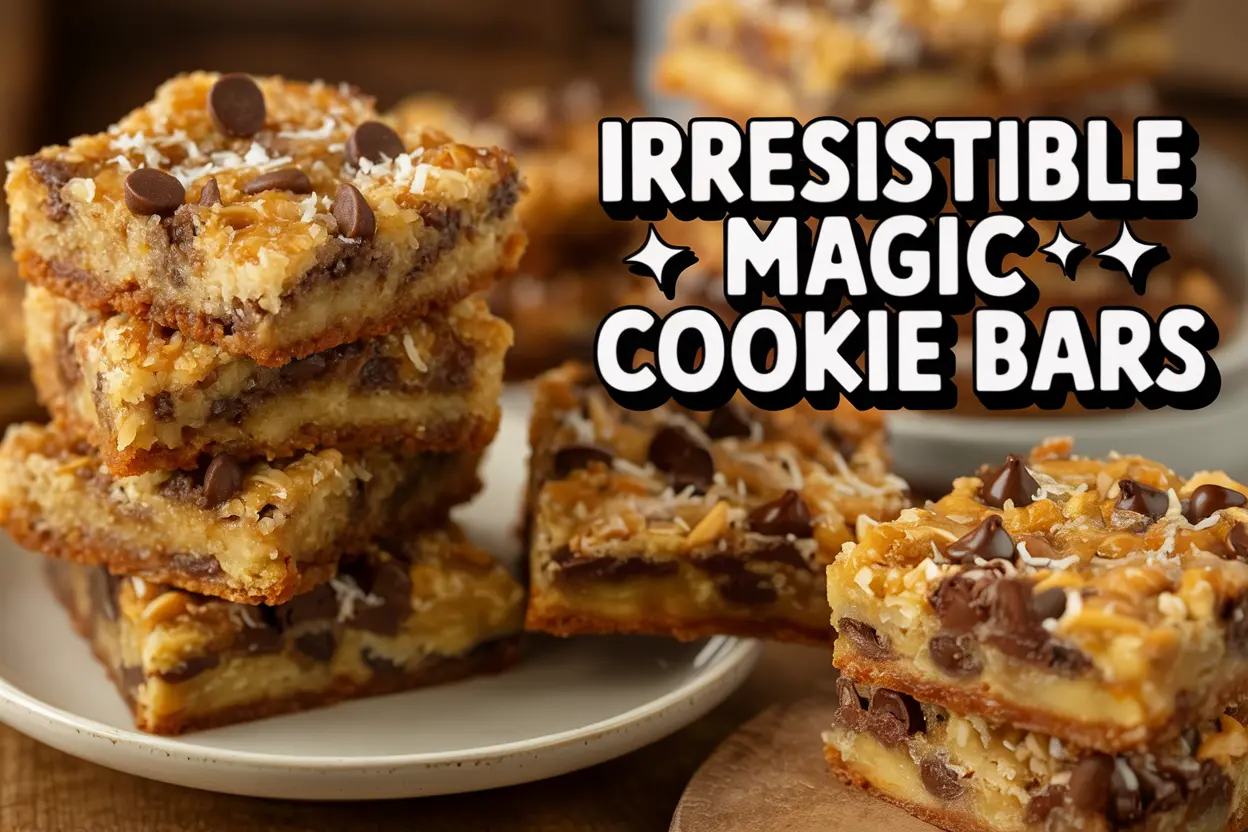
Looking for the perfect sweet treat to satisfy every craving? These magic cookie bars are chewy, gooey, crunchy, and everything in between. Whether you’re baking for a holiday party, a bake sale, or just your own sweet tooth, this no-fail dessert is a nostalgic classic that everyone adores. Packed with graham cracker crust, chocolate, coconut, and condensed milk, they live up to their magical name. In this article, we’ll explore how to make the best magic cookie bars, common mistakes to avoid, variations to try, and tips to store them – all with my personal take from the heart of my Asheville kitchen.
Table of Contents
The Story & Intro to Magic Cookie Bars
How Magic Cookie Bars Stole the Spotlight in My Kitchen
You know those recipes that feel like they’ve been in your family forever, even if you just discovered them last year? That’s how magic cookie bars landed in my kitchen. I first whipped them up after a neighbor brought over a tin of them during the holidays, and from that first bite – buttery base, melty chocolate, toasted coconut – I was hooked. What got me was the ease. I didn’t need a stand mixer, or even a bowl. Just a pan, layers of goodness, and some oven love.
Back when I first made these bars, my son had friends over after soccer practice. I remember setting the tray out, thinking they’d be around for days. They vanished in under 10 minutes. That’s when I knew these magic cookie bars were a keeper. They’re everything I love about home baking – rich, reliable, and ridiculously easy.
And here’s the best part: You can tweak them depending on what you’ve got in your pantry. No butterscotch chips? Skip ’em. Prefer almonds over pecans? Swap away. These bars are forgiving, fun, and full of flavor. I’ve even added a drizzle of caramel or a dash of sea salt now and then – pure bliss.
One thing’s for sure: when you bite into these bars, there’s a moment where everything just feels right. Maybe it’s the crunch. Maybe it’s the goo. Maybe it’s magic.
While you’re here, you might also enjoy these other chewy, chocolatey favorites like sourdough chocolate chip cookies or these chewy banana oat breakfast cookies.
The Magic Behind Magic Cookie Bars: Simple Ingredients, Big Flavor
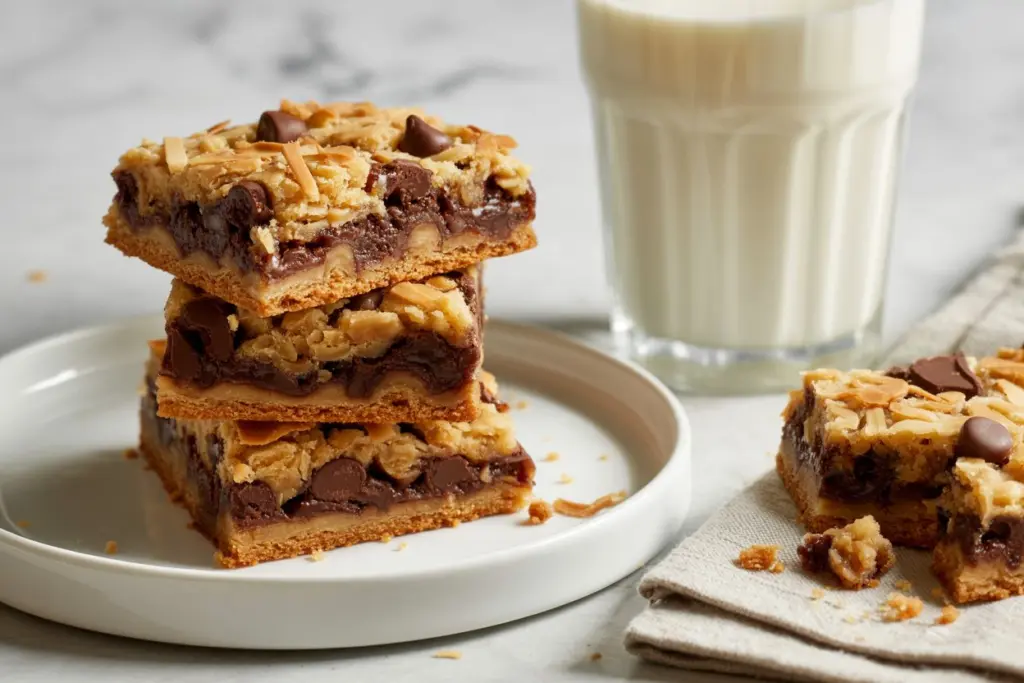
If you’ve never made magic cookie bars, get ready to be amazed by how little effort delivers such spectacular results. These bars are known for their beautiful layers: a buttery graham cracker crust, followed by chocolate chips, shredded coconut, nuts, and a heavenly pour of sweetened condensed milk that binds it all together into chewy perfection.
But why are they called “magic”? Some say it’s because there’s no mixing, no fancy tools, and very little cleanup – just layers and bake. Others say it’s because they disappear almost instantly once you slice them up. I say it’s both. Because for something this easy, the taste truly feels like a trick.
What I especially love is that you can prep them in just 10 minutes, then let the oven do the rest. They’re great to make ahead for parties or freeze for later. With pantry-friendly ingredients and foolproof assembly, you don’t need to be a pro to pull these off.
Want more traybake inspiration? These caramel cookies and ultimate gooey chocolate chip cookies hit the same comforting sweet spot.
What You Will Need & Magic Cookie Bars Guide
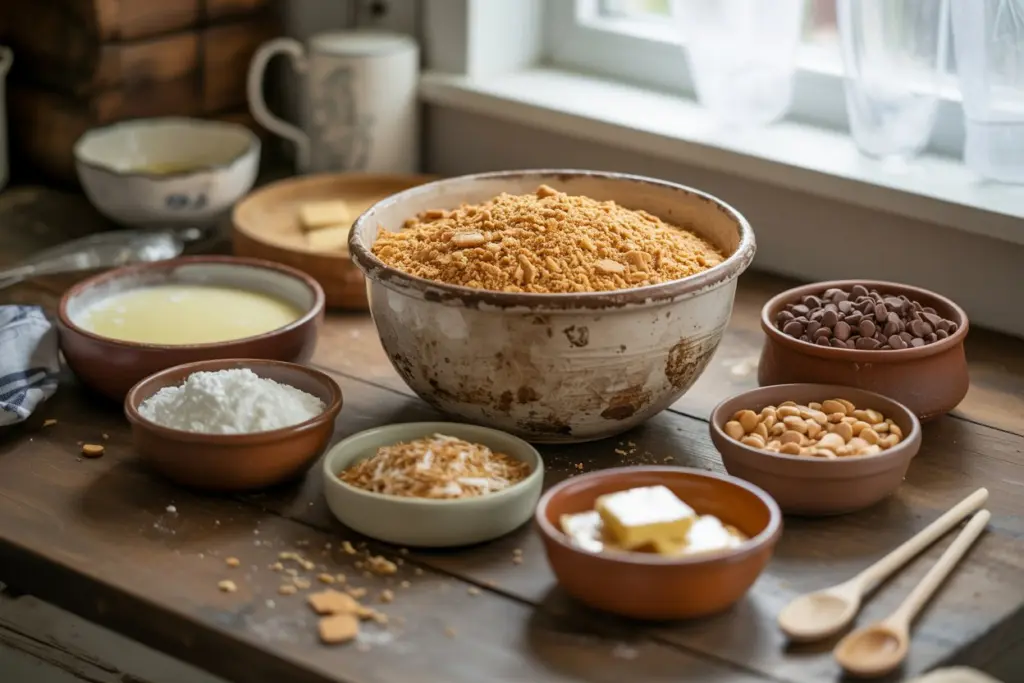
The Ingredients That Make Magic Cookie Bars So Irresistible
When I say magic cookie bars are easy to make, I mean it. These bars are layered with classic ingredients that come together in the most indulgent way. What makes them truly magical is how flexible the ingredients are – you can switch things around based on what you’ve got on hand, and they’ll still turn out delicious.
It starts with a graham cracker crumb base – that slightly sweet, buttery crust that holds everything together. You’ll need about 1½ cups of crumbs, mixed with ½ cup of melted unsalted butter. If you’re out of graham crackers, you can easily swap in crushed digestive biscuits or even vanilla wafer cookies. Just make sure the crumbs are finely crushed for a crust that holds.
Next comes the shredded sweetened coconut, about 1 cup. This layer is key for that chewy texture and caramelized sweetness as it bakes. You can toast it lightly beforehand if you want a more pronounced coconut flavor. If coconut isn’t your thing, though, feel free to reduce it or skip it entirely – the bars will still hold up, though the texture will shift.
For richness and gooeyness, semi-sweet chocolate chips are a must. One cup will do the trick, but you can use dark chocolate chips or milk chocolate depending on your preference. I’ve even done a blend of both. Want a little extra flair? Toss in ½ cup of butterscotch chips – they melt beautifully into the bars and add a unique caramel note. Not everyone has them on hand, so they’re totally optional.
Now comes the crunch factor – ½ cup of chopped walnuts or pecans. Walnuts give a slightly bitter contrast to the sweet layers, while pecans offer a smoother, buttery crunch. Either is great, or you can mix both. For a nut-free version, substitute with pumpkin seeds, sunflower seeds, or just skip it entirely.
And here’s where the real magic happens: the sweetened condensed milk. One full 14-ounce can poured slowly over the top acts as the glue that binds the layers together. As it bakes, it bubbles and caramelizes slightly, transforming into a luscious, chewy filling that gives these bars their signature texture.
To finish, you can sprinkle ¼ cup of white chocolate chips on top. It’s optional but adds another level of decadence, especially once it melts into the coconut and chocolate layers below.
All of these ingredients work in harmony to create that trademark gooey, crunchy bite. What’s wonderful is that even if you mix up the order a bit or forget a chip here and there, these magic cookie bars almost always come out amazing. They’re forgiving, flavorful, and fully addictive.
If you enjoy simple bar recipes like this, try these pumpkin chocolate chip cookies for a warm, spiced twist, or check out these peanut butter s’mores oatmeal bars for a fun summer campfire vibe.
How the Magic Happens in the Oven: From Crumbs to Golden Bars
Making magic cookie bars isn’t just baking – it’s an experience. It starts the moment you melt that butter and mix it with graham cracker crumbs. As the warm butter soaks into the crumbs, you’ll notice the texture shift from dry and sandy to something like wet sand at the beach – packable, dense, and ready to press into your baking pan.
I always press the crust mixture into a parchment-lined 9×13-inch dish using the bottom of a measuring cup. It helps compact the crumbs into an even, sturdy base that won’t crumble when sliced. There’s something deeply satisfying about smoothing that buttery layer into every corner.
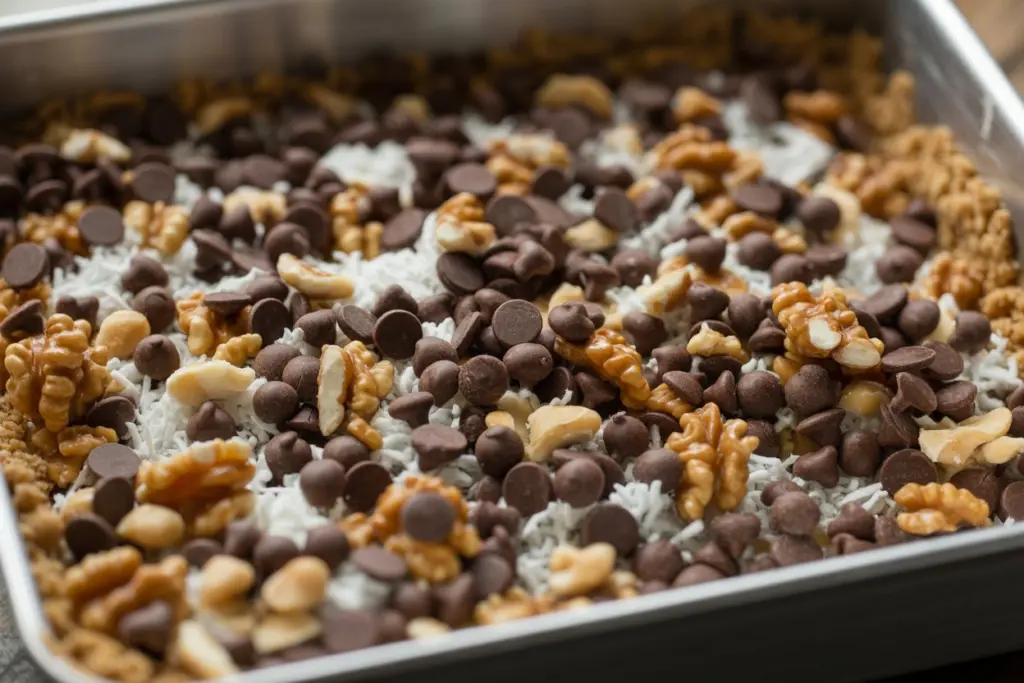
From here, the magic is all about layering. No bowls. No mixers. Just sprinkle your chocolate chips evenly across the crust – the heat will melt them into little pockets of joy. Next, scatter the butterscotch chips (if you’re using them), followed by the chopped nuts and shredded coconut. Don’t overthink the layering – it doesn’t have to be perfect.
Now comes my favorite part: pouring the sweetened condensed milk. I move slowly, drizzling it from edge to edge so it touches every bit of topping. It doesn’t need spreading – gravity and the oven take care of that. You’ll see it seep into the corners and pool in the crevices, promising gooey, golden bites with every slice.
If you’re going the extra mile, toss a handful of white chocolate chips on top. It creates those irresistible golden spots and a slight crunch on top once cooled.
Into the oven it goes – 350°F (175°C) for about 25 to 30 minutes, until the edges bubble and the top starts to brown. That’s when the magic finishes. Your kitchen will smell like toasted coconut, warm chocolate, and sweet nostalgia.
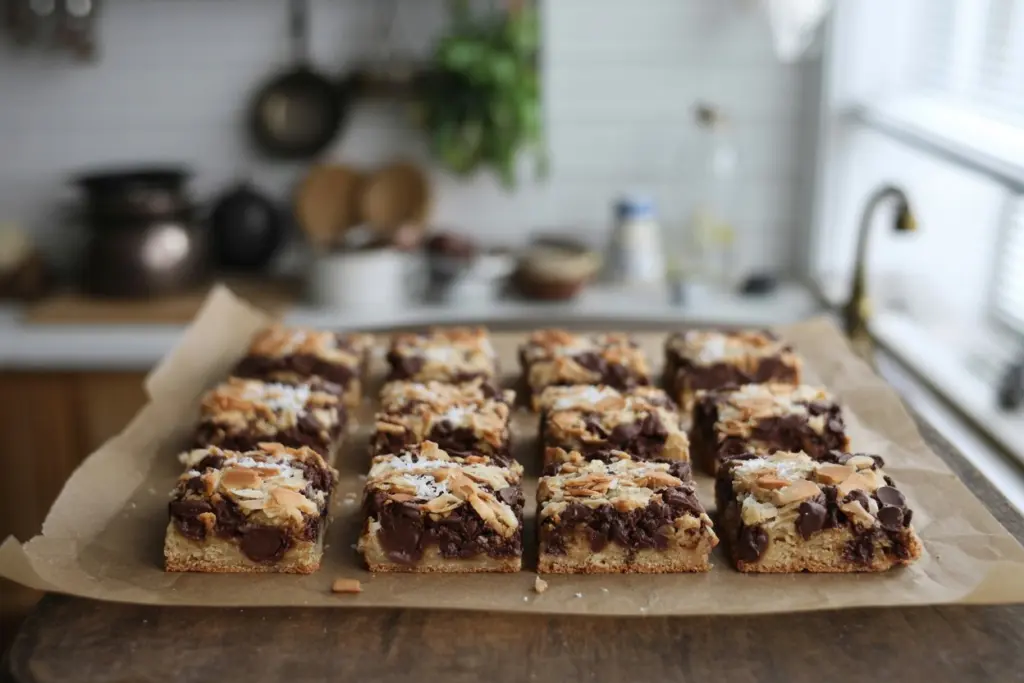
Once baked, resist the urge to slice right away. Let the bars cool completely – I mean totally cooled – because that’s how they set and become sliceable. Rushing this step can lead to crumbling bars, which still taste amazing but lose that picture-perfect look.
Serve them up solo, or pair with caramel cookies or ultimate gooey chocolate chip cookies for an epic dessert board.
Tips, Tricks & Mistakes to Avoid for Perfect Magic Cookie Bars
Pro Tips to Make Your Magic Cookie Bars Truly Magical
No matter how simple a recipe seems, small adjustments can elevate it from good to unforgettable. Over the years, I’ve made magic cookie bars dozens of times, and these are the tips I swear by.
1. Always line your pan with parchment paper.
This is a game-changer. Not only does it prevent sticking (trust me, sweetened condensed milk loves to glue itself to pans), but it also lets you lift the entire slab out for perfect slicing. If you skip this step, you’ll be prying corners out with a spatula and losing the clean edges that make these bars so visually tempting.
2. Press the crust firmly – but not too hard.
The graham cracker base is your foundation. Pressing it firmly helps it stay together, but pressing too aggressively can make it dense and tough. I use the bottom of a glass or measuring cup to get it just right.
3. Toast your coconut beforehand.
This is optional, but if you want that deep, nutty flavor, lightly toast your shredded coconut in a dry skillet before layering it on. It adds depth and enhances the texture without overpowering the bar.
4. Go slow with the sweetened condensed milk.
Don’t rush the pour. A slow, even drizzle ensures every corner and every ingredient gets coated. That’s what turns the toppings into a chewy, cohesive masterpiece.
5. Cool completely – then chill for perfect slices.
It’s tempting to dive in when the pan comes out of the oven, but these bars need time. Let them cool on the counter, then refrigerate them for an hour or so. Chilling makes them firm enough to cut into neat squares. Warm bars will fall apart.
I’ve used this technique with similar recipes like these chewy banana oat breakfast cookies and even these peanut butter banana oatmeal bars, where clean slicing matters just as much.
Common Mistakes That Ruin Magic Cookie Bars (and How to Avoid Them)
Even the easiest recipes can go sideways if you’re not careful. Here are a few pitfalls I’ve either made myself or seen others trip over – and how to steer clear of them.
Skipping the parchment paper is the #1 mistake. If you forget it, you’ll end up scraping off stuck-on bars and losing half the crust. Always, always line your pan.
Overbaking is another big one. The sweetened condensed milk should be bubbly and lightly golden around the edges – not dark brown or dry. An extra five minutes can turn gooey into crumbly real fast. If the center looks set and the top has that golden color, it’s done.
Layering the ingredients in the wrong order can also affect the final texture. You want the heavier bits like chocolate chips and nuts under the condensed milk, so they bake into the bar rather than sit loose on top. That milk acts like glue, and it won’t stick if you pour it first.
Using too many wet ingredients is another issue. It’s easy to get excited and double up on condensed milk or overload with chocolate chips. But excess liquid means soggy bottoms and bars that never set properly.
Finally, not allowing proper cooling time is a deal-breaker. I’ve learned the hard way that slicing too soon leads to a crumbling mess. Always give your bars enough time to cool fully – they’ll reward your patience with perfect structure and flavor.
These mistakes are easy to avoid with a little attention, and once you’ve got your rhythm, magic cookie bars become a go-to, no-fail dessert that everyone will ask for again and again.
Craving more easy bakes with big payoffs? Check out these chocolate-dipped s’mores cookies or pumpkin chocolate chip cookies for more crowd-pleasing inspiration.
Storage, Freezing & Creative Variations for Magic Cookie Bars
How to Store Magic Cookie Bars So They Stay Fresh and Chewy
You’ve gone through the joy of making your magic cookie bars, your kitchen smells like toasted coconut and chocolate, and you’ve snuck a warm corner slice (because of course you did). Now the question is: how do you keep them tasting just as good tomorrow-or even next week?
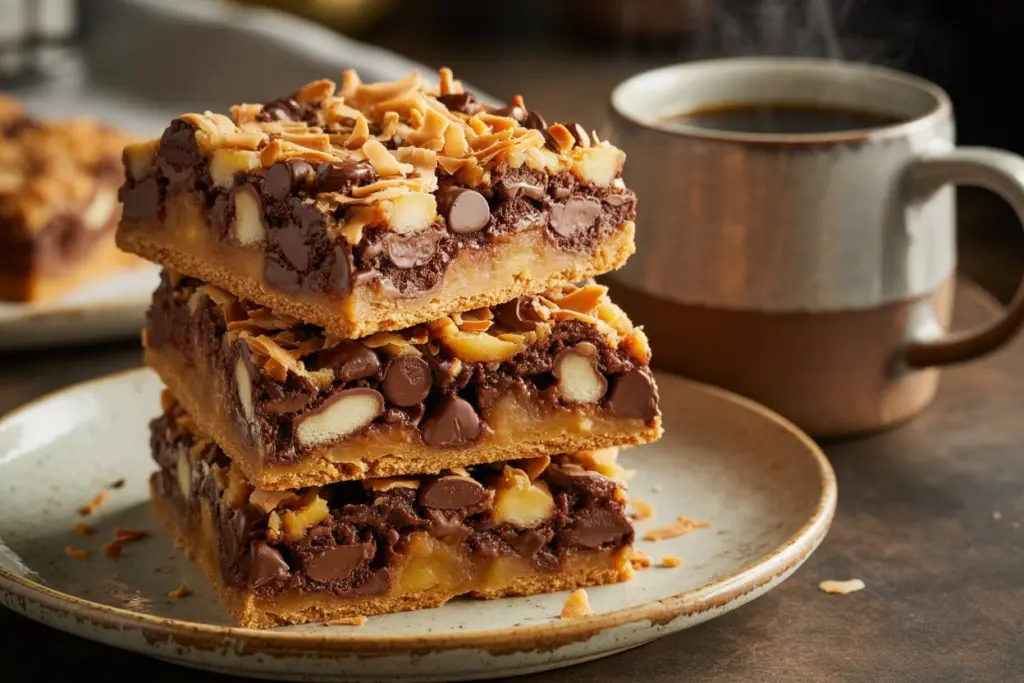
Once your bars are completely cooled and sliced, store them in an airtight container. You can keep them at room temperature for up to five days, and they’ll maintain that perfect chewy-crunchy balance. If your kitchen runs warm or humid, it’s better to refrigerate them to avoid any softening or sogginess.
Refrigerated, they’ll last up to two weeks, and the flavor actually deepens slightly. I always separate layers with parchment paper inside the container to keep them from sticking together. And don’t worry – they still taste incredible cold, straight from the fridge, or you can let them warm up slightly before serving.
If you’re like me and make a big batch “just in case,” you’ll love knowing that magic cookie bars freeze beautifully. Wrap each square individually in plastic wrap and then tuck them into a freezer-safe zip bag or container. They’ll last for up to three months. To enjoy, just thaw a bar at room temperature for 15-20 minutes, or microwave for 10 seconds for that just-baked texture.
This is the same method I use when I freeze ultimate gooey chocolate chip cookies or caramel cookies for unexpected guests or late-night cravings.
Fun Twists on the Classic: Magic Cookie Bar Variations You’ll Love
One of my favorite things about magic cookie bars is how customizable they are. Once you’ve got the base recipe down, you can mix things up depending on your cravings or the season.
Holiday twist? Swap out the semi-sweet chocolate for white chocolate and add dried cranberries and pistachios for a red-and-green festive version. It’s a hit on cookie trays and potlucks.
Craving something nut-free? Ditch the nuts and add mini marshmallows for extra gooeyness, or use crushed pretzels for a salty crunch. Sunflower seeds and pumpkin seeds are also great swaps that still add texture without allergens.
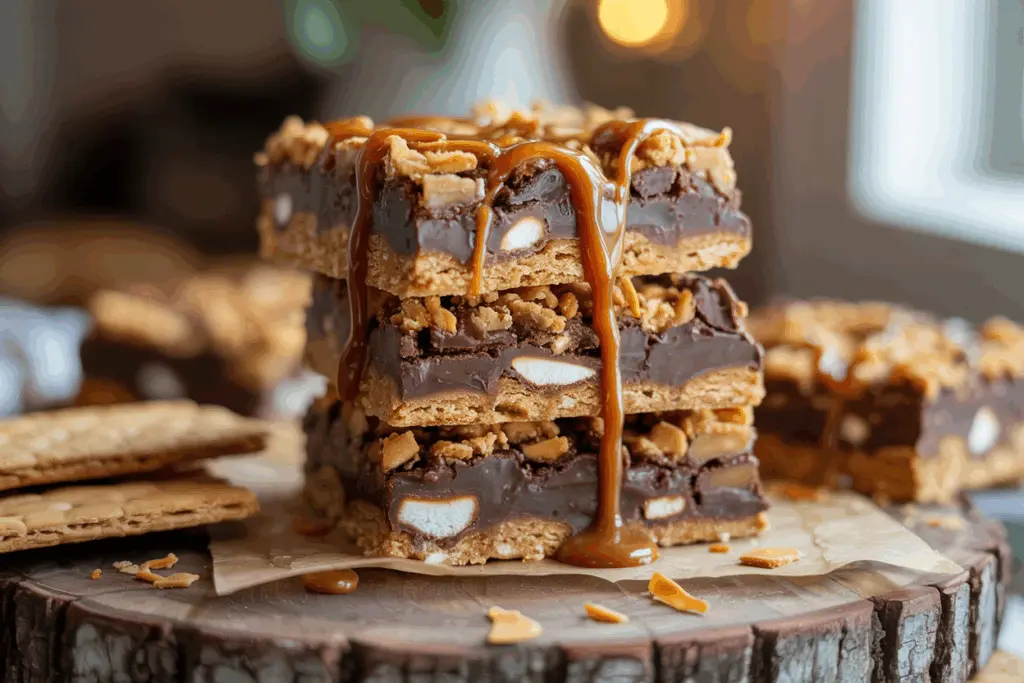
Love caramel? Drizzle caramel sauce over the top before baking, or add caramel bits into the coconut layer. You’ll get pockets of sticky, sweet chew that are pure indulgence.
Add some spice. A pinch of cinnamon or pumpkin pie spice added to the graham cracker crust gives it an autumn twist that’s especially comforting.
Make it a S’mores version. Use crushed chocolate graham crackers for the crust, top with mini marshmallows and milk chocolate chips, and you’ve got a campfire treat in bar form.
One reader recently told me they made a layered version with peanut butter chips and crushed Oreos. Was it still a magic cookie bar? Absolutely. Because the real magic is in how these bars become your own.
If you’re all about customizable bakes, give these peanut butter s’mores oatmeal bars or chocolate-dipped s’mores cookies a try next – both follow the same easy layering magic.
FAQs About Magic Cookie Bars
What are Magic Cookie Bars made of?
Magic cookie bars are made with simple pantry staples layered into a rich, chewy dessert. The base is graham cracker crumbs mixed with melted butter, topped with semi-sweet chocolate chips, shredded coconut, chopped nuts, and optional extras like butterscotch or white chocolate chips. The magic happens when sweetened condensed milk is poured over the top, binding everything into gooey, golden perfection.
Do Magic Cookie Bars need to be refrigerated?
Not necessarily. Magic cookie bars can be stored at room temperature in an airtight container for up to five days. However, refrigerating them will extend their shelf life to about two weeks. Chilling also helps the bars firm up, making them easier to slice and perfect for make-ahead desserts.
How do you keep Magic Cookie Bars from falling apart?
Let them cool completely before slicing. This is the biggest key. Magic cookie bars firm up as they rest, so cutting them too soon can cause crumbling. Also, ensure the sweetened condensed milk is evenly distributed so it binds all the layers. For extra clean slices, chill the bars in the fridge before cutting.
Can I freeze Magic Cookie Bars for later?
Yes! These bars freeze exceptionally well. Wrap each bar in plastic wrap and store them in a freezer-safe container or zip bag. They’ll stay fresh for up to three months. When you’re ready to eat, simply thaw at room temperature or microwave for a few seconds to bring back that gooey texture.
So, there you have it – the magic cookie bar in all its chewy, crunchy, caramelized glory. Whether you’re baking for a crowd, filling your freezer with sweet backups, or looking for an easy recipe that never fails, these bars are a home-run every time.
What makes them special isn’t just the flavors (though trust me, they’re addictively good). It’s the flexibility. The fact that you can swap ingredients based on what you have. The way they store beautifully and slice like a dream. The joy of making something that’s both old-fashioned and endlessly customizable.
From my Asheville kitchen to yours, I hope you’ll give these magic cookie bars a try. And once you do, don’t be surprised if you start finding excuses to make them again – they’re just that good.
