Summer is the perfect season for bold, tangy, and sweet flavors that come alive in every bite – and nothing brings that flavor party to your table like these sticky sweet & savory honey balsamic glazed chicken thighs.
This recipe is a summer staple in my house, born from a spontaneous weeknight craving that turned into a backyard favorite. I first made these for a Sunday dinner with my family, inspired by the way my grandmother used to glaze roast chicken with maple syrup and vinegar. But instead of maple, I reached for honey, added some balsamic for depth, and boom – a star was born.
Today, I’m sharing that very recipe – seared to golden perfection, brushed in a sticky, garlicky glaze, and roasted until the skin is crispy and lacquered. Pair it with a crisp summer salad, a grilled corn cob, or even a cold pasta salad – and you’ve got the ultimate warm-weather meal.
Table of Contents
Why You’ll Love These Balsamic Glazed Chicken Thighs
- Sticky-sweet glaze with a tangy twist from balsamic vinegar
- Crispy, golden skin that’s full of flavor
- Simple ingredients, big flavor
- Perfect for summer dinners, cookouts, or even meal prep
- Ready in under 45 minutes
Whether you’re looking for a no-fuss meal that feels fancy or need a crowd-pleaser for your next barbecue, these balsamic glazed chicken thighs are your go-to.
What you will need + & Substitutions
Here’s everything you’ll need:
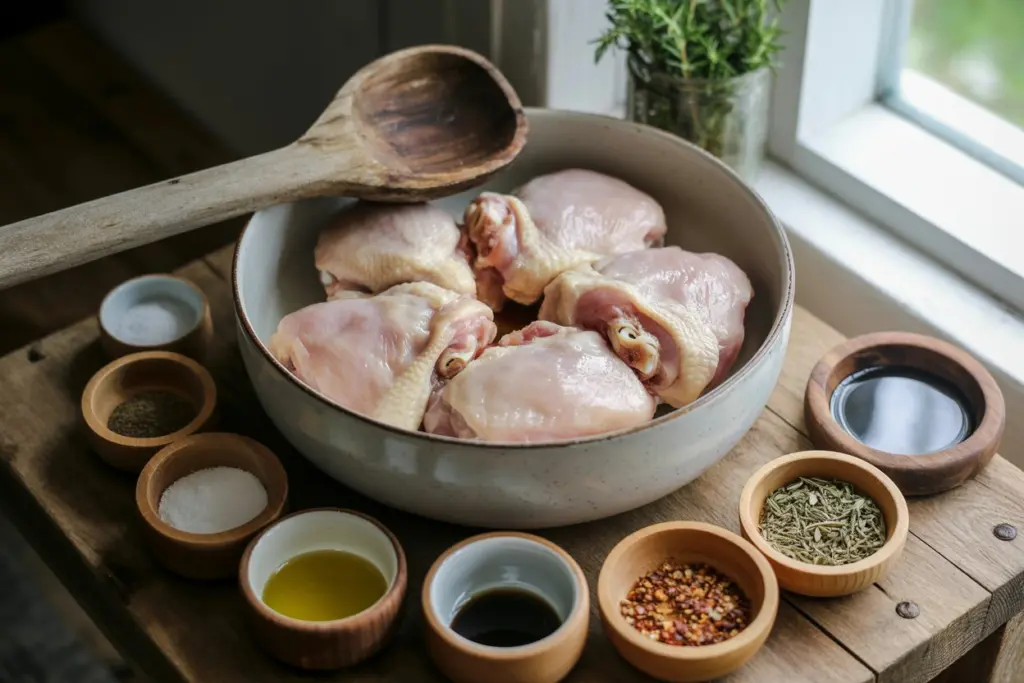
- 6 bone-in, skin-on chicken thighs (about 2 lbs, 900 g)
Purpose: Provides juicy, flavorful meat with crispy skin.
Substitution: Use boneless thighs (reduce roasting time by 5-7 minutes), drumsticks, or tofu slabs (vegan, adjust cooking time). - Salt, to taste
Purpose: Enhances flavor and crisps the skin.
Substitution: Use kosher salt or a salt-free seasoning blend. - Black pepper, to taste
Purpose: Adds mild heat and depth.
Substitution: Use white pepper or cayenne for a different kick. - 2 tbsp olive oil (30 ml)
Purpose: Sears chicken for crispy skin and flavor.
Substitution: Use avocado oil, canola oil, or butter. - ⅓ cup honey (80 ml)
Purpose: Sweetens and creates a sticky glaze.
Substitution: Use maple syrup or agave nectar. - ¼ cup balsamic vinegar (60 ml)
Purpose: Adds tangy, rich depth to the glaze.
Substitution: Use red wine vinegar + 1 tsp sugar or apple cider vinegar. - 3 cloves garlic, minced
Purpose: Provides aromatic, savory flavor.
Substitution: Use ½ tsp garlic powder or 1 tbsp garlic paste. - 1 tsp dried thyme
Purpose: Adds earthy, herbaceous notes.
Substitution: Use fresh thyme (1 tbsp), oregano, or Italian seasoning. - ½ tsp dried rosemary
Purpose: Contributes woody, aromatic flavor.
Substitution: Use fresh rosemary (1½ tsp), sage, or omit. - ¼ tsp red pepper flakes (optional)
Purpose: Adds a subtle spicy kick.
Substitution: Use cayenne, sriracha, or omit for no heat.
Step-by-Step Instructions (With Pro Tips!)
Preheat and Season
Preheat your oven to 400°F (200°C). Start by patting your chicken thighs dry with paper towels – this is key to getting a good sear. Season both sides generously with salt and black pepper.
Sear for Flavor
In a large oven-safe skillet (cast iron works beautifully), heat olive oil over medium-high. Place the thighs skin-side down and sear until golden and crispy, about 4-5 minutes. Flip and sear the other side for 2 minutes. Remove chicken and set aside.
Create the Glaze
Lower the heat to medium-low. In the same skillet, add honey, balsamic vinegar, garlic, thyme, rosemary, and red pepper flakes. Stir and let the mixture simmer for 2-3 minutes until it thickens slightly and becomes glossy.
Return and Glaze
Add the chicken thighs back into the skillet, skin-side up. Spoon the glaze over each piece, coating it well.
Roast to Perfection
Transfer the entire skillet to the oven and roast for 20-25 minutes, or until the chicken is fully cooked (internal temperature should be 165°F) and the skin is caramelized and crispy.
Serve It Up
Remove from oven, spoon over any remaining sauce, and serve hot. Garnish with chopped herbs or a twist of lemon zest for brightness.
Tips for Perfect Balsamic Chicken
- Bone-in, skin-on chicken thighs keep the meat juicy and flavorful.
- Don’t skip the sear! It locks in flavor and gives you that irresistible crispy skin.
- If your glaze thickens too much, add 1-2 tbsp water to loosen it.
- Let the chicken rest for 5 minutes before serving – this keeps it juicy.
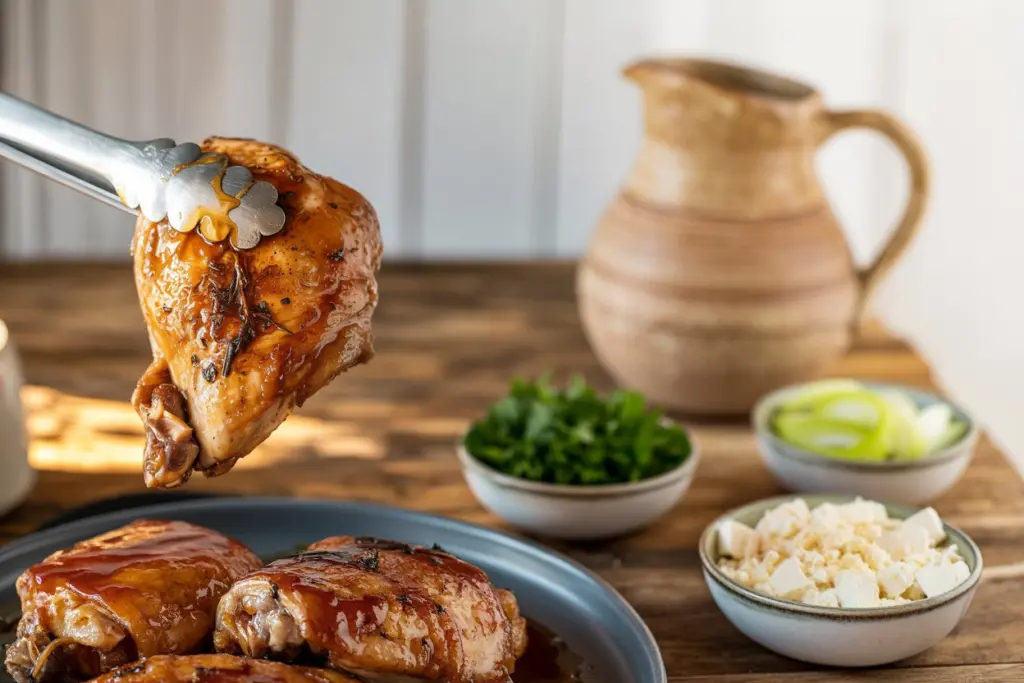
Topping Suggestions
- Chopped Parsley: Fresh, vibrant accent.
- Sesame Seeds: Nutty, subtle crunch.
- Sliced Green Onions: Mild, colorful bite.
- Lemon Zest: Bright, citrusy lift.
- Crumbled Feta: Tangy, creamy contrast.
- Extra Red Pepper Flakes: Bold, spicy kick.
Ingredient Substitutions Recap
- Chicken Thighs → Drumsticks: Similar bone-in option.
- Honey → Maple Syrup: Alternative sweetener.
- Balsamic Vinegar → Red Wine Vinegar: Tangy substitute.
- Thyme → Oregano: Different herbaceous note.
- Olive Oil → Avocado Oil: Neutral cooking oil.
Perfect Summer Pairings
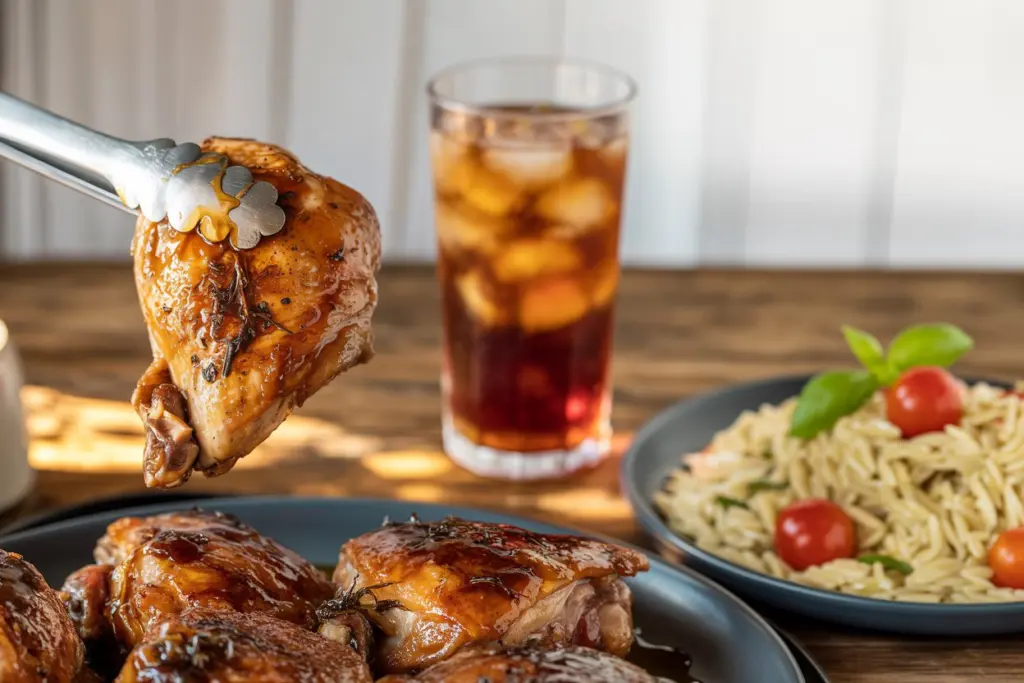
What goes best with sticky chicken in summer? Try one of these combos:
- Grilled corn on the cob with lime butter
- Cucumber and dill potato salad
- Chilled orzo pasta with cherry tomatoes and basil
- Lemon-garlic green beans
- A sparkling peach iced tea
FAQs
Can I make balsamic glazed chicken with boneless chicken?
Yes! Use boneless thighs or breasts, but reduce roasting time to 15-20 minutes (internal temperature 165°F/74°C).
How do I prevent the glaze from burning?
Simmer on low heat and watch closely while reducing. If it thickens too much, add 1 tbsp water..
Can I grill the chicken instead of baking?
Yes! Sear chicken on a grill over medium heat, then brush with glaze and grill for 15-20 minutes, flipping and glazing occasionally.
This Sticky Sweet & Savory Honey Balsamic Glazed Chicken is a flavorful, crispy dish with a rich honey-balsamic glaze, perfect for any dinner table. Inspired by your love for savory proteins (like the Sweet & Savory Korean Beef over Steamed Rice and Chicken & Bell Pepper Burrito Wraps) and sweet-savory flavors (like the CrockPot Cowboy Beans), this recipe is a must-try. Try it with chopped parsley, pair with roasted asparagus, and share your experience in the comments below. Happy cooking, and enjoy every sticky, savory bite!
