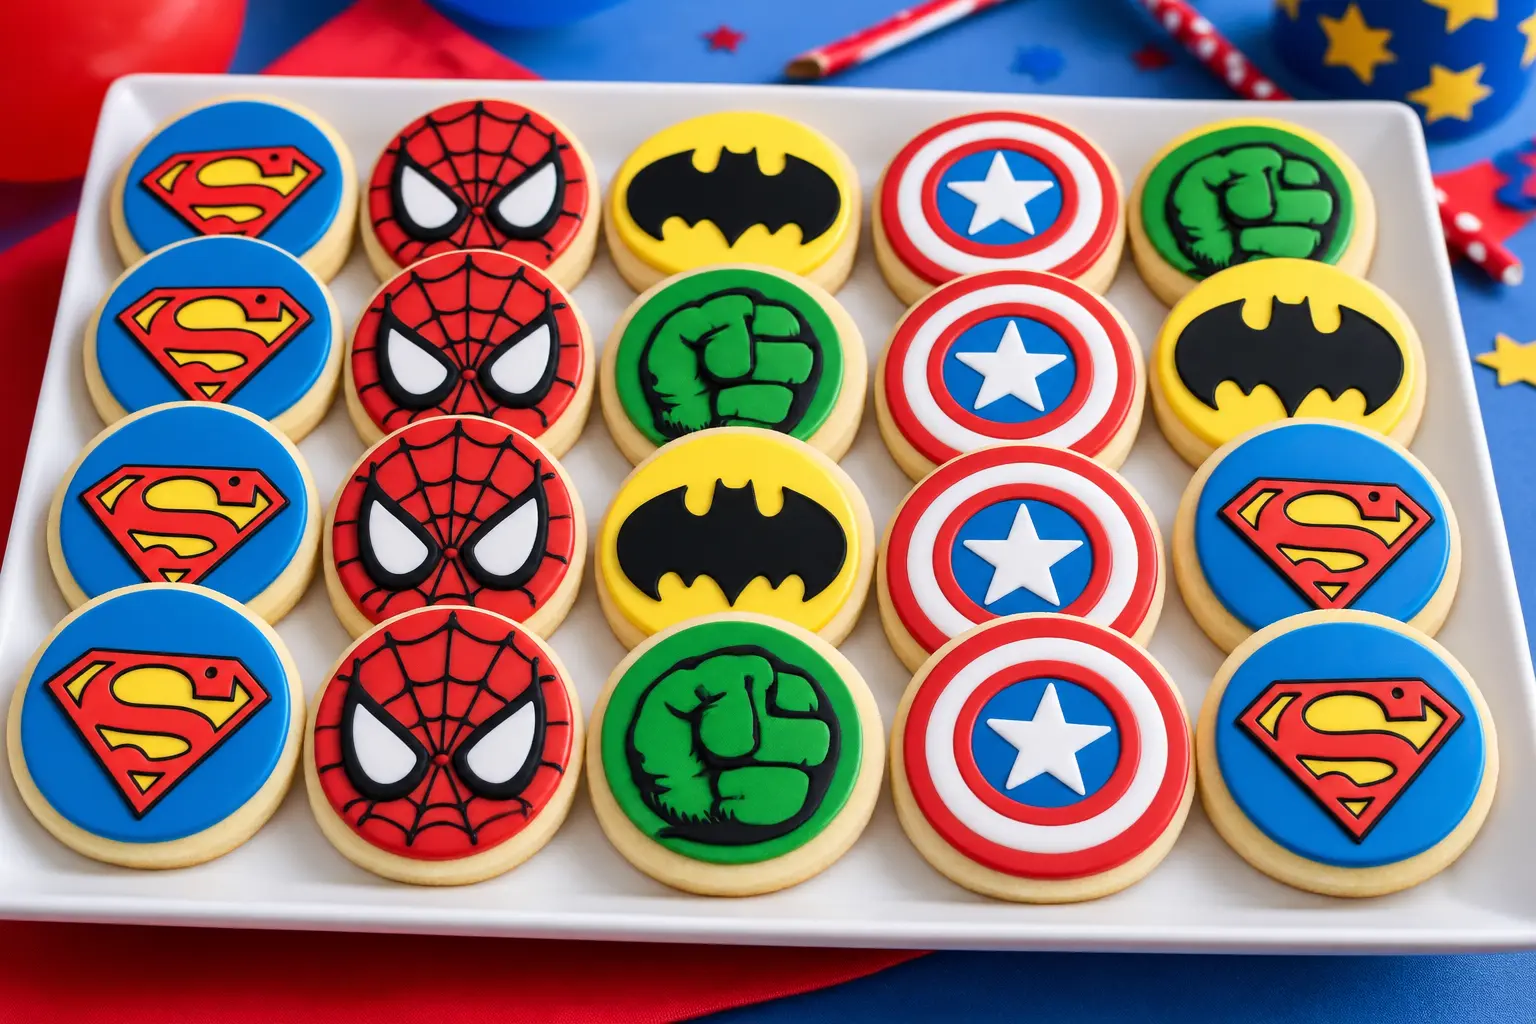
These superhero cookies are a fun and colorful treat for birthday parties, superhero-themed celebrations, school parties, movie nights, or simply a creative baking afternoon at home. With a simple sugar cookie dough, smooth royal icing, and a handful of bright food colors, we can transform ordinary cookies into colorful superhero designs inspired by iconic comic-book symbols.
For more fun and easy themed cookie recipes try our Gingerbread Cookies, or Cream Cheese Spritz Cookies.
Table of Contents
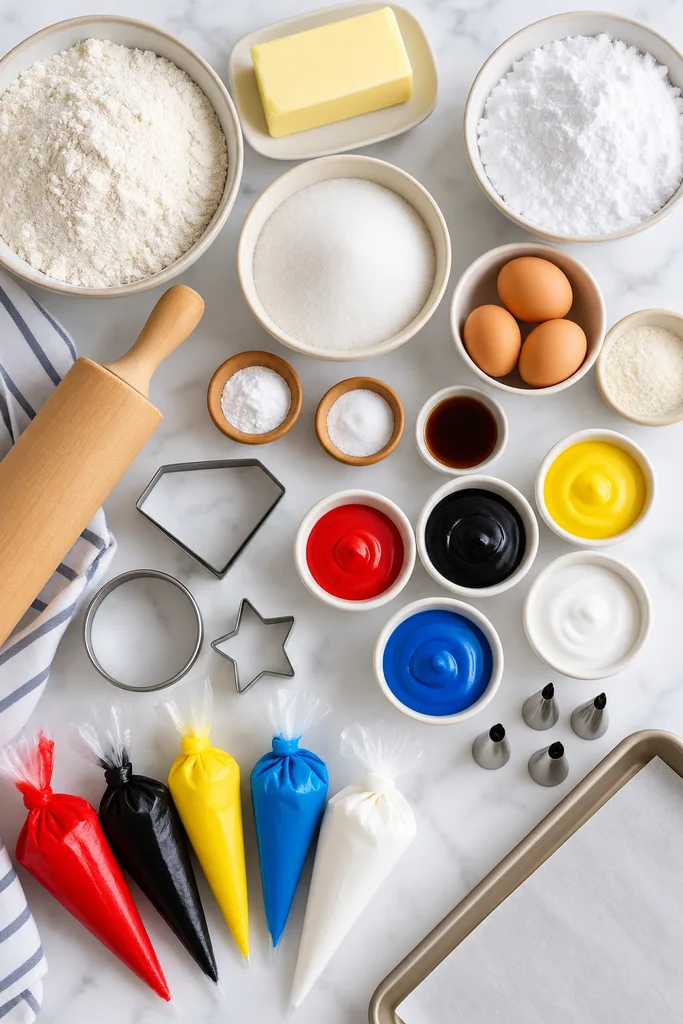
Ingredients for Superhero Cookies
For the Cookies
- Cookie dough
- Flour, if needed for rolling
- Small circle cookie cutters
- Parchment paper
We can use our favorite cut-out sugar cookie dough. A dough that holds its shape well during baking is especially useful because the decorations look best when the cookies have smooth, even edges.
For the Royal Icing
- Royal icing
- Red food coloring
- Super Black food coloring
- Egg Yellow food coloring
- Royal Blue food coloring
- Bright White food coloring
The icing should be thick enough to hold its shape for outlining and detailed decorations but smooth enough to spread across the cookie surface.
Decorating Supplies
- Disposable decorating bags
- Couplers
- Decorating tips, preferably size 2 and size 3
- Small circle cookie cutters or a Superman-style cookie cutter
- Toothpicks or a scribe tool for popping small air bubbles
How to Make Superhero Cookies
1. Prepare the Cookie Dough
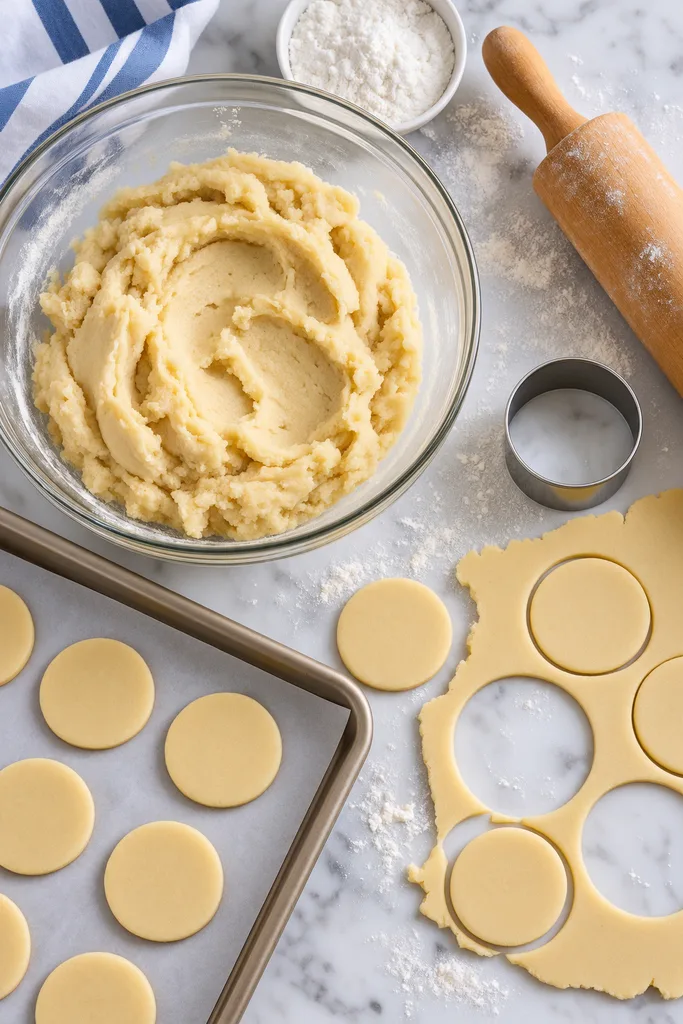
- Start by preparing the cookie dough according to your preferred cut-out sugar cookie recipe. Chill the dough if necessary so it becomes easier to roll and cut.
- Roll the dough evenly on a lightly floured surface. Keeping the thickness consistent helps the cookies bake evenly and gives us a smooth surface for royal icing.
- Cut the dough into small circles or superhero-inspired shapes. Transfer the cookies to a parchment-lined baking sheet, leaving a little space between them.
- Bake according to the cookie dough recipe until the edges are lightly golden. Avoid overbaking because we want the cookies to remain tender rather than becoming overly crisp.
- Allow the cookies to cool completely before decorating.
- Do not decorate warm cookies. Heat can soften royal icing and make carefully piped designs spread or lose their shape.
2. Prepare the Royal Icing
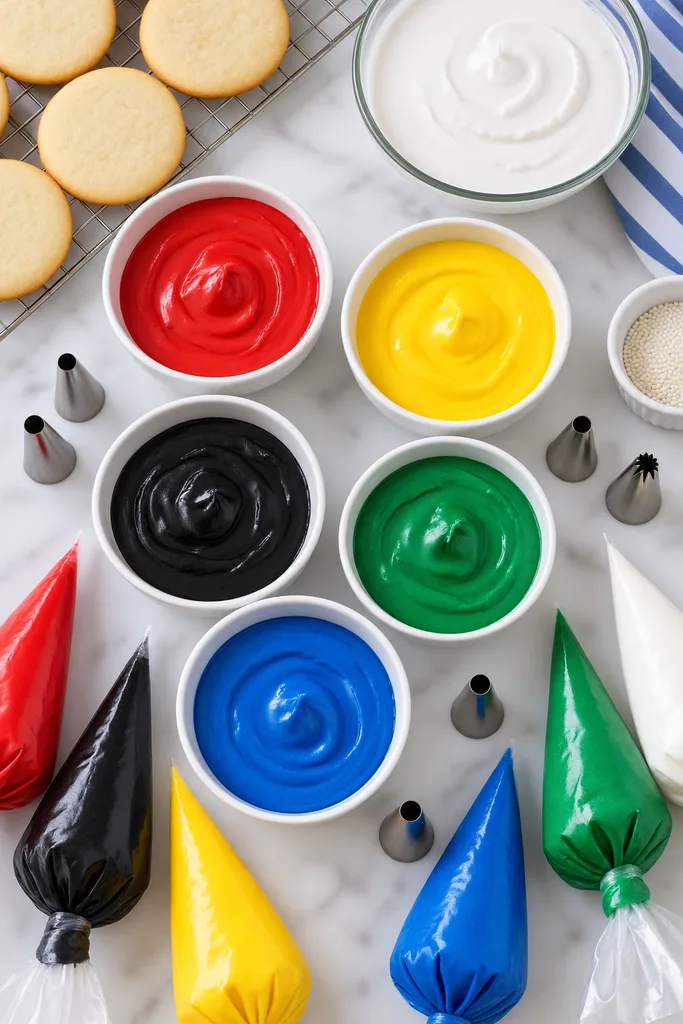
Divide the royal icing into small bowls according to the colors we plan to use.
For classic superhero designs, prepare:
- Royal blue
- Bright red
- Egg yellow
- Super black
- Bright white
The consistency is important. For outlines, we want icing that is firm enough to create a defined border. For filling larger areas, the icing can be slightly thinner so that it flows smoothly inside the outline.
Place the prepared icing into disposable decorating bags fitted with size 2 or size 3 tips.
3. Create the Cookie Base
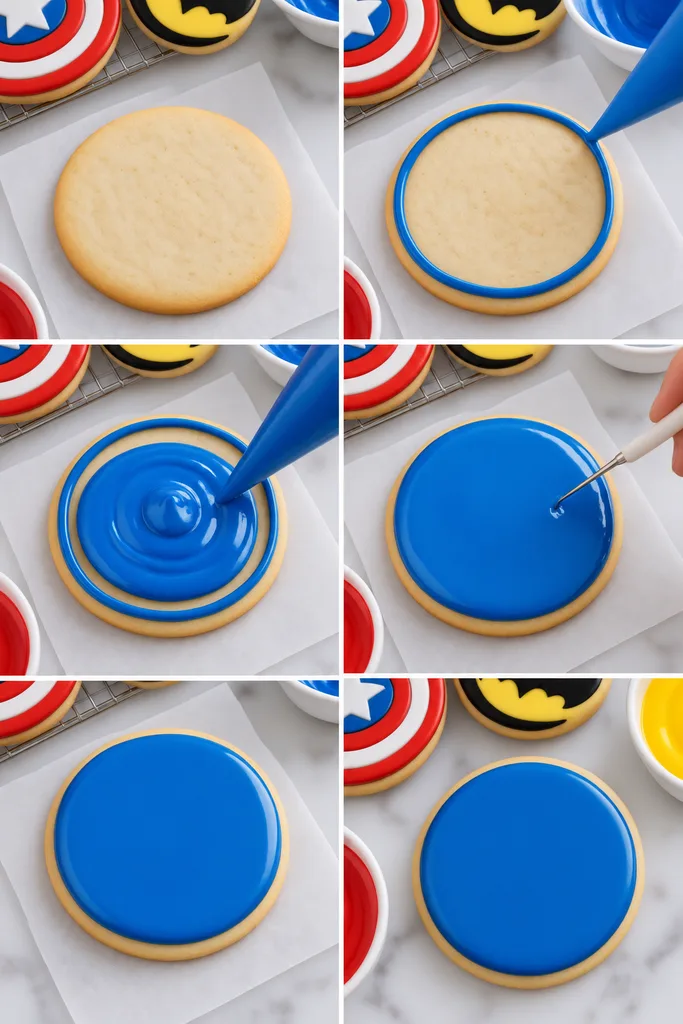
For many superhero designs, we can begin by covering the entire cookie with a solid background color.
For example, a bright blue background works beautifully for a superhero emblem. Pipe an outline around the edge of the cookie first, then fill the center with the same icing.
Use a toothpick or scribe tool to gently guide the icing toward the edges and remove visible air bubbles.
Allow the base layer to set before adding detailed decorations. This helps prevent the colors from blending together.
4. Add Superhero Symbols
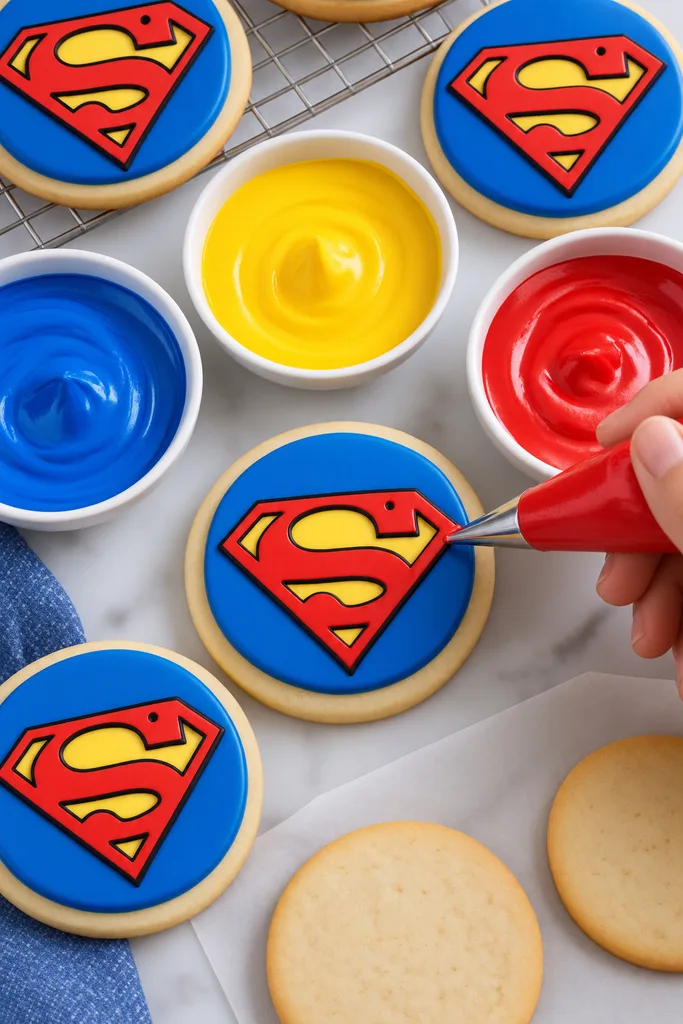
Once the base has firmed up, we can begin adding the recognizable symbols.
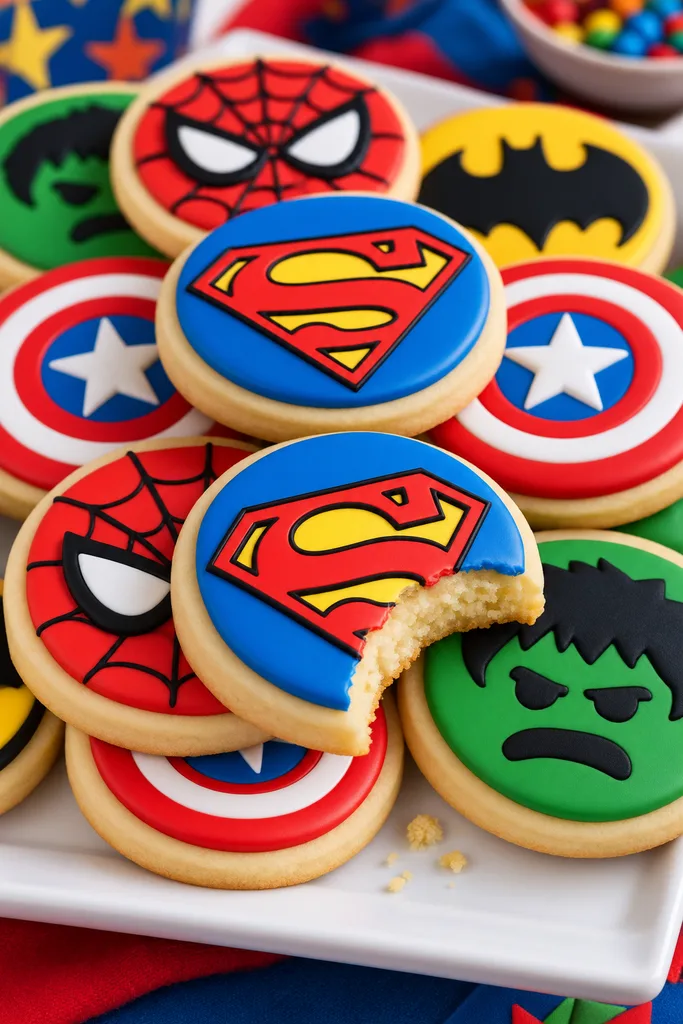
- For a Superman-inspired design, pipe a yellow shield shape over a blue background and add a bold red letter S in the center.
- For a Batman-inspired cookie, use yellow icing as the background or border and pipe a black bat symbol across the center.
- For a Captain America-inspired design, create concentric red and white circles around a blue center, then add a white star.
- For a Spider-Man-inspired cookie, use red icing as the base and pipe black web lines across the surface. White icing can be used for the eyes.
- For a Hulk-inspired design, green icing makes an excellent background. We can add black or darker green details to create a bold comic-book appearance.
The designs do not need to be perfectly identical. Slight variations can make a homemade batch feel more creative and playful.
5. Let the Cookies Dry Completely
Royal icing needs sufficient time to dry before the cookies are stacked, packaged, or transported.
Place the decorated cookies on a flat surface and allow them to dry undisturbed. Depending on the thickness of the icing and the humidity in the room, the drying time can vary.
Avoid touching the decorations while they are setting. Even when the surface appears dry, thicker areas underneath may still be soft.
For party preparation, making the cookies a day ahead can make the process much easier.
Easy Superhero Cookie Design Ideas
Superman Cookies
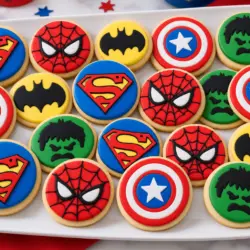
A blue, yellow, and red color combination instantly creates a classic superhero appearance. A blue cookie base with a yellow shield and red lettering is particularly striking.
Batman Cookies
Black and yellow provide a dramatic contrast. We can create a yellow circular or oval background and pipe a black bat silhouette in the center.
Spider-Man Cookies
Spider-Man designs are perfect for round cookies. Cover the cookie with red icing, then add a black web pattern and white eyes.
Captain America Cookies
These cookies look especially attractive when we layer red, white, and blue circles. A white star in the center completes the shield-inspired design.
Hulk Cookies
For Hulk-inspired cookies, use a vibrant green background and add facial details or a bold superhero-style fist. Black outlines help the green icing stand out.
Superhero Cookies

Equipment
- Large mixing bowl and Small bowls
- Electric hand mixer or stand mixer
- Measuring cups and spoons
- Rolling Pin
- Cookie cutters
- Baking sheets
- Parchment paper
- Wire cooling rack
- Disposable decorating bags
- Couplers
- Size 2 and 3 decorating tips
- Toothpick or scribe tool
Ingredients
For the Cookies
- 1 cup unsalted butter softened
- 1 cup granulated sugar
- 1 large egg
- 2 teaspoons vanilla extract
- 2 3/4 cups all-purpose flour
- 1/2 teaspoon baking powder
- 1/4 teaspoon salt
For the Royal Icing
- 4 cups powdered sugar
- 3 tablespoons meringue powder
- 6 tablespoons water
- 1 teaspoon vanilla extract
Red food coloring
- Super Black food coloring
- Egg Yellow food coloring
- Royal Blue food coloring
- Bright White food coloring
Instructions
- In a large bowl, beat the softened butter and granulated sugar until light and creamy.
- Add the egg and vanilla extract and mix until fully combined.
- In a separate bowl, whisk together the flour, baking powder, and salt.
- Gradually add the dry ingredients to the butter mixture and mix until a soft cookie dough forms.
- Wrap the dough and refrigerate for about 1 hour.
- Preheat the oven to 350°F (175°C) and line baking sheets with parchment paper.
- Roll the chilled dough to about 1/4-inch thickness on a lightly floured surface.
- Cut the dough into small circles or use a superhero-shaped cookie cutter.
- Transfer the cookies to the prepared baking sheets.
- Bake for 10–12 minutes, or until the edges are lightly golden.
- Let the cookies cool on the baking sheet for a few minutes, then transfer them to a wire rack to cool completely.
- Make the royal icing by mixing the powdered sugar and meringue powder in a large bowl.
- Gradually add the water and vanilla extract and beat until the icing is smooth, thick, and glossy.
- Divide the royal icing into separate bowls and tint each portion with red, black, yellow, blue, or white food coloring.
- Transfer the colored icing into disposable decorating bags fitted with size 2 or size 3 decorating tips.
- Pipe an outline around each cooled cookie using the desired icing color.
- Fill the outlined area with royal icing and gently spread it toward the edges with a toothpick or scribe tool.
- Allow the base icing to set before adding the superhero details.
- Pipe superhero-inspired designs such as shields, stars, webs, masks, bat symbols, or Superman-style emblems.
- Let the decorated cookies dry completely, preferably overnight, before stacking or packaging.
FAQs
Can We Make These Superhero Cookies Ahead of Time?
Yes. These cookies are excellent for advance preparation.
We can bake the cookies ahead of time and decorate them later. This divides the project into manageable steps and is especially helpful when preparing desserts for a birthday party.
The decorated cookies can also be prepared before the event, giving the royal icing plenty of time to become completely firm.
How to Store Superhero Cookies
Once the royal icing has completely dried, place the cookies in an airtight container. Separate layers with parchment paper if necessary.
Keep the container in a cool, dry location away from direct sunlight and heat. Avoid storing decorated cookies in a humid environment because moisture can affect the royal icing.
For parties, individually wrapping the cookies in clear food-safe bags creates an attractive presentation and makes them easy for guests to take home.