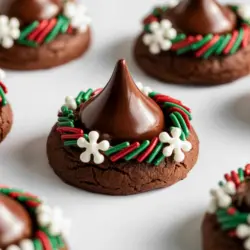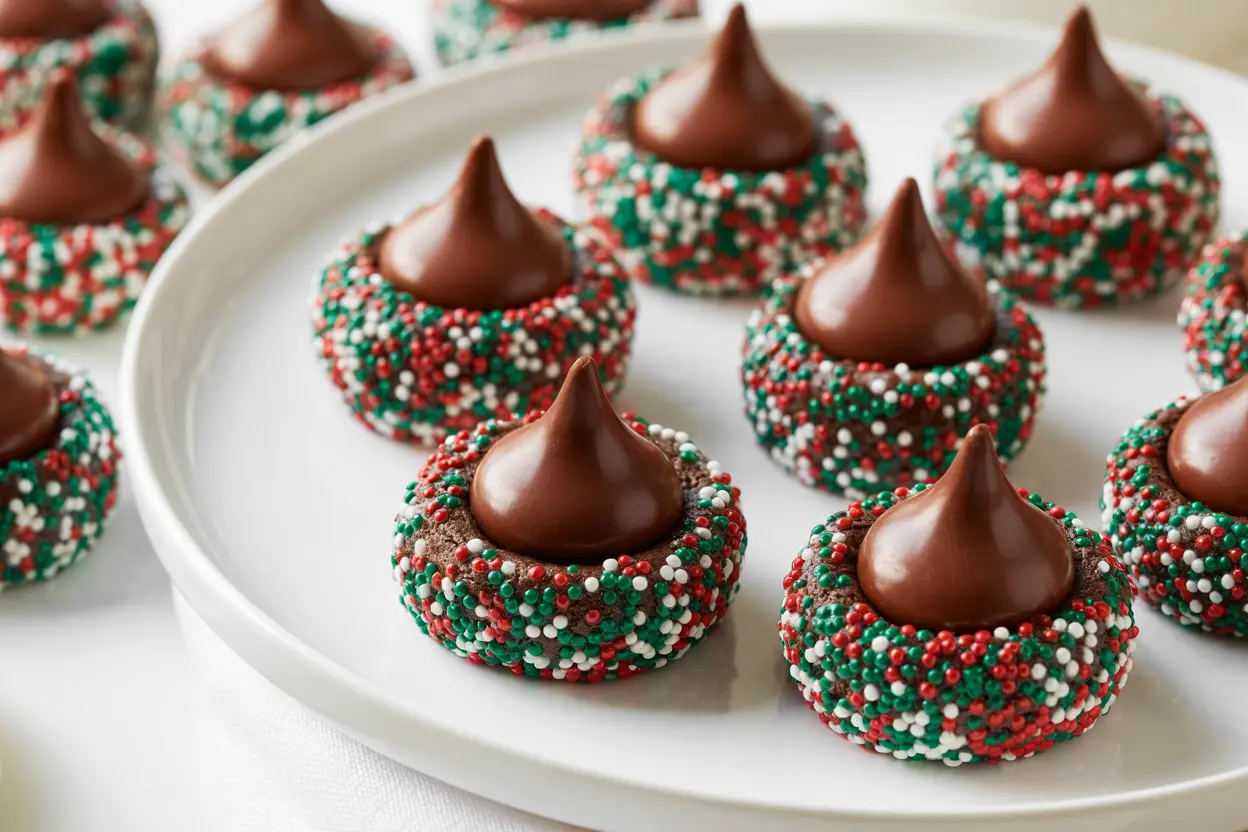
Craving a festive cookie that’s as fun to make as it is to eat? These Christmas Chocolate Kiss Cookies are the perfect blend of chewy, chocolatey goodness with a dazzling coat of red, green, and white sprinkles. Whether you’re prepping for a cookie exchange, a holiday party, or cozy nights by the fireplace, this recipe will quickly become a beloved tradition. With their eye-catching appearance and delightfully rich chocolate centers, these cookies bring pure joy to any Christmas celebration. Ready to bake a batch of merry magic? Let’s get started with this easy, festive, and utterly irresistible cookie recipe!
Table of Contents
What Makes These Cookies So Special During the Holidays
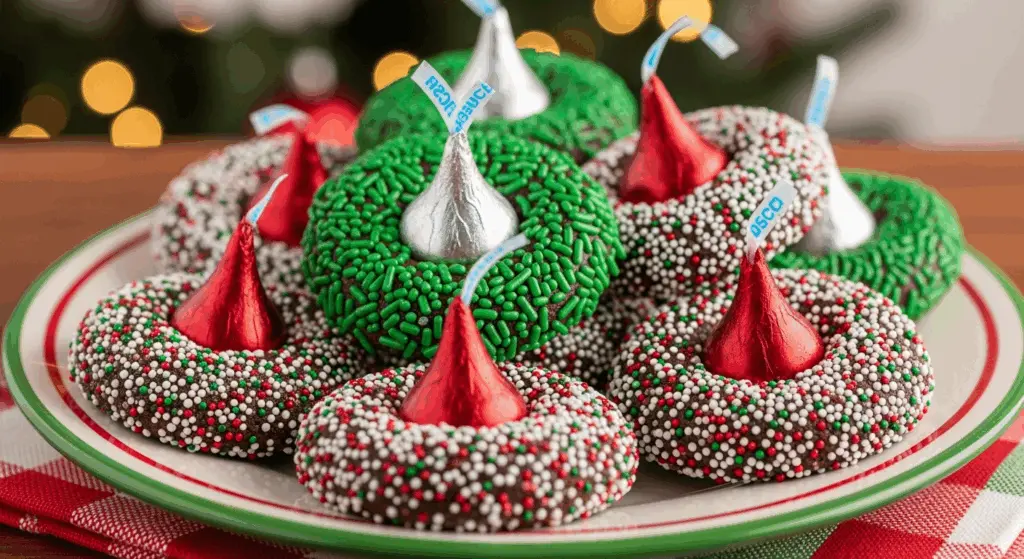
So, what makes Christmas Chocolate Kiss Cookies such a standout on any holiday table? It’s the playful combination of texture, color, and tradition. The fudgy chocolate base is soft and rich, but the sprinkles bring just the right amount of crunch and visual wow-factor. Then there’s that unmistakable Hershey’s kiss in the middle, melty when warm, firm once cooled, always a bite of bliss.
These cookies are also wonderfully versatile. You can roll them in red, green, and white nonpareils like the ones in the Festive Red and Green Crinkle Cookies or swap in mini sugar pearls for a snowball effect. They also adapt beautifully to themed sprinkles, try gold stars for New Year’s or blue and white for winter celebrations.
And while they look impressive, they’re incredibly beginner-friendly. Even kids love rolling the dough and pressing the kisses in once the cookies are out of the oven. You don’t need to be a seasoned baker to pull these off, and that’s what makes them so charming. Whether you’re baking your first batch or your fiftieth, these cookies deliver on flavor, fun, and festive cheer.
Secrets Behind the Best Holiday Kiss Cookies
The Key Ingredients You’ll Need for Perfect Kiss Cookies
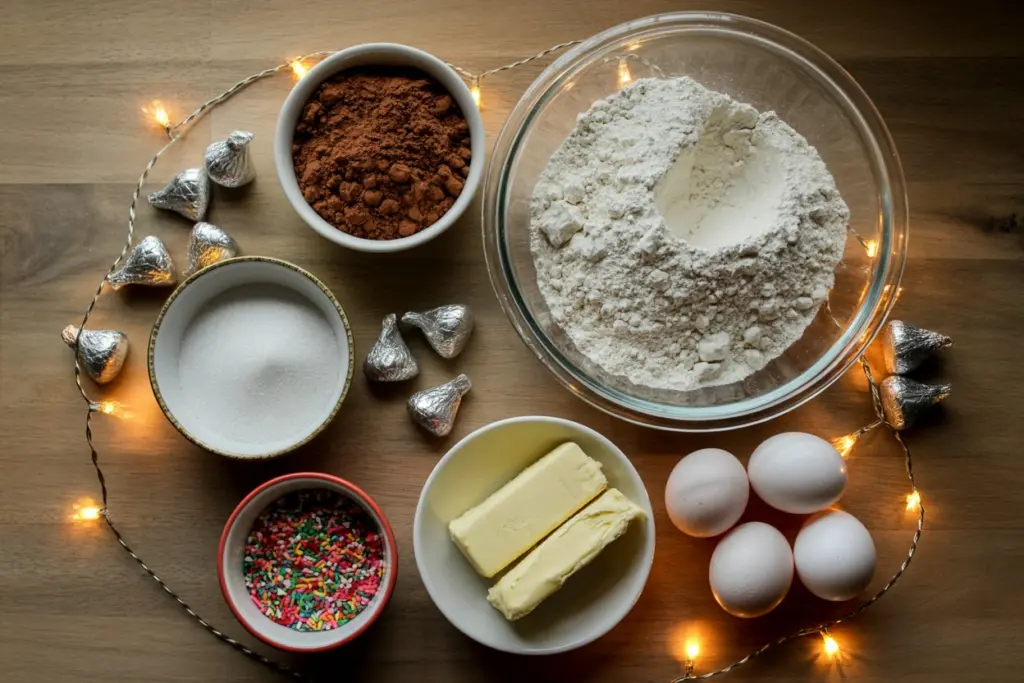
When it comes to nailing Christmas Chocolate Kiss Cookies, quality ingredients and a few thoughtful choices make all the difference. This dough isn’t complicated, but it’s intentionally crafted for a chewy, chocolaty texture that holds up to the sprinkles and kiss.
Here’s what you’ll need:
- Unsalted butter: Always start with softened butter. It’s the base of your flavor and texture.
- Granulated + brown sugar: The combo adds chewiness and depth. Brown sugar gives that soft, slightly caramel note.
- Eggs: Room temperature eggs bind everything and keep the dough rich.
- Cocoa powder: Use natural cocoa powder for a classic taste. Dutch-process gives a deeper flavor but changes the texture slightly.
- All-purpose flour, baking powder, and salt: The trio that builds the structure.
- Mini chocolate chips (optional): For extra chocolate inside.
- Sprinkles: Nonpareils work best, they stick well and hold shape.
- Hershey’s Kisses: Candy cane, milk chocolate, sugar cookie, or peppermint flavors all work great.
Just like the Caramel Stuffed Christmas Cookies, the magic happens in the balance of ingredients and timing. And if you want a cozy flavor twist, swap in maple extract like in these Maple Pecan Pie Cookies. It’s all about flavor freedom!
Smart Tips to Nail the Texture and Shape
These tips will help your holiday kiss cookies come out soft in the middle, with a kiss that doesn’t melt or slide off.
- Chill the dough: This is non-negotiable. Chill for at least 4 hours. Overnight is even better. It prevents spreading and gives the dough time to hydrate fully.
- Use the right cocoa: Natural cocoa keeps the texture lighter. Dutch-processed cocoa will make them darker and more brownie-like.
- Scoop evenly: Use a cookie scoop for consistent sizing (about 1.5 tablespoons per ball). Uneven sizes bake unevenly.
- Generously roll in sprinkles: Don’t skimp! Press the dough into the sprinkles to get them fully coated.
- Press the kiss right after baking: As soon as the cookies come out, press in the Hershey’s Kiss. Let them cool without moving until the chocolate sets.
Worried about the kisses melting or becoming too soft? Let them cool completely on the tray before transferring. That’s how I do it in my classes, and the results are picture-perfect every time, just like in these Pumpkin S’mores Cookies, where timing makes all the difference.
Step-by-Step Guide to Easy Christmas Kiss Cookies
How to Roll, Bake, and Press the Perfect Kiss Cookie
Baking Christmas Chocolate Kiss Cookies isn’t hard, but the magic is in the details. Follow this quick process and you’ll get soft, chewy centers, crisp sprinkle edges, and perfectly placed kisses every time.
1. Mix the Dough:
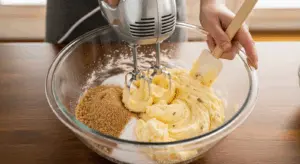
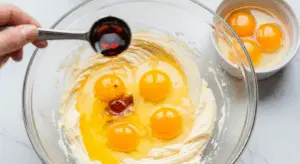
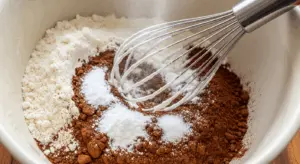
Start by creaming softened butter with granulated and brown sugars until light and fluffy. Add eggs one at a time, then stir in vanilla. In a separate bowl, whisk together flour, cocoa powder, baking powder, and salt. Gradually combine the dry ingredients with the wet, then fold in mini chocolate chips if using.
2. Chill the Dough:
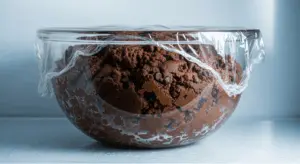
Cover your dough with plastic wrap and chill it for at least 4 hours. Overnight is ideal if you want those round, thick shapes. Just like in these Easy Pumpkin Pie Cookies, chilling prevents overspreading.
3. Preheat and Prep:
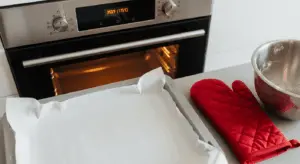
Preheat your oven to 350°F (175°C). Line baking sheets with parchment paper. Unwrap your Hershey’s Kisses now so they’re ready the second your cookies come out of the oven.
4. Scoop and Roll:
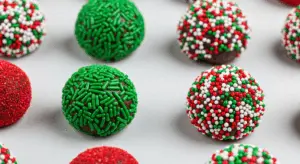
Scoop out 1.5 tablespoon-sized balls. Roll each dough ball between your palms until smooth, then roll generously in sprinkles or nonpareils. Press them in if needed so they stick well.
5. Bake and Kiss:
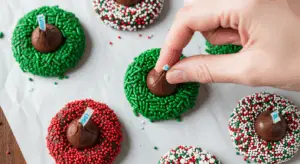
Bake cookies for 9-10 minutes until edges are set but centers are soft. Immediately press a chocolate kiss into the center of each cookie after removing from the oven. Don’t move them! Let them cool on the tray until kisses re-solidify.
Cookies like Peanut Butter Butterfinger Cookies also use this hot-press technique, it’s what keeps the center perfectly in place!
Common Mistakes and How to Avoid Them
Even easy Christmas cookies can go wrong without a little care. Here are the top mistakes to watch for, and how to fix them.
Overbaking:
These cookies bake fast. If you leave them in too long, they’ll dry out and lose their fudgy texture. Stick to 9-10 minutes and check early if your oven runs hot.
Skipping Chill Time:
Unchilled dough spreads too much, especially with butter-rich batters. It also won’t hold the sprinkle coating well.
Wrong Cocoa Powder:
Substituting Dutch-process cocoa for natural cocoa without adjusting leavening can make your cookies dense or bitter.
Melting Chocolate Kisses:
If the cookies are too hot when you add the kiss, it can melt and lose shape. Let them cool on the tray for 10-15 minutes without touching them.
Uneven Sizing:
Baking small and large cookies together means some will overbake. Use a scoop for uniformity.
Not Enough Sprinkles:
A light roll won’t hold up during baking. Press them in well, just like you’d do with Apple Pie Thumbprint Cookies that rely on coating for texture.
Creative Twists & How to Store Christmas Blossom Cookies
Storing Tips & Make-Ahead Instructions
One of the best things about Christmas Chocolate Kiss Cookies is how well they keep-making them perfect for prepping ahead, gifting, or shipping in cookie tins.
Once the cookies are completely cool and the Hershey’s Kisses have re-solidified, store them in an airtight container at room temperature. They’ll stay fresh for up to 5 days, and their flavor actually intensifies by day two.
For longer storage, freeze the fully baked cookies in a single layer on a baking sheet. Once frozen solid, transfer to a freezer-safe container with parchment between layers. When you’re ready to enjoy them, let them thaw at room temperature for 20-30 minutes.
Want to bake later? Roll the dough into balls (but skip the sprinkles), freeze on a tray, and then store in a zip-top bag. When ready to bake, let them thaw slightly, roll in sprinkles, and bake as usual.
If you’re mailing a cookie box or building trays for events, pair these kiss cookies with other sturdy favorites like Iced Ginger Molasses Cookies to keep the presentation colorful and crowd-pleasing.
Festive Variations & Decorating Ideas
Looking to make your chocolate kiss holiday cookies a little more fun? Here are some variations that make them stand out at any cookie exchange or dessert table.
Change the Kiss:
Instead of the classic milk chocolate, try:
- Candy Cane Kisses for a peppermint swirl
- Sugar Cookie Kisses for a white chocolate twist
- Hot Cocoa or Cherry Cordial Kisses for deep holiday flavors
Swap the Coating:
Use:
- Colored sanding sugar for sparkle
- Mini snowflake sprinkles
- Crushed peppermint for crunch
- Holiday jimmies or sugar pearls to match your holiday theme
Double the Dough:
Split the dough and tint one half with red or green food coloring. Swirl them together for a marbled holiday effect.
Turn Them Into Cookie Pops:
Roll the dough slightly smaller and insert a lollipop stick before baking. After baking and pressing the kiss in, you’ve got a chocolate blossom cookie pop, great for party favors.
These creative spins are a hit in my virtual cooking classes, especially with kids or themed parties. Just like how Gingerbread Cheesecake Cookies can be adapted for campfire nights or Halloween, your Christmas blossom cookies can reflect whatever holiday magic you want to create.

FAQs
What are Christmas Chocolate Kiss Cookies made of?
These cookies are made with a chocolate cookie dough base using cocoa powder, butter, sugar, eggs, flour, and baking powder. They’re rolled in festive sprinkles or powdered sugar, then topped with a Hershey’s Kiss right after baking. It’s the perfect balance of chewy texture, rich flavor, and classic holiday charm.
Can I use different sprinkles for Christmas Kiss Cookies?
Yes! Nonpareils, sanding sugars, and jimmies all work well. Just make sure the sprinkles are pressable so they adhere to the dough. For best results, choose small, colorful varieties that won’t melt in the oven. You can also theme them to match your celebration.
How do I keep the chocolate kisses from melting?
After baking, remove the cookies from the oven and immediately press the chocolate kisses into the center. Let them cool completely on the tray without touching or moving them. The residual heat softens the kisses, but they’ll firm up again in about an hour.
Can I make Christmas Kiss Cookies ahead of time?
Absolutely. You can make the dough up to three days in advance and keep it chilled. You can also freeze the dough balls or baked cookies.
There’s something downright magical about Christmas Chocolate Kiss Cookies, the sparkle of sprinkles, the scent of cocoa, the joy of pressing in that perfect Hershey’s Kiss. These cookies aren’t just about ingredients or steps; they’re about creating holiday traditions, one batch at a time.
Whether you’re hosting a cookie swap, building holiday gift boxes, or just enjoying a cozy baking day at home, this recipe brings simplicity, joy, and plenty of festive flavor to the table. Paired with Red Velvet Snowball Cookies or Christmas Sugar Cookies, your cookie tray will be unforgettable.
So tie on your apron, preheat the oven, and bring on the sparkle, your next batch of Christmas Chocolate Kiss Cookies might just become a tradition worth repeating every December.
