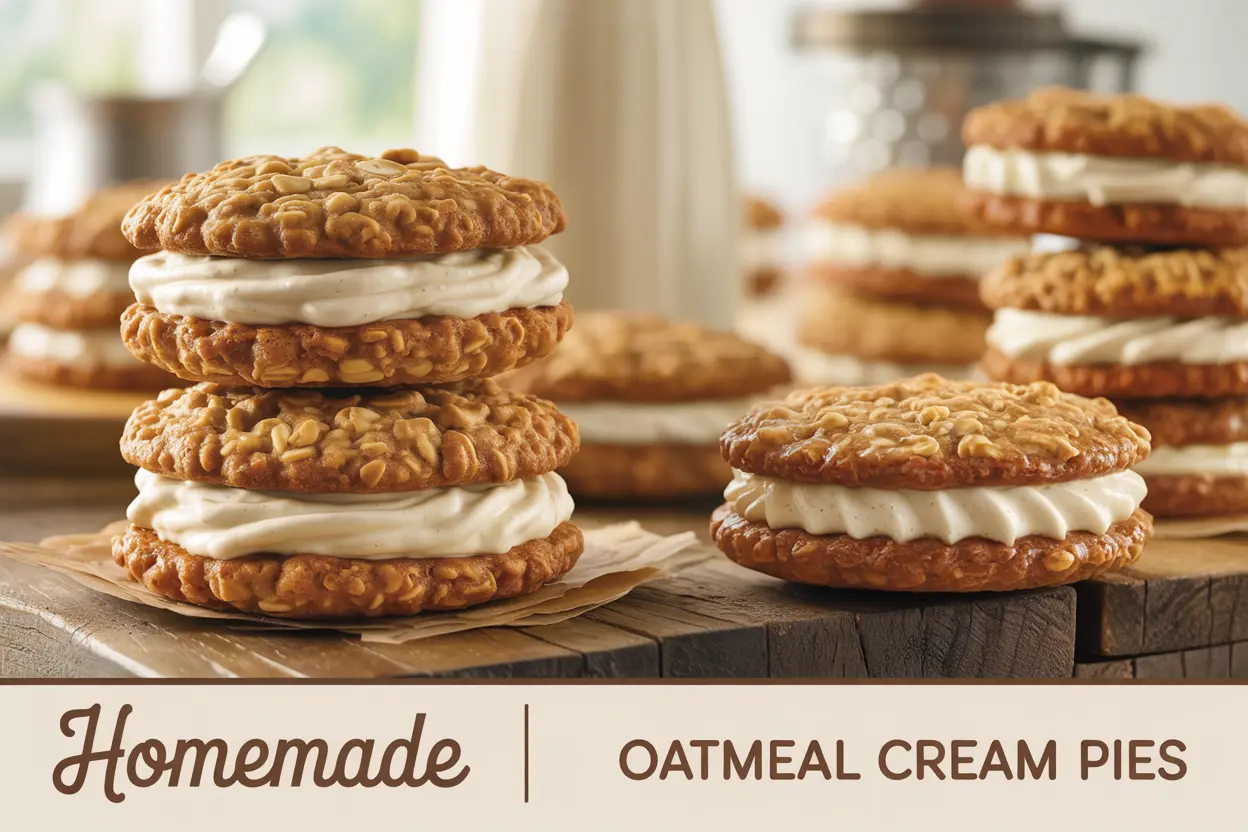
There’s something incredibly comforting about opening a lunchbox to find a soft, sweet oatmeal cream pie nestled inside. For many of us, these chewy, cream-filled cookies were the highlight of school days-indulgent, sweet, and oh-so-satisfying. But the store-bought version has nothing on the homemade kind.
These oatmeal cream pies are a nostalgic nod to childhood but made from scratch with real ingredients and a whole lot of love. Soft, cinnamon-kissed oatmeal cookies are sandwiched around a fluffy vanilla buttercream, making each bite a perfect balance of sweet and hearty. Whether you’re baking for your kids or simply craving a taste of simpler times, this recipe is the perfect family-friendly indulgence.
Drawing from your love for oat-based recipes (like the Peanut Butter Banana Oatmeal Bars, and Brownie Baked Oatmeal) and creamy desserts (like the Creamy Chocolate Chip Cheesecake Cookies ), these oatmeal cream pies are a must-try. Let’s get baking!
Table of Contents
Why You’ll Love This Recipe
- Soft and Chewy Cookies – Perfect texture thanks to butter, oats, and just the right bake time.
- Dreamy Vanilla Cream Filling – Sweet, smooth, and just the right amount of fluffy.
- Simple Ingredients – Everything is probably already in your pantry!
- Better than Store-Bought – No preservatives, just pure homemade goodness.
- Kid-Approved – A guaranteed hit for lunchboxes and after-school snacks.
What you will need + Substitutions
For the Cookies:
- 1 cup unsalted butter, softened
Substitute: Vegan butter for dairy-free. - ¾ cup light brown sugar
Adds a rich molasses flavor. - ½ cup granulated sugar
Can sub with coconut sugar. - 2 large eggs
Substitute: Flax eggs for egg-free version. - 1 tsp pure vanilla extract
- 1½ cups all-purpose flour
Substitute: Gluten-free all-purpose blend. - 1 tsp baking soda
- 1 tsp ground cinnamon
Optional: Add a pinch of nutmeg for warmth. - ½ tsp salt
- 3 cups oats (quick or old-fashioned)
Old-fashioned for chewier texture, quick oats for softer cookies.
For the Cream Filling:
- ¾ cup unsalted butter, softened
Substitute: Vegan butter works here too. - 2½ cups powdered sugar, sifted
Ensure smooth consistency. - 1 tsp vanilla extract
- 1 tbsp milk
Use almond or oat milk for dairy-free.

Step-by-Step Instructions & Pro Tips
Step 1: Prep the Oven
Preheat your oven to 350°F (175°C). Line baking sheets with parchment paper.
Tip: Use light-colored sheets to prevent overbaking.
Step 2: Cream the Butter and Sugars
In a large bowl, beat the softened butter with brown sugar and granulated sugar until light and fluffy (about 2-3 minutes).
Tip: Creaming incorporates air, helping cookies rise and stay soft.
Step 3: Add the Wet Ingredients
Beat in eggs one at a time, then mix in the vanilla extract.
Step 4: Mix the Dry Ingredients
In a separate bowl, whisk together flour, baking soda, cinnamon, and salt. Slowly add to the wet mixture, stirring just until combined.
Tip: Don’t overmix-this keeps the cookies tender.
Step 5: Stir in the Oats
Use a spatula to fold in the oats by hand. The dough will be thick-perfect for chewy cookies!
Step 6: Scoop and Bake
Drop dough by rounded tablespoons onto prepared baking sheets. Leave space between cookies-they’ll spread slightly.
Tip: For uniform pies, use a cookie scoop for even portions.
Bake for 10-12 minutes, or until the edges are golden. The centers should look just set. Let cool completely.
Make the Cream Filling
Step 7: Beat the Butter
Beat softened butter until fluffy (about 3 minutes). Gradually add powdered sugar, then mix in vanilla and milk until smooth.
Texture Tip: The filling should be thick yet spreadable. Add a few drops of milk if it’s too stiff.
Step 8: Assemble
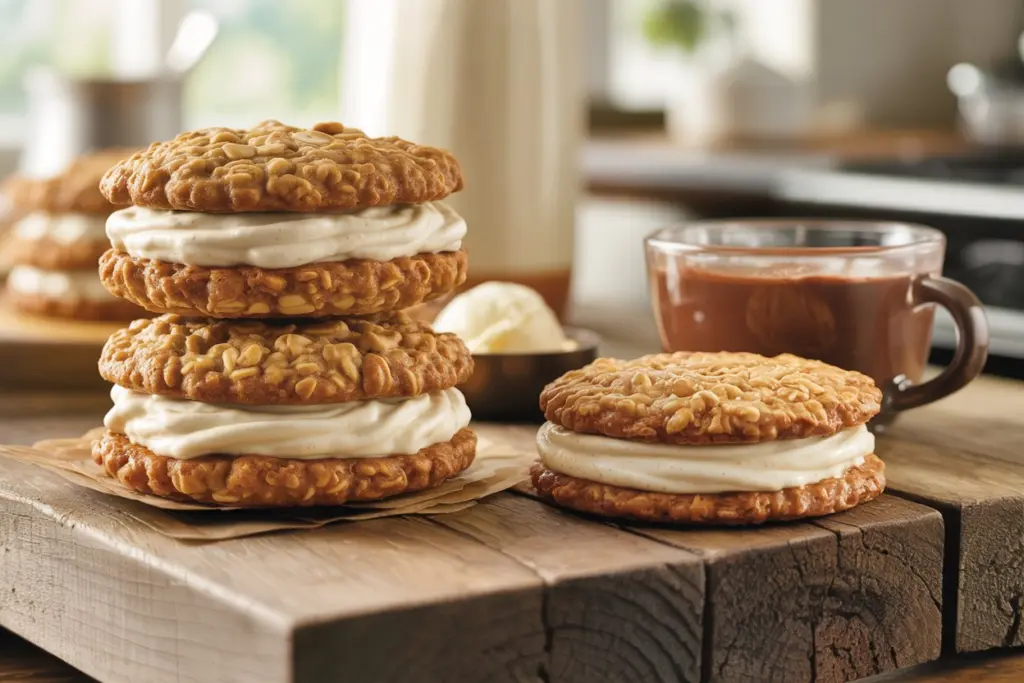
Spread or pipe cream filling onto the flat side of half the cookies. Top with remaining cookies to create sandwich pies.
Pro Tip: Chill for 10 minutes before serving for perfect bite consistency.
Topping & Variation Ideas
- Sprinkle Edges with Mini Chocolate Chips for fun!
- Powdered Sugar Dusting: Light and sweet for elegance.
- Chocolate Drizzle: Melted dark or white chocolate for decadence.
- Cinnamon Sugar Sprinkle: Warm and sweet for extra flavor.
- Add Raisins or Chopped Nuts to the cookie dough.
- Make a Chocolate Version – Mix 1 tbsp cocoa powder into the filling.
- Holiday Twist – Add pumpkin spice or swap the cream for marshmallow fluff!

Nutritional Information (Per Sandwich Cookie)
| Nutrient | Amount |
|---|---|
| Calories | 320 kcal |
| Carbohydrates | 40 g |
| Sugar | 24 g |
| Fiber | 2 g |
| Protein | 4 g |
| Fat | 14 g |
| Saturated Fat | 8 g |
| Unsaturated Fat | 5 g |
| Trans Fat | 0 g |
| Cholesterol | 50 mg |
| Sodium | 150 mg |
Storage & Reheating
- Room Temp: Store in an airtight container for up to 3 days.
- Fridge: Keeps well for 5-6 days. Let come to room temp before serving.
- Freezer: Freeze wrapped sandwiches for up to 2 months.
Thawing Tip: Let thaw in the fridge overnight or at room temp for 1 hour.
Ingredient Substitutions Recap
- Butter → Vegan Butter: Dairy-free richness for cookies and filling.
- Brown Sugar → Coconut Sugar: Natural sweetener alternative.
- All-Purpose Flour → Gluten-Free Flour: Dietary-friendly structure.
- Oats → Gluten-Free Oats: Hearty, allergy-friendly texture.
- Milk → Plant-Based Milk: Dairy-free filling consistency.
What to Serve It With
- Milk or Hot Chocolate – A kid’s dream treat!
- Iced Coffee – For adults reliving childhood with a grown-up twist.
- Fruit Salad – Balance out the sweetness.
- Vanilla Ice Cream: Creamy and cool for a dessert pairing.
- Pack in Lunchboxes – These are make-ahead lunch heroes!
FAQs
Are oatmeal cream pies overly sweet?
They’re sweet but balanced. You can reduce sugar by ¼ cup if desired.
Can I double the oatmeal cream pies recipe?
Yes! Easily double for bake sales, parties, or meal-prep snacks.
Can I freeze the assembled pies?
Absolutely. Wrap individually in plastic, then store in a zip bag.
How can I make dairy-free oatmeal cream pies?
Substitute plant-based butter and non-dairy milk. Works beautifully!
Can I make gluten-free oatmeal cream pies?
Yes! Use a gluten-free flour blend and ensure oats are certified GF.
There’s a reason oatmeal cream pies are such a beloved treat-they’re soft, sweet, and full of comforting nostalgia. This homemade version takes everything you love about the classic and makes it better with real, simple ingredients and a soft vanilla filling that’s hard to resist.
Whether you’re baking with your kids or just looking to treat yourself, this recipe brings a little joy to any day. Make a batch, share a smile, and rediscover the simple magic of a cookie sandwich. 🍪💛
Did you try this recipe? Leave a comment below or tag me on Facebook -I love seeing your baking creations!

