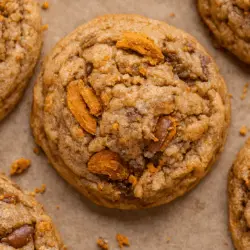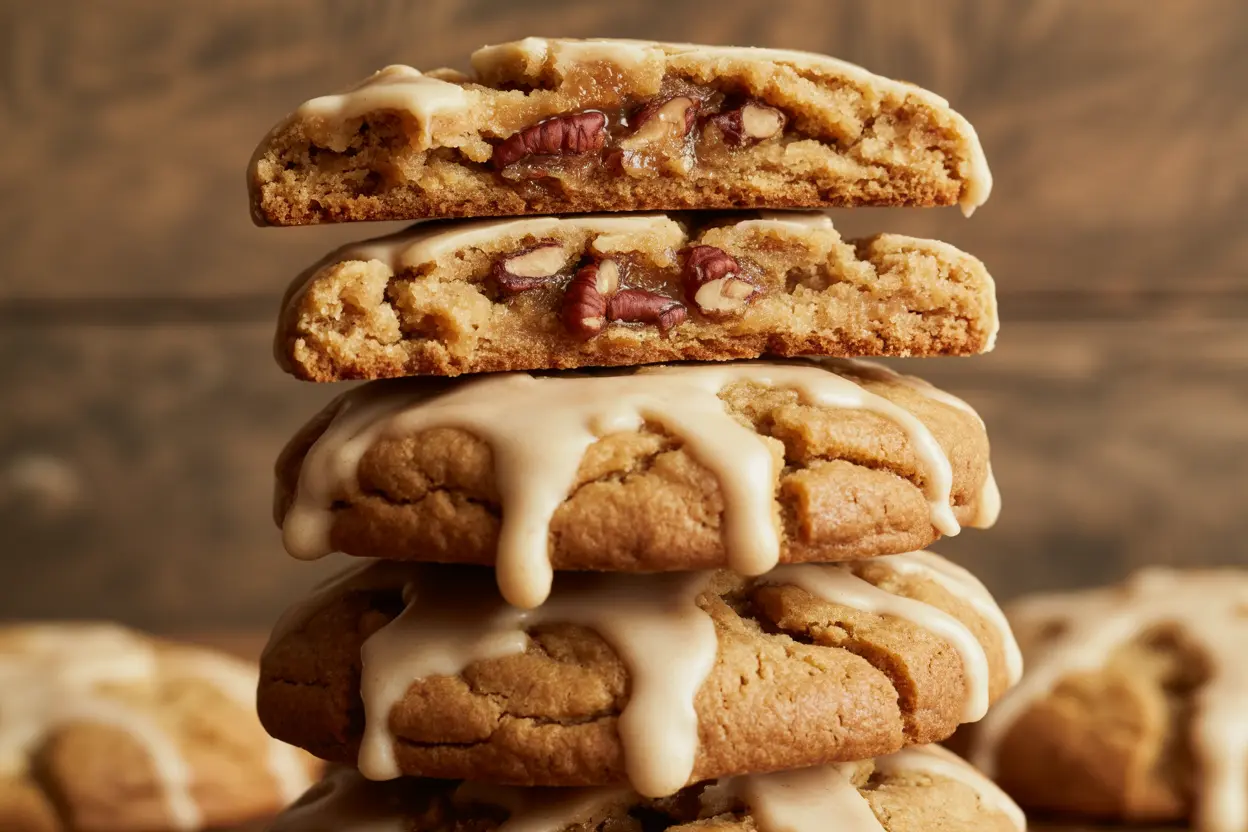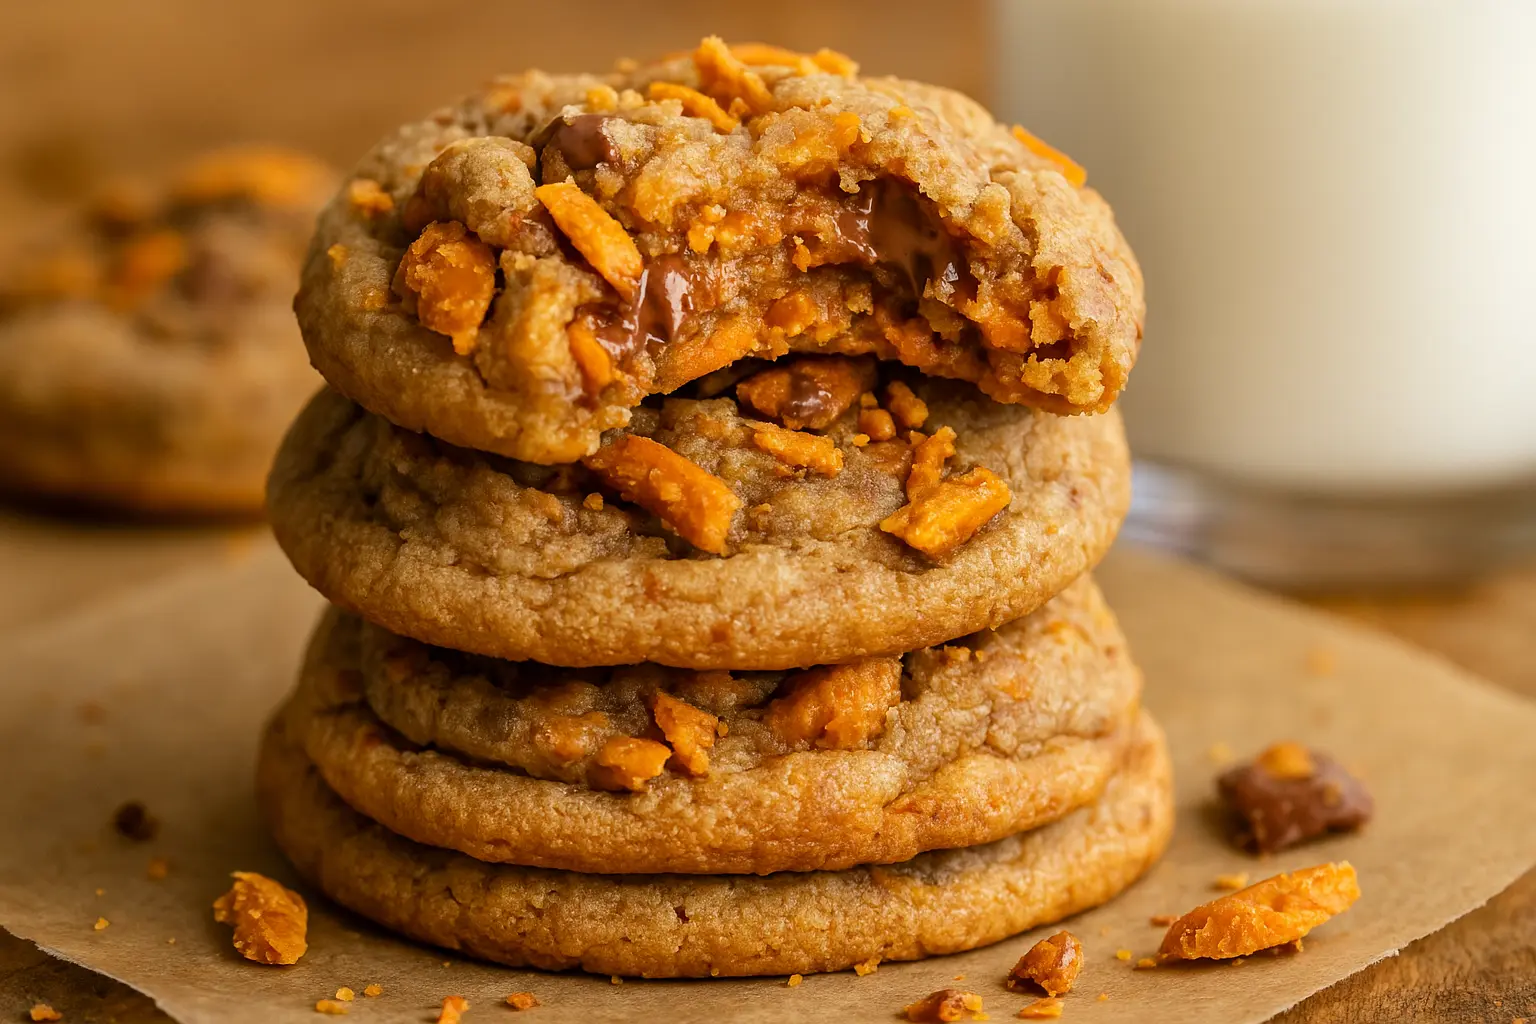
There’s just something thrilling about biting into a cookie that’s crispy on the edges, gooey in the center, and bursting with candy crunch. That’s exactly what these peanut butter Butterfinger cookies deliver. They’re not your average peanut butter cookie, they’re thicker, softer, and pack a serious punch of crispety, crunchety, peanut-buttery bliss. In this guide, I’ll walk you through the story behind this creation, how to prep like a pro, and tips to make your cookies look just like those drool-worthy stacks in the photos.
Table of Contents
The Magic of Butterfinger Bits in Cookies
Butterfingers are already amazing on their own, but when baked into cookie dough, they transform. During baking, the candy softens just enough to melt into the dough. But once cooled, they re-crisp, delivering that crunchy peanut brittle texture in every bite.
I like to use a mix of chopped full-size bars and pre-crushed baking bits. You’ll need about 16 ounces total. If you’re going with fun-size bars, that’s about 24 of them. Chop them a little unevenly, some larger chunks add visual appeal, while the finer crumbs melt into the cookie itself.
This cookie isn’t just about taste, it’s a texture masterpiece. The balance between thick, tender peanut butter cookie and the snappy candy crunch is downright addictive. And when you serve them alongside something cozy like my peanut butter banana chocolate chip cookies, and Peanut Butter Cups Chocolate Chip Cookie Bites they turn any dessert table into a peanut butter lover’s dream.
Ingredients & Smart Prep Tips
Choosing the Right Peanut Butter & Butterfingers
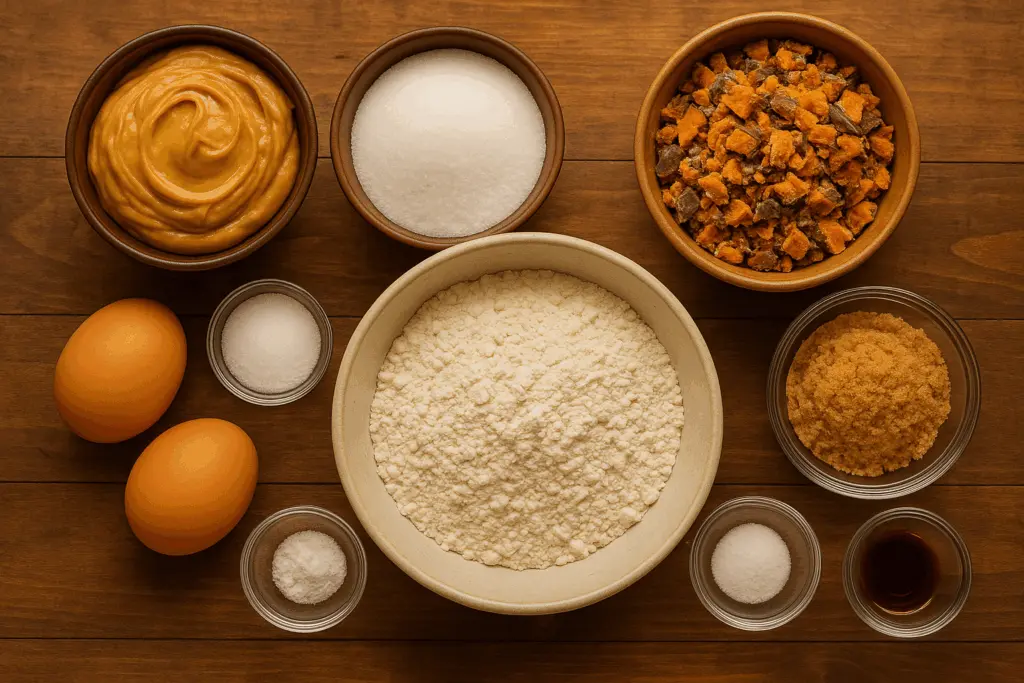
When it comes to nailing the flavor and structure of peanut butter Butterfinger cookies, your choice of ingredients truly matters. First, the peanut butter. Skip the natural or oily varieties, they’ll throw off the dough’s balance. You want classic, shelf-stable peanut butter like Jif or Skippy. The creamy consistency blends seamlessly and holds the cookie together with that rich, nostalgic peanut flavor.
As for the Butterfingers, you’ve got options. If you spot a bag of Butterfinger Baking Bits in the baking aisle, grab it. But if not, full-size bars work beautifully, just chop them yourself. For a full batch, aim for 16 ounces total. That’s:
- 2 bags of Butterfinger Bits (8 oz each),
- 24 fun-size bars (0.8 oz each),
- or 8 full-size bars (1.9 oz each).
The trick? Keep the pieces uneven. Let some chunks stay big so they melt into gooey pockets, while others break into smaller shards that crisp up beautifully. Just like I do in my peanut butter spider cookies, this layering of texture adds magic to every bite.
Want to get creative? Swap in dark chocolate Butterfingers or mix with Reese’s Pieces for a colorful twist. But even plain, this combo of creamy peanut butter and caramelized candy crunch is gold.
How to Get That Perfect Soft-Center Texture
Let’s talk cookie chemistry. The goal here is a soft center with a chewy bite, and there are three essential techniques:
- Creaming the butter and sugar thoroughly – Beat until it’s fluffy and pale. This builds air into the dough for that light, bakery-style finish.
- Chill the dough – Just 15-30 minutes helps the fats firm up, which reduces spreading and enhances chewiness.
- Don’t overmix once the flour goes in – Once you add dry ingredients, mix until just combined. Overworking leads to tough cookies.
Bonus tip: Use a large cookie scoop and mound your dough high rather than wide. I do this in recipes like peanut butter sandwich cookies, and it guarantees thick cookies that don’t flatten into sad pancakes.
Want that bakery-style finish? Press a few extra Butterfinger bits on top of each dough ball before baking. It gives the cookies that perfect candy-crusted look and adds even more crunch.
Baking Tips to Make Them Extra Gooey
The Creaming Method Done Right
If you’ve ever wondered how bakeries get that fluffy-yet-dense cookie texture, it all starts with creaming. This isn’t just tossing butter and sugar into a bowl, it’s a process. Take softened butter (not melted) and beat it with white and brown sugar for at least 2-3 minutes. You’re not just combining; you’re incorporating air. This step gives your peanut butter Butterfinger cookies that melt-in-your-mouth feel without being cakey.
Once your butter-sugar mixture is fluffy and pale, stir in peanut butter, egg, and vanilla extract. This base becomes ultra-rich and smooth. Then, you’ll add your dry ingredients, flour, baking soda, baking powder, and salt, right into the wet mix. No need for a separate bowl, just sprinkle them over the top and stir gently until just combined.
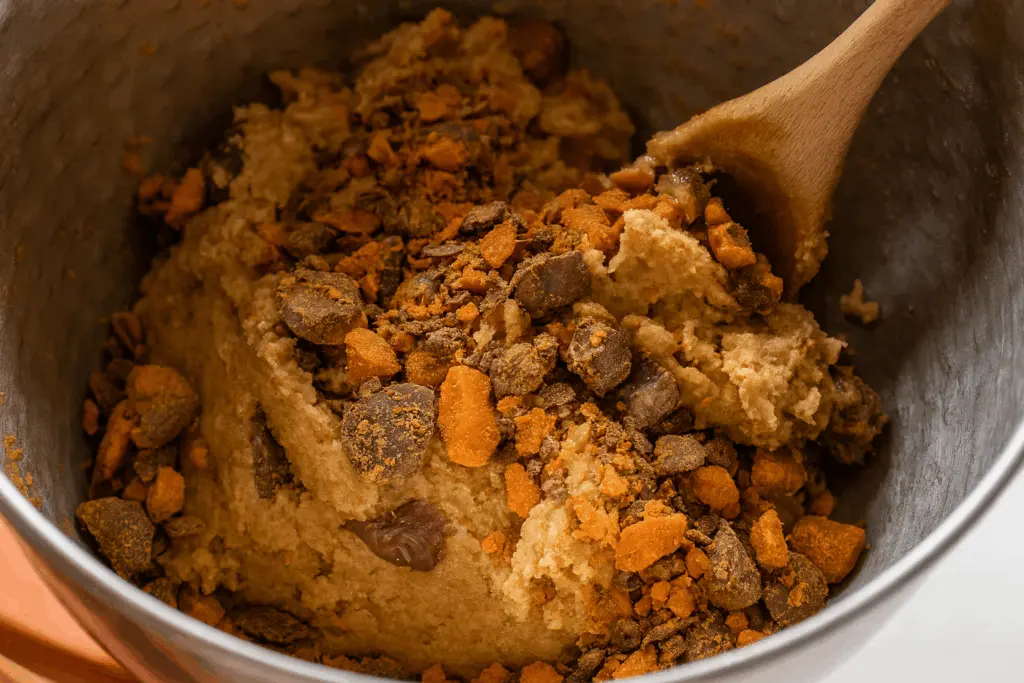
Right before everything comes together, fold in your chopped Butterfingers or bits. The dough will be thick, slightly sticky, and full of golden candy chunks. You’ll know it’s right when it smells like a candy shop and holds shape when scooped. Just like my peanut butter brownies, this mix gets even better with a short rest in the fridge for 15 to 30 minutes is all you need.
Avoiding Spread: How to Shape and Cool Correctly
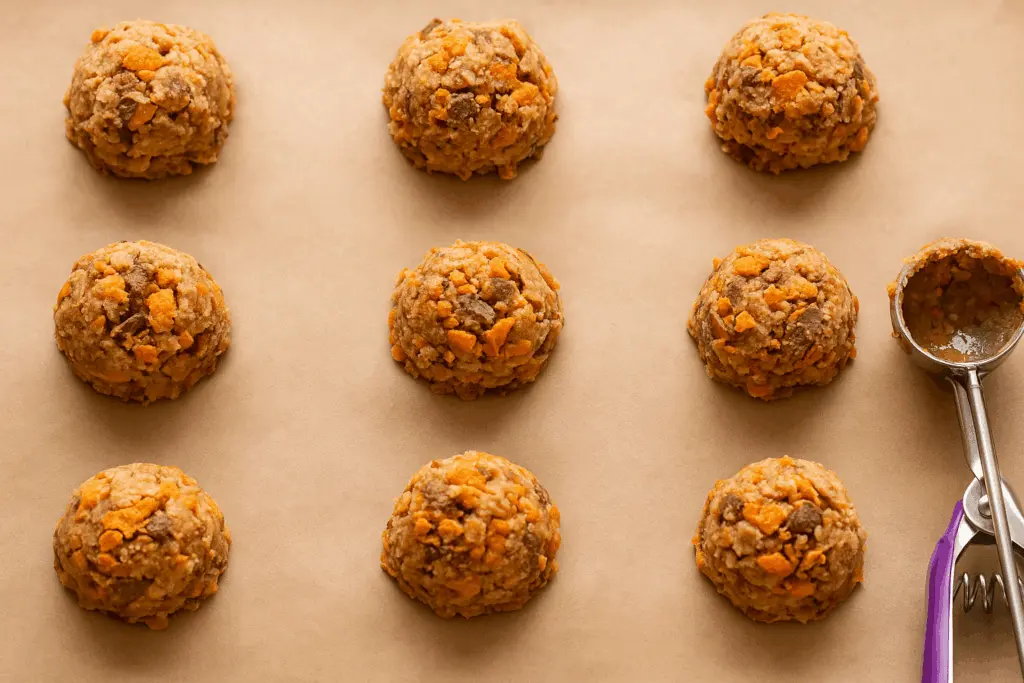
Here’s a trick I swear by: scoop the dough tall, not wide. A high mound of dough helps create that dreamy contrast, crispy edges with a thick, gooey center. Use a large cookie scoop or just overfill a standard one. Each mound should be about 2 inches tall.
Before you bake, press a few extra Butterfinger pieces into the tops of the dough. Not only does it add texture, but it also gives that signature bakery-style look. I do the same thing in my chocolate peanut butter cookies and it makes a huge difference in appearance.
Bake at 350°F for 9-11 minutes. Pull them out when the edges are just set but the centers still look a little underdone. That’s the sweet spot. If they didn’t spread enough, gently press them down with a spatula right out of the oven to shape.
Cool on the pan for at least 5 minutes before transferring. Why? Because Butterfinger bits get chewy while hot. Once cooled, they crisp up again and deliver that crunchety texture you’re after.
This method guarantees cookies that look just like the ones in the photo, thick, packed with candy, and irresistibly chewy.
Storage, Freezing & Reheating
Can You Freeze Peanut Butter Butterfinger Cookies?
Absolutely! and you should. These peanut butter butterfinger cookies freeze beautifully both before and after baking. If you love prepping ahead or saving treats for later, here’s how to do it right.
To freeze the dough:
Scoop dough into balls and place on a baking sheet lined with parchment paper. Freeze until solid, then transfer to a zip-top bag. Label and date it, your future self will thank you. Dough lasts up to 3 months in the freezer.
When you’re ready to bake, no need to thaw. Just place frozen cookie dough balls on a lined baking sheet and bake at 325°F for 12-14 minutes. This slightly lower temp gives the dough time to spread slowly while the center stays gooey.
To freeze baked cookies:
Let the cookies cool completely, then layer between sheets of parchment paper in an airtight container or freezer bag. They’ll keep their chewy texture for up to 2 months. Reheat in the microwave for 10-15 seconds or pop into a 300°F oven for 5 minutes for that fresh-baked vibe.
I do the same with my Pumpkin S’mores Cookies and trust me, the results are just as incredible as day one.
Best Way to Store and Reheat for Maximum Crunch
To keep peanut butter butterfinger cookies chewy on the inside and crisp on the edges, store them properly. Place them in an airtight container at room temperature with a slice of sandwich bread-yes, bread! The cookies pull moisture from the bread to stay soft for up to 5 days.
If you’re in a humid climate, line the container with a paper towel to absorb excess moisture. For best texture, don’t stack cookies directly-use parchment between layers.
When it’s time to enjoy them again, avoid the microwave if you want to keep the crunch. Instead, try a quick oven warm-up. Preheat your oven to 300°F and warm the cookies for about 5 minutes. It revives the Butterfinger crunch without drying out the cookie.
Cookies made this way don’t just taste good-they feel good to bite into. Just like my peanut butter and jelly cookies, they hit that perfect soft-crisp balance every time.
Serving Ideas
These peanut butter Butterfinger cookies are fantastic on their own, but if you want to take dessert to the next level, here are a few delicious ways to serve them:
- Cookie Ice Cream Sandwiches: Scoop vanilla or chocolate ice cream between two cookies and freeze for 15 minutes. A drizzle of melted chocolate seals the deal.
- Crumbled Over Ice Cream: Chop a few cookies and sprinkle over a bowl of peanut butter swirl or vanilla bean ice cream for a crunchy surprise.
- Dunked in Hot Chocolate or Coffee: The cookies soften slightly and melt in your mouth, ideal for a cozy evening treat.
- Stacked on a Dessert Tray: Pair them with Fudgy Brownie Cookies and Halloween Cookies for a show-stopping cookie platter.
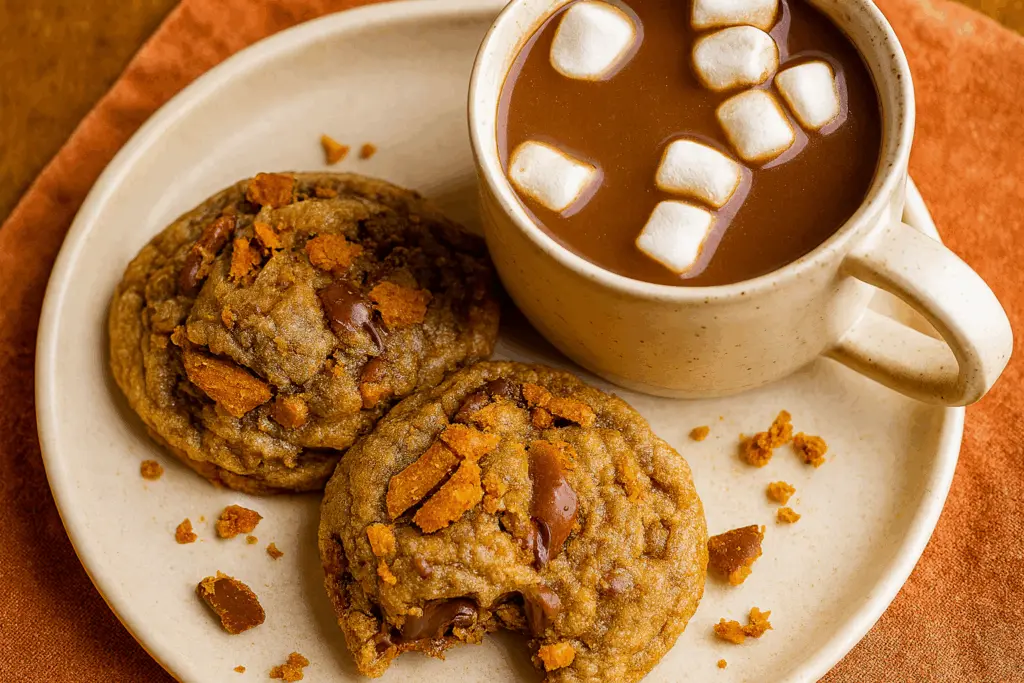
Whether you’re baking ahead for a holiday, gifting them in a tin, or devouring them warm from the oven, these cookies are a standout crowd-pleaser.
FAQs
What makes Butterfinger peanut butter cookies chewy and soft?
The key lies in two techniques: properly creaming the butter and sugar, and chilling the dough. Creaming incorporates air for softness, while chilling helps control spread and keeps the center gooey. Also, using a mix of brown and white sugar adds both chew and crispness.
Can I use Butterfinger baking bits instead of candy bars?
Absolutely. Butterfinger baking bits are simply chopped candy bars repackaged, same ingredients, same flavor. If you can’t find them, crush full-size bars or even fun-size ones. Just aim for about 16 ounces total for a full batch of cookies.
Do Butterfinger peanut butter cookies need to be refrigerated?
Nope. Once baked, they don’t need refrigeration. Just store them in an airtight container at room temperature for up to 5 days. Add a slice of bread to the container to keep them soft, or layer with parchment to preserve their texture.
Can you freeze peanut butter Butterfinger cookie dough?
Yes! Roll the dough into balls, freeze on a baking sheet, then transfer to a zip-top bag. Bake directly from frozen by adding 1-2 extra minutes. You can also freeze baked cookies for up to 2 months, making them a perfect make-ahead treat.
These peanut butter Butterfinger cookies aren’t just a twist on a classic, they’re the kind of cookie that turns heads and starts conversations. They blend everything I love about home baking: rich peanut butter flavor, candy-bar texture, and a whole lot of joy in every bite.
I hope you give this recipe a try and make it your own. Whether you’re baking them for a crowd, stashing some in the freezer for late-night snacks, or pairing them with peanut butter sandwich cookies, you’re in for a sweet experience.
Stay curious in the kitchen, and don’t forget, it’s okay to get a little messy. That’s half the fun.
