Stuffed peppers are more than just a comfort food-they’re a delicious blend of savory filling and sweet roasted pepper that brings joy to any dinner table. Whether you’re feeding a crowd or meal prepping for the week, stuffed peppers are endlessly versatile and surprisingly simple to master. In this article, I’ll guide you through the story behind this dish, break down key preparation steps, explore filling ideas, and share tips to make your peppers unforgettable. If you’ve ever wondered what stuffed peppers are made of or how to get the perfect roast, you’re in the right place.
Table of Contents

Stuffed Peppers
Ingredients
- 1 lb 90% lean ground beef
- 1¼ tsp salt, divided
- ¼ tsp baking soda
- 3 red, yellow, or orange bell peppers, halved and cored
- 3 tbsp extra-virgin olive oil
- 1 medium yellow onion, finely chopped
- 3 cloves garlic, minced
- 1½ tsp chili powder
- ½ tsp ground cumin
- ¼ tsp dried oregano
- 1 (8 oz) can tomato sauce
- 1 cup cooked rice, quinoa, or grain
- 1½ cups shredded Monterey Jack or Cheddar Jack cheese
Instructions
- Preheat oven to 425°F. Line a baking dish and place peppers cut side up. Drizzle with oil and roast for 20 minutes.
- Mash beef with salt and baking soda. Let sit for 20 minutes
- Sauté onions and garlic, then cook beef with spices. Stir in tomato sauce and grains. Add ¾ cup cheese and mix.
- Fill roasted peppers with meat mixture, top with remaining cheese, and bake for 10-15 minutes until bubbly.
The Story Behind My Favorite Stuffed Peppers Recipe
The first time I made stuffed peppers
Growing up, I always thought stuffed peppers looked too fancy to tackle. But one rainy night in Asheville, I noticed a few wilting peppers in my crisper. I had leftover rice, some seasoned ground beef, and a craving for something cozy. So, I hollowed out the peppers, tossed together a simple filling, and baked them until the tops caramelized and my kitchen smelled like something out of a home-cooking show. That first bite? Pure comfort.
That experience sparked a long obsession with stuffed peppers. Over the years, I’ve tested everything from plant-based fillings to protein-packed blends. You can even take inspiration from these stuffed chicken thighs with mozzarella if you’re craving something cheesy and bold.
Today, stuffed peppers are a go-to in my home kitchen. Whether I’m prepping meals for the week or entertaining, they check all the boxes: nutritious, colorful, and deeply satisfying. Their versatility makes them a great blank canvas for flavor, similar to dishes like spicy ground beef fajita rice bowls that let you customize based on your pantry staples.
What are stuffed peppers made of?
At their simplest, stuffed peppers start with bell peppers that are hollowed out and filled with a seasoned blend of cooked grains, protein, vegetables, and sometimes cheese. The filling options are endless, but the goal is always balance-something savory, hearty, and satisfying. As the peppers bake, they become tender and sweet, creating the perfect contrast to the bold fillings.
Here’s a breakdown of classic stuffed pepper ingredients:
| Ingredient | Purpose |
|---|---|
| Bell Peppers | The edible vessel, roasted to perfection |
| Cooked Rice or Quinoa | Adds texture and makes the filling hearty |
| Ground Beef, Turkey, or Sausage | Brings protein and richness |
| Tomato Sauce or Diced Tomatoes | Adds moisture and acidity to balance flavors |
| Shredded Cheese | Melts into the filling or creates a golden top |
Looking to change things up? Try a comfort-forward twist like this hearty cheesy ground beef rice casserole, which brings the same soul-warming vibes in a different form.

Why this recipe works
What makes this stuffed peppers method shine is pre-roasting the peppers before filling them. Just 10 minutes in the oven gives them a head start and prevents that undercooked crunch. Meanwhile, the filling stays juicy without making the pepper collapse.
They’re also great for make-ahead meals and leftovers. Just like savory Italian meatloaf, stuffed peppers hold up beautifully in the fridge or freezer and taste even better the next day.
Prepping the Peppers and Getting the Filling Right
Should you boil peppers before stuffing them?
It’s a question that comes up all the time-and it’s easy to see why. You want your peppers soft enough to slice with a fork but sturdy enough to hold all that filling. The short answer? You don’t need to boil stuffed peppers if you pre-bake them instead.
Boiling can make peppers watery and strip them of their natural sweetness. A better option is to roast the hollowed-out peppers in the oven at 375°F for 10-12 minutes before adding the filling. This gives them a head start without making them fall apart.
If you prefer a slight crunch, skip this pre-bake step. But for that perfectly tender texture, a quick roast is my go-to move. It gives you better results, just like the initial sauté does in this beef and broccoli noodle stir-fry, where every component gets layered flavor through heat.
For a shortcut, you can microwave the halved peppers for 3 minutes covered with plastic wrap. It’s not as flavorful as roasting, but it works when you’re in a hurry.
What fillings can you put in stuffed peppers?
Here’s where the creativity shines. The beauty of stuffed peppers is that the filling is endlessly customizable. As long as you include a base, a binder, and something flavorful, you’re good to go.
You can go classic with rice, ground beef, and tomato sauce-or modern with couscous, black beans, and shredded chicken.Want to keep it vegetarian? Try quinoa, sautéed mushrooms, zucchini, and feta. Looking for low-carb? A flavorful combo like ground turkey tossed with cauliflower rice also works great for a lighter option.
Below is a cheat sheet to help you mix and match:
| Base | Protein | Add-ins | Flavor |
|---|---|---|---|
| Rice, Quinoa, Orzo | Ground Beef, Turkey, Lentils | Onions, Corn, Spinach | Tomato Sauce, Garlic, Herbs |
| Cauliflower Rice | Shredded Chicken, Beans | Mushrooms, Zucchini | Cheddar, Mozzarella, Feta |
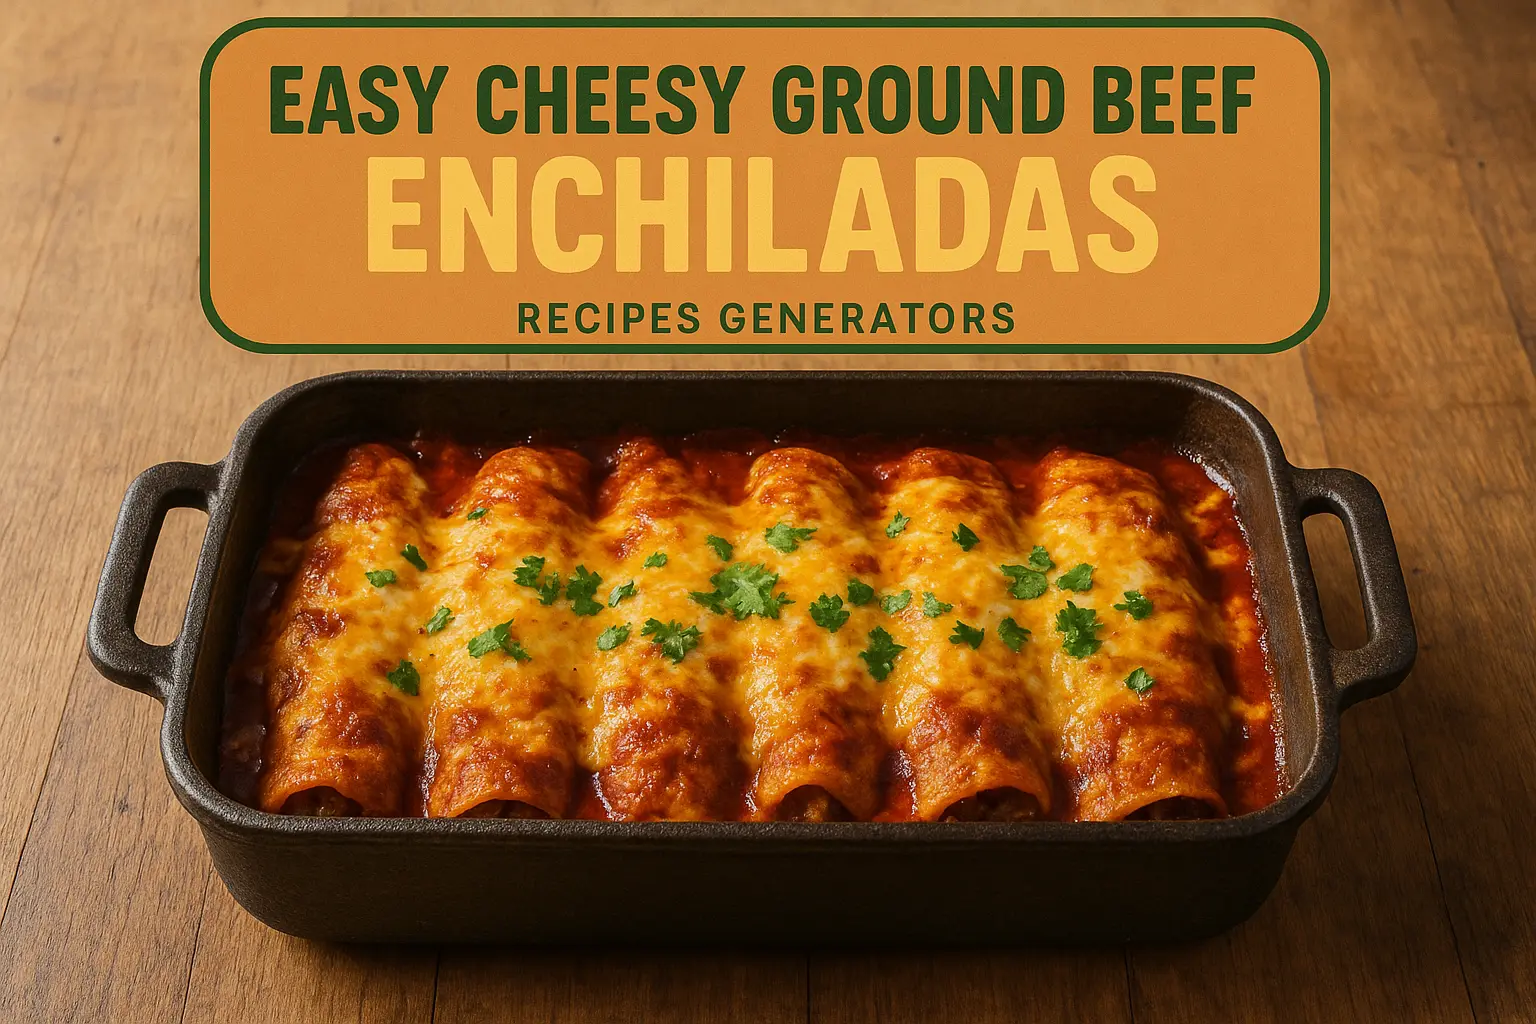
Need more dinner inspiration? These cheesy beef enchiladas use a similar flavor base and can be repurposed as a delicious pepper filling. Likewise, the ground beef and sweet potato skillet offers a sweet-savory combo that works great when tucked inside a roasted bell pepper.
Stuffed peppers are also freezer-friendly. You can prep the peppers in advance, stash them in the freezer unbaked, and slide them into the oven whenever it’s time to cook. They make weeknight dinners just as effortless as prepping a tray of buffalo chicken cheesesteak stuffed shells-high reward with minimal fuss.
How to Make Easy Stuffed Peppers Step-by-Step
Step-by-step method for the perfect stuffed peppers
Making easy stuffed peppers doesn’t require fancy tools or culinary school skills. It just takes a few steps and a bit of layering to get them from basic to beautifully bold.
Here’s the process I use in my kitchen:
- Pick the right peppers: Choose firm, large bell peppers that sit upright on their own. Red and yellow are sweeter, while green gives a sharper, more savory bite.
- Prep and roast: Cut the tops off, remove seeds and ribs, and lightly coat with olive oil. Roast the empty peppers at 375°F for about 10 minutes. This softens them slightly without making them mushy.
- Make the filling: In a skillet, cook your protein (ground beef, turkey, sausage, or beans) with aromatics like onions and garlic. Add in your base (rice, quinoa, etc.), chopped veggies, seasonings, and a spoonful of tomato sauce or broth to bring it all together.
- Stuff and top: Fill each pepper to the brim, then top with shredded cheese or a spoonful of extra sauce.
- Bake: Slide the stuffed peppers back into the oven and bake for 20 to 25 minutes, just until the cheese turns gooey and the centers are hot.

This technique is just as beginner-friendly as my savory Italian meatloaf, and it works every single time. Just don’t forget to tent with foil if the cheese is browning too quickly!
Flavor layering for maximum impact
Here’s the secret sauce (literally and figuratively): season each layer. From the sautéed onions to the grain base, a little salt, pepper, and herbs at each step make the whole dish pop.
Use bold cheeses like feta or sharp cheddar to bring depth. Try using smoked paprika or red pepper flakes for a subtle kick that deepens the flavor. And don’t underestimate fresh herbs-chopped parsley or basil added after baking lifts everything.
If you’re a fan of building flavor fast, you’ll love techniques used in this cheesy ground beef casserole where layers of ingredients meld into something greater than the sum of their parts.
Planning to make a bigger batch for company or weekly meals? Double the batch and serve alongside a dish like stuffed chicken thighs for a complete dinner spread. You can even bake them in a slow cooker if you want a hands-off approach.
| Step | Key Tip |
|---|---|
| Choose peppers | Look for ones that stand upright |
| Pre-roast | Bake 10 min before stuffing |
| Build your filling | Layer flavors-don’t skimp on seasoning |
| Top and bake | Cover with foil if cheese browns too fast |
Flexible, flavorful, and totally doable-that’s exactly what home-cooked meals are meant to be.
How to Store and Reheat Stuffed Peppers (without Losing Flavor)
Smart Make-Ahead Tips
If you’re planning ahead for busy nights, these stuffed peppers are a real lifesaver. After filling them, tuck each one into foil and store in a container that’s safe for freezing. When it’s time to cook, skip the thawing and slide them into a 375°F oven for 45 to 50 minutes. I do the same prep-ahead trick with my go-to easy chicken pot pie crock pot recipe, which helps make my weeknights stress-free.
When it’s time to reheat, skip the thawing. Just place the frozen peppers in a preheated oven at 375°F for 45 to 50 minutes. They come out piping hot with crispy cheese and tender filling. You can even portion out single servings for easy grab-and-go lunches. Try pairing your frozen peppers with something like this easy Mexican cornbread for a balanced, flavor-packed meal that reheats beautifully.
Reheating Without Drying Out
Reheating stuffed peppers without drying them out is a common concern, but it’s easy to fix. Just drizzle a little broth or sauce over the top before warming-it helps reintroduce moisture. If you’re using the microwave, loosely cover the dish with a microwave-safe lid or a damp paper towel to trap steam and keep the filling soft and flavorful. For the oven, tent the dish with foil and bake at 325°F for about 20 minutes until everything is warmed through.
This gentle reheating approach works beautifully for other moisture-sensitive meals too, like my garlic parmesan chicken meatloaf, where keeping that tender texture is key.
Frequently Asked Questions (FAQs)
How long can you freeze stuffed peppers before they go bad?
In my kitchen, I’ve discovered that frozen stuffed peppers can last up to 3 months while retaining their fresh taste. To ensure they remain tasty, I always store them tightly in sturdy, freezer-safe containers. They make wonderful, flavorful meals ready to heat and enjoy anytime.
Do you thaw stuffed peppers before reheating?
Defrosting is not necessary.
You can reheat them directly from frozen. Pop them into a preheated oven set at 375°F for 45 to 50 minutes to ensure the stuffing stays tender and the cheese melts nicely.
Can I microwave frozen stuffed peppers?
Yes, but be cautious.
Cover the pepper with a microwave-safe cover or a damp paper towel before heating it on medium power to prevent it from drying out.
How do I keep stuffed peppers from getting soggy when reheating?
To prevent sogginess, use a small amount of broth or sauce, reheat covering them to trap the steam, and avoid making them overly moist to maintain their texture.
Oven reheating tends to work better at preserving the texture.
Conclusion: The Secret to Effortless Reheats
Reheating stuffed peppers doesn’t have to be a guessing game. With a little attention to moisture and temperature, they can be just as comforting the second time around as they were fresh from the oven. Whether you’re microwaving one for a solo lunch or warming a batch in the oven for a family meal, taking the right steps makes all the difference in taste and texture.
Pair your perfectly reheated peppers with something fresh and flavorful like this Tex-Mex Quinoa Bowl with Guacamole Drizzle to round out the meal. It’s a vibrant, nutrient-packed combo that adds color and zing to your plate-proof that even freezer meals can feel like a celebration.