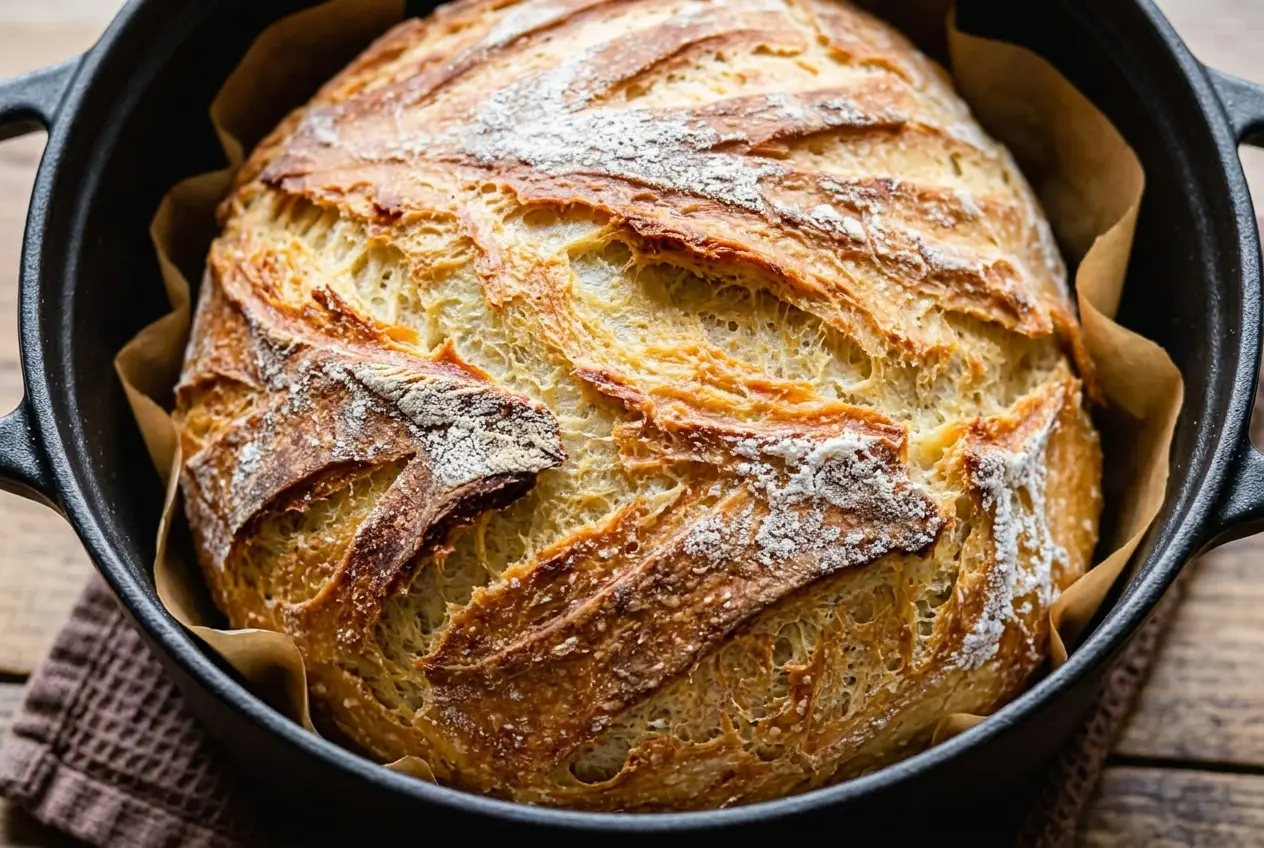
If you have sourdough discard sitting in your refrigerator, don’t throw it away! This sourdough discard bread is one of the easiest ways to turn leftover starter into a beautiful homemade loaf. It has a crisp, golden-brown crust, a tender chewy crumb, and that rustic bakery-style appearance you can see in the photos.
The best part? You don’t need a stand mixer, complicated sourdough techniques, or hours of kneading. A little active dry yeast gives the dough reliable lift, while the sourdough discard adds extra flavor and moisture.
This is a wonderfully forgiving recipe for beginners, yet the finished loaf looks impressive enough to serve with a family dinner, soup, pasta, or a weekend breakfast.
For more Sourdough Discard Recipes Try our Peach Sourdough Quick Bread, Easy sourdough zucchini bread, or Easy Sourdough Discard Lemon Loaf.
Table of Contents
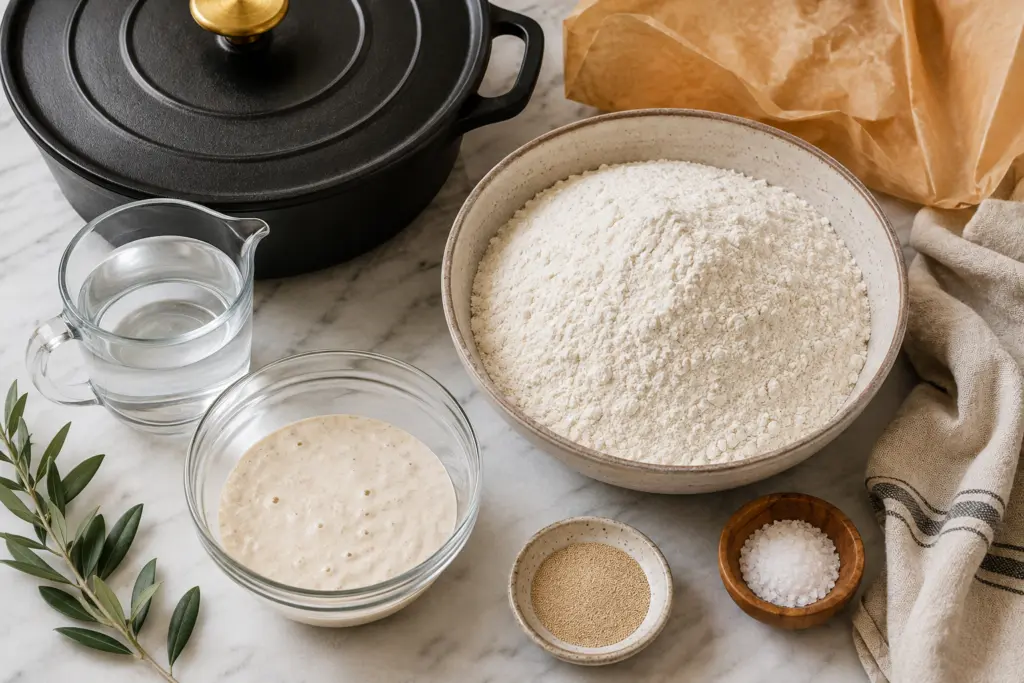
Ingredients You’ll Need
The ingredient list for sourdough discard bread is short and simple.
Water – Use 350 g water. The water shouldn’t be hot. Warm water helps the active dry yeast begin working without damaging it.
Active Dry Yeast – You’ll need 10 g active dry yeast. Because this recipe uses discard rather than relying entirely on natural fermentation, the yeast provides dependable rise and helps create a light, airy loaf.
All-Purpose Flour – Use 500 g all-purpose flour. All-purpose flour creates a soft, chewy interior while still producing a wonderfully crisp crust.
Salt – Add 10 g salt. It also helps control fermentation and contributes to the overall structure of the loaf.
Sourdough Discard – Finally, you’ll need 100 g sourdough discard. Discard is the portion of starter removed during regular feeding. It can add a pleasant tang and extra depth of flavor to baked goods.
Why a Dutch Oven Is Important
A Dutch oven is ideal for rustic bread because its heavy lid traps steam around the dough.
The result is a loaf with a beautifully crisp crust and better oven spring. The method is similar to other Dutch oven and discard-based bread techniques used by experienced bakers.
If you don’t own a Dutch oven, a heavy oven-safe pot with a secure lid can work as an alternative, provided it can safely withstand the required oven temperature.
How to Make Sourdough Discard Bread
Follow these seven straightforward steps.
Mix the Water, Yeast, and Discard
- Add the 350 g lukewarm water to a large mixing bowl.
- Sprinkle in the 10 g active dry yeast and stir briefly.
- Add the 100 g sourdough discard and mix until mostly combined.
- It doesn’t have to look perfectly smooth. A few small streaks of starter are completely fine.
Add Flour and Salt
- Add the 500 g all-purpose flour and 10 g salt.
- Use a wooden spoon or sturdy spatula to mix everything together.
- Keep stirring until there are no large patches of dry flour remaining.
- The dough will be sticky and shaggy. That’s exactly what you want.
- Don’t be tempted to keep adding flour. A wetter dough helps create a softer, more open crumb.
Let the Dough Rest
- Cover the bowl with plastic wrap, a reusable cover, or a clean kitchen towel.
- Leave it somewhere warm for approximately 60-90 minutes, or until the dough becomes noticeably puffy and increases in volume.
- The exact time will depend on your kitchen temperature.
- A warm kitchen may shorten the rising time, while a cool kitchen can make fermentation slower.
Shape the Dough
- Lightly flour your work surface.
- Turn the dough out gently. Try not to knock all the air out of it.
- Fold the edges toward the center several times, then turn the dough over so the smoother side is facing upward.
- Use your hands to gently rotate and tighten the dough into a round boule.
- You don’t need to knead it.
- The goal is simply to create surface tension so the loaf holds its shape during baking.
Prepare the Dutch Oven
- Place a sheet of parchment paper inside your Dutch oven.
- Gently transfer the shaped dough onto the parchment.
- Cover it and allow it to rest for another 30-45 minutes.
- Meanwhile, preheat your oven to 450°F (230°C).
- For an especially crisp crust, allow the Dutch oven to preheat along with the oven.
Score and Bake
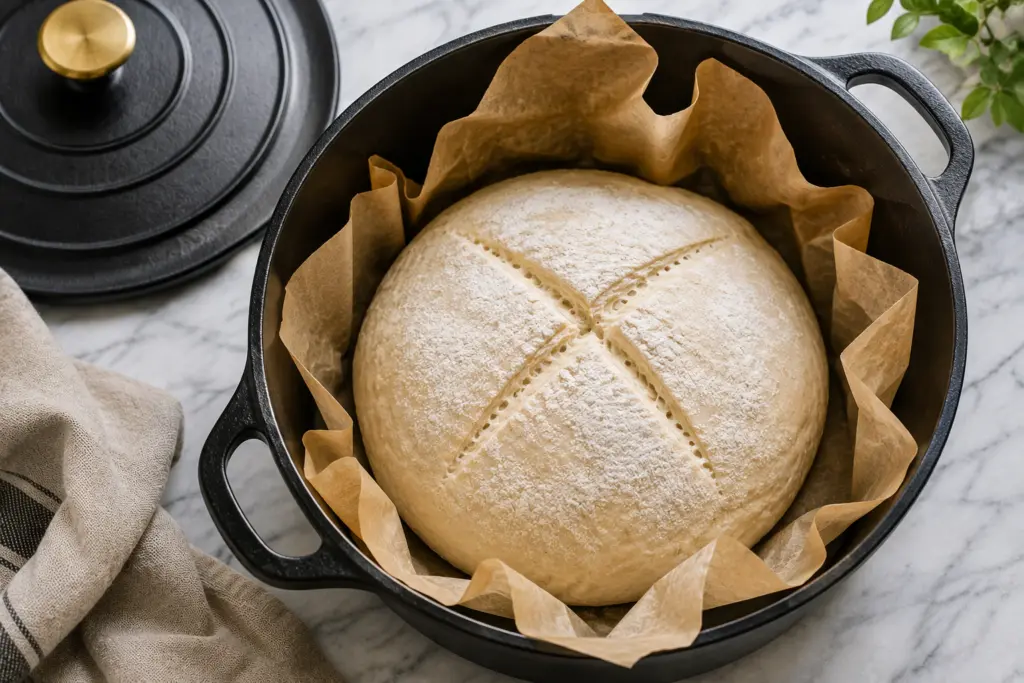
- Dust the surface of the dough lightly with flour.
- Using a sharp knife or bread lame, make a deep slash across the top.
- You can create a simple cross, a long curved slash, or a rustic pattern.
- The scoring gives the expanding bread a controlled place to open.
- Carefully place the lid on the Dutch oven.
- Bake covered for approximately 25-30 minutes.
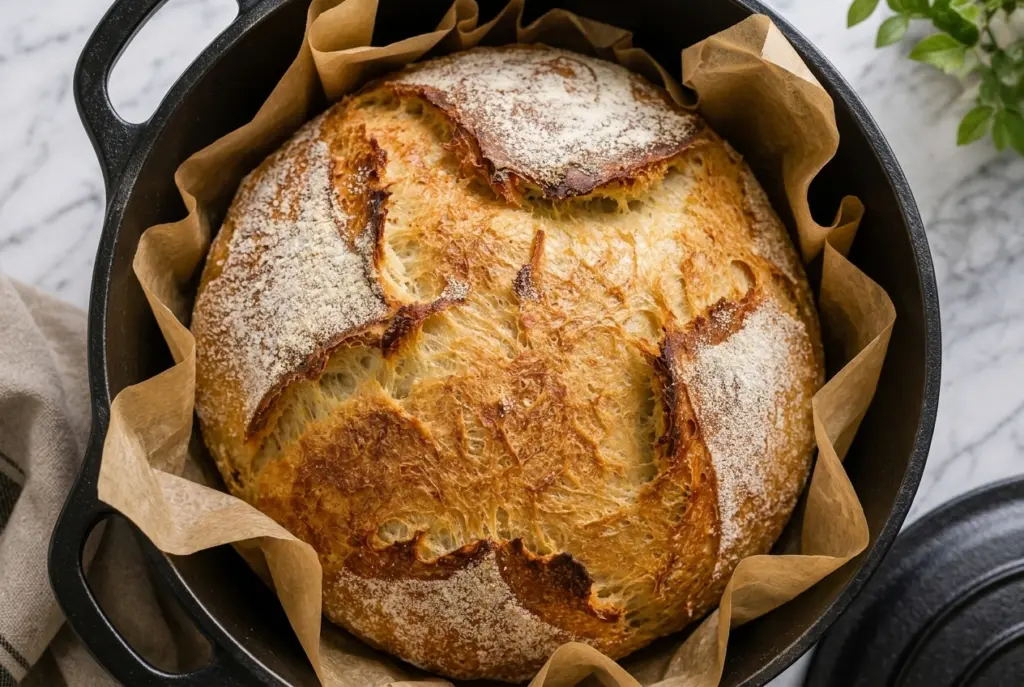
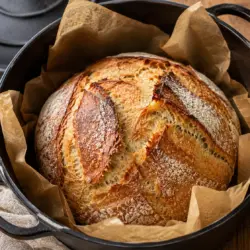
- Then remove the lid and continue baking for another 15-20 minutes, or until the loaf is deeply golden brown.
- The finished bread should look rustic, crisp, and beautifully caramelized.
Cool Before Slicing
- Remove the loaf from the Dutch oven and place it on a cooling rack.
- This is the hardest part: don’t slice it immediately!
- Allow it to cool for at least 45-60 minutes.
- The inside continues to set as the bread cools. Cutting too early can make the crumb gummy, even if the crust looks perfectly baked.
- Once cool, slice with a serrated bread knife and enjoy.
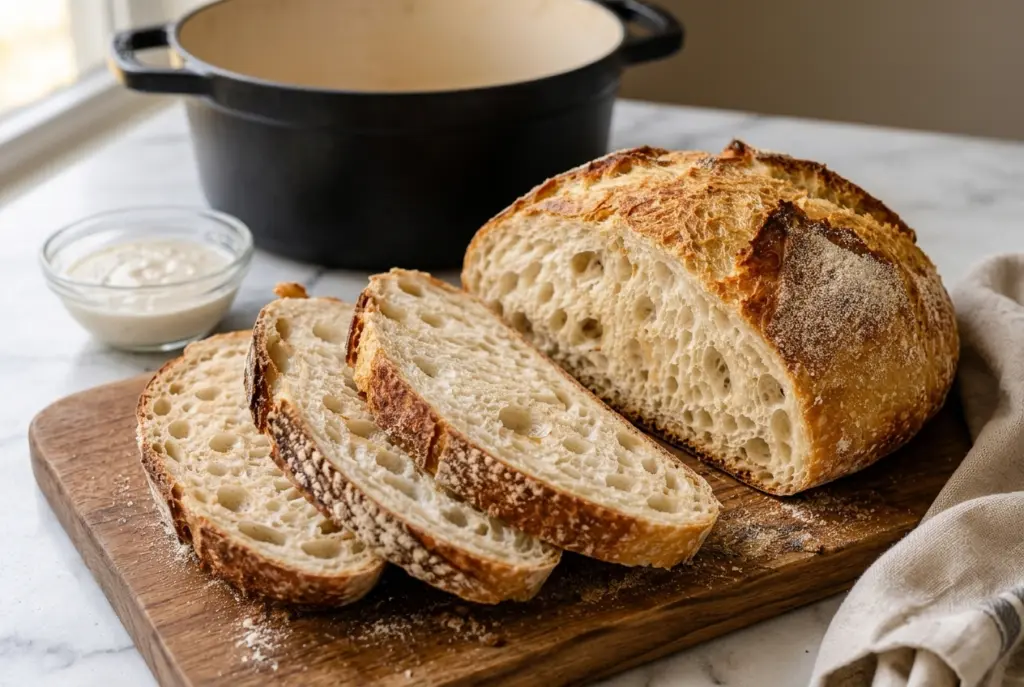
The Secret to a Beautiful Golden Crust
The crust is one of the biggest attractions of homemade bread.
For a loaf like the one pictured, focus on three things:
- Preheat the Dutch oven properly.
- Keep the lid on during the first part of baking.
- Finish the loaf uncovered until deeply golden.
The covered environment keeps moisture around the dough, helping the surface stay flexible while the bread expands.
Once the lid comes off, moisture escapes and the crust becomes increasingly crisp and brown.
Don’t worry if your loaf has a slightly different pattern from the photos. Every loaf will open differently depending on how it was shaped and scored.
How to Get an Airy, Soft Crumb
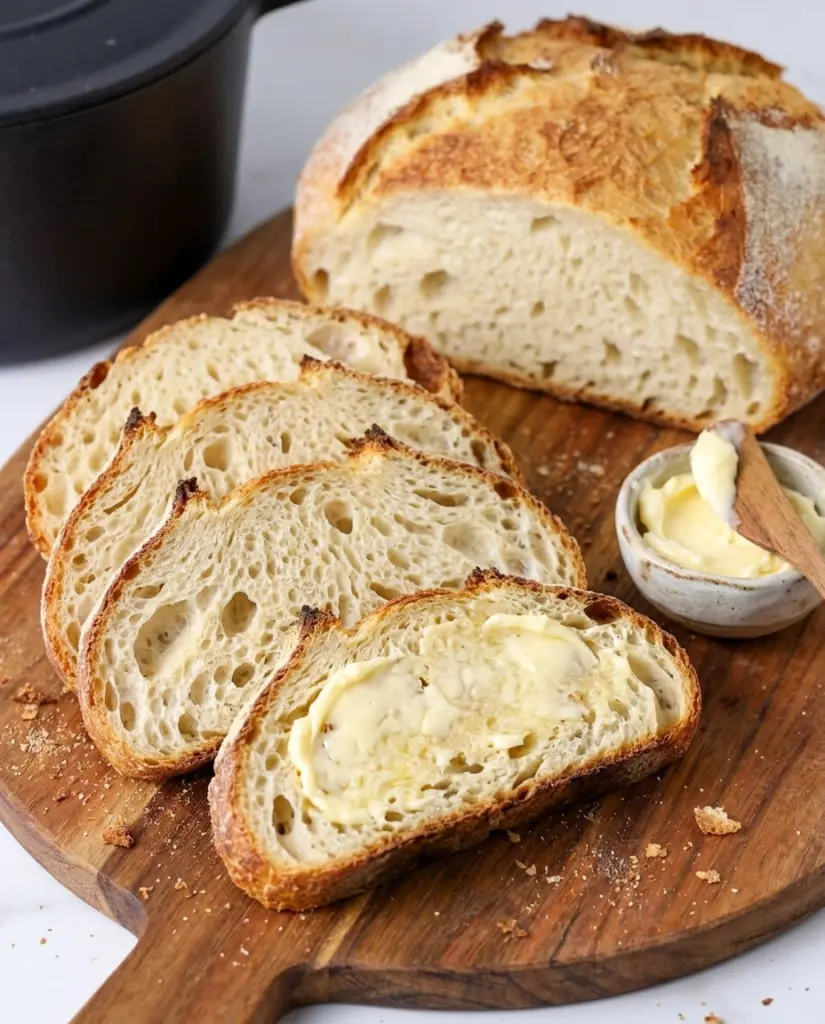
The beautiful open texture inside the loaf comes from proper hydration, fermentation, and gentle handling.
Don’t Add Too Much Flour
This is probably the most important tip.
Sticky dough can make beginners nervous, but adding lots of flour can produce a dense loaf.
Instead, use lightly floured hands and a bench scraper when necessary.
Give the Dough Enough Time
If your kitchen is cool, the first rise may take longer than 90 minutes.
Watch the dough rather than relying only on the clock.
You’re looking for dough that has become noticeably puffy and airy.
Handle It Gently
Once the dough has risen, avoid aggressively punching it down.
Gentle shaping helps preserve some of the gas bubbles created during fermentation.
How to Store Homemade Bread
- Once completely cooled, keep the loaf at room temperature in a bread bag, paper bag, or loosely covered container.
- For the best crust, avoid storing it in the refrigerator. Refrigeration can make bread become stale faster.
- For longer storage, slice the cooled loaf and freeze the slices in a freezer-safe bag.
- You can then take out individual slices whenever you need them.
- For the crispiest texture, warm frozen slices in a toaster or oven.
Can You Make This Bread Without Kneading?
Absolutely.
That’s one of the reasons this recipe is so approachable.
Instead of developing gluten through prolonged kneading, the dough gains structure through hydration, resting, fermentation, and gentle shaping.
You may still perform one or two gentle folds during the first rise if the dough seems very loose.
However, traditional kneading isn’t necessary.
Delicious Ways to Serve This Bread
Freshly baked bread is incredibly versatile.
Try serving your loaf with:
- Butter and honey
- Olive oil and herbs
- Homemade soup
- Creamy pasta
- Scrambled eggs
- Cheese and sliced vegetables
- Avocado and poached eggs
- Roasted chicken
- Tomato and mozzarella
- Garlic butter
It’s also excellent toasted the next morning.
A thick slice with butter and a little jam is hard to beat.
Easiest Sourdough Discard Bread

Equipment
- Large mixing bowl
- Wooden spoon or dough whisk
- Kitchen scale
- Parchment paper
- Dutch oven with lid
- Sharp bread lame or small knife
- Cooling rack
Ingredients
- 350 g water lukewarm
- 10 g active dry yeast
- 500 g all-purpose flour
- 10 g salt
- 100 g sourdough discard
Instructions
- Mix lukewarm water, active dry yeast, and sourdough discard in a large bowl.
- Add all-purpose flour and salt. Stir until a sticky, shaggy dough forms.
- Cover and let rise for 60-90 minutes, until noticeably puffy.
- Gently shape the dough into a round boule without kneading.
- Place on parchment in a preheated Dutch oven and rest for 30-45 minutes.
- Score the top and bake covered at 450°F (230°C) for 25-30 minutes.
- Remove the lid and bake for another 15-20 minutes until deeply golden. Cool completely before slicing.
Notes
Nutrition Per 1 slice:
- Calories 170 kcal
- Total Fat 0.6 g
- Saturated Fat 0.1 g
- Unsaturated Fat 0.4 g
- Trans Fat 0 g
- Cholesterol 0 mg
- Sodium 650 mg
- Total Carbohydrates 35 g
- Fiber 1.4 g
- Sugar 0.2 g
- Protein 5.4 g
FAQs
Can I use sourdough discard straight from the refrigerator?
Yes. Cold discard can be used. Allowing it to warm slightly while you prepare the other ingredients is helpful, but you don’t need to feed it first.
Does sourdough discard make this bread rise?
The discard contributes flavor and some fermentation activity, but this recipe primarily relies on active dry yeast for its rise.
Why is my dough so sticky?
The dough has relatively high hydration, so some stickiness is expected. Use lightly wet or floured hands rather than adding lots of extra flour.
Can I use bread flour instead of all-purpose flour?
Yes. Bread flour can produce a chewier loaf and may absorb water differently. If the dough feels noticeably stiffer, you may need a small adjustment to the water.
Why didn’t my bread rise enough?
The most common reasons are inactive yeast, a cold kitchen, insufficient fermentation time, or adding too much flour. Make sure your yeast is fresh and give the dough enough time to become visibly puffy.
Can I freeze this sourdough discard bread?
Yes. Cool the loaf completely, slice it, and freeze the slices in an airtight freezer-safe bag. Reheat individual slices in a toaster or oven.
Can I make sourdough discard bread without a Dutch oven?
Yes, although the crust and oven spring may be different. A heavy oven-safe covered pot is the closest alternative because it helps trap steam around the loaf.
This sourdough discard bread proves that homemade artisan-style bread doesn’t have to be complicated.
With just five ingredients, a mixing bowl, and a Dutch oven, you can create a rustic loaf with a deeply golden crust and soft, chewy interior.
The active dry yeast makes the process much more predictable than traditional sourdough-only baking, while the discard gives the loaf an extra layer of flavor.
If you’ve got a jar of discard waiting in your refrigerator, this is a great recipe to try. Mix the dough, let time do the work, shape it gently, and let your Dutch oven transform it into a beautiful bakery-style loaf.
And once you pull that golden loaf from the oven, give it time to cool. Your patience will be rewarded with crisp crust, tender crumb, and a homemade bread experience that’s well worth it.