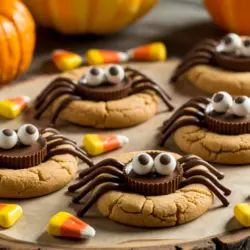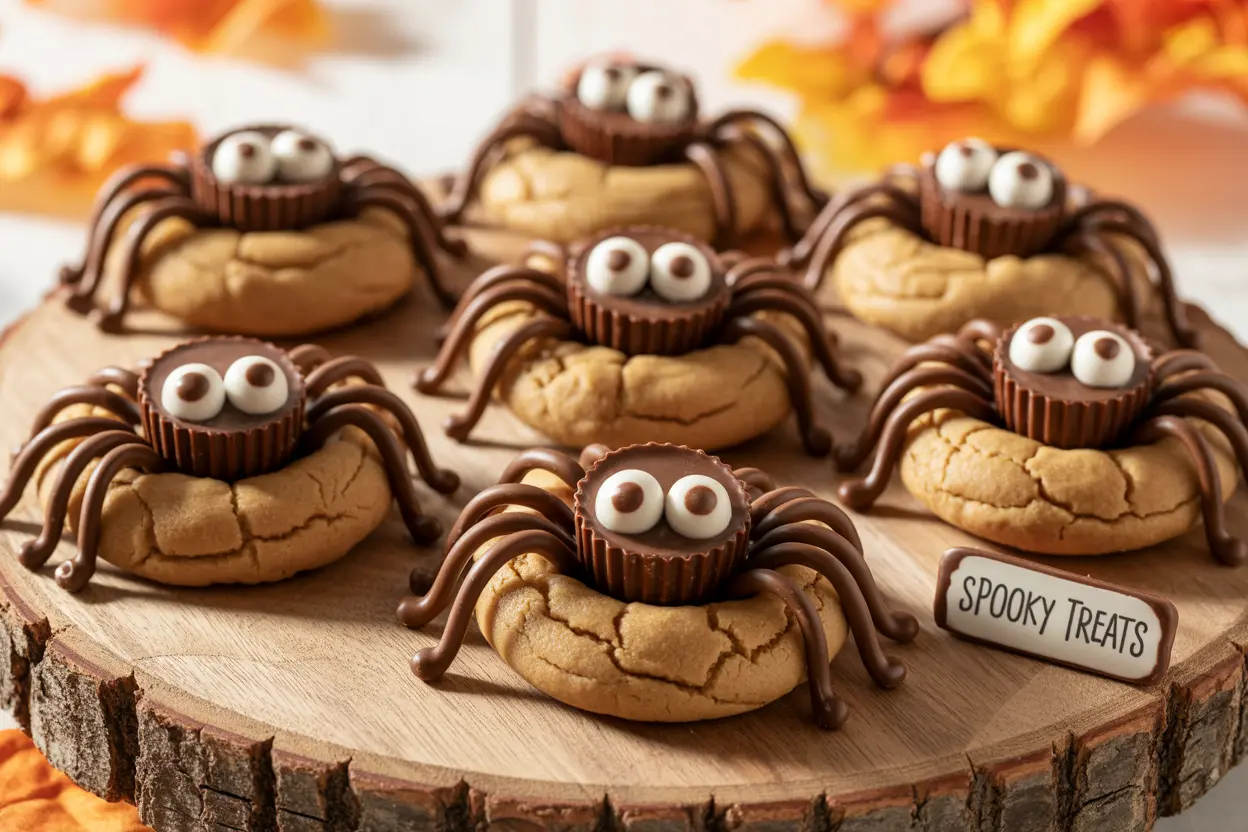
When it comes to Halloween cookies, few treats capture the spooky spirit quite like peanut butter spider cookies. These bite-sized, peanut-buttery creations combine rich flavor with playful design-each one topped with a chocolate Reese’s “body,” candy eyeballs, and a silky chocolate drizzle for legs. They’re simple enough for kids to help make but impressive enough to steal the show at any Halloween gathering. In this recipe, I’ll walk you through how to bake, decorate, and store these creepy-cute cookies while keeping things fun, stress-free, and full of flavor. Let’s dive into my kitchen and whip up a batch of edible Halloween magic.
Table of Contents
A Sweetly Spooky Beginning
These peanut butter spider cookies aren’t just another batch of Halloween cookies; they’re edible fun. Each one starts as a soft, chewy peanut butter base that’s topped with a mini Reese’s cup “body.” Then comes the magic touch-thin chocolate drizzle legs and a pair of candy eyeballs staring up at you from the plate. They’re equal parts adorable and creepy, perfect for Halloween parties or a cozy baking night at home.
If you’ve ever browsed through my Halloween Shortbread Cookies , you already know I’m all about keeping recipes fun and fuss-free. These cookies fit right in. No complicated techniques, no fancy tools-just classic ingredients, a little creativity, and a whole lot of laughter. Whether you’re baking with your kids or prepping a spooky dessert table, these cookies deliver big smiles every time. And if you’re looking for something similarly simple to whip up, my Peanut Butter Banana Cookies is packed with other favorites for every season.
So grab that jar of peanut butter, unwrap a few Reese’s cups, and prepare for a baking session that’s part craft project, part sugar-fueled adventure. The only real challenge? Trying not to eat the candy eyeballs before they make it onto the cookies.
Why These Cookies Steal the Show
What makes these peanut butter spider cookies stand out among other Halloween cookies is their perfect flavor balance-sweet, salty, and just the right amount of chocolatey. The peanut butter base gives each bite a rich, nutty warmth, while the drizzle of chocolate and that little candy crunch on top bring the fun. Kids love the way they look; adults love how they taste.
Best of all, you don’t need anything fancy to make them. Just the basics-peanut butter, sugar, eggs, and chocolate chips-plus a little imagination. They’re proof that homemade Halloween baking doesn’t have to be stressful. In fact, these cookies remind us that the best treats are often born from simple ingredients and shared laughter.
So, when the spooky season rolls around, skip the store-bought treats. Turn on some music, gather your favorite people, and let your kitchen come alive with the spirit of Halloween-one cookie spider at a time.
Ingredients, Swaps, and Preparation
Simple Ingredients and Swaps for Spooky Results
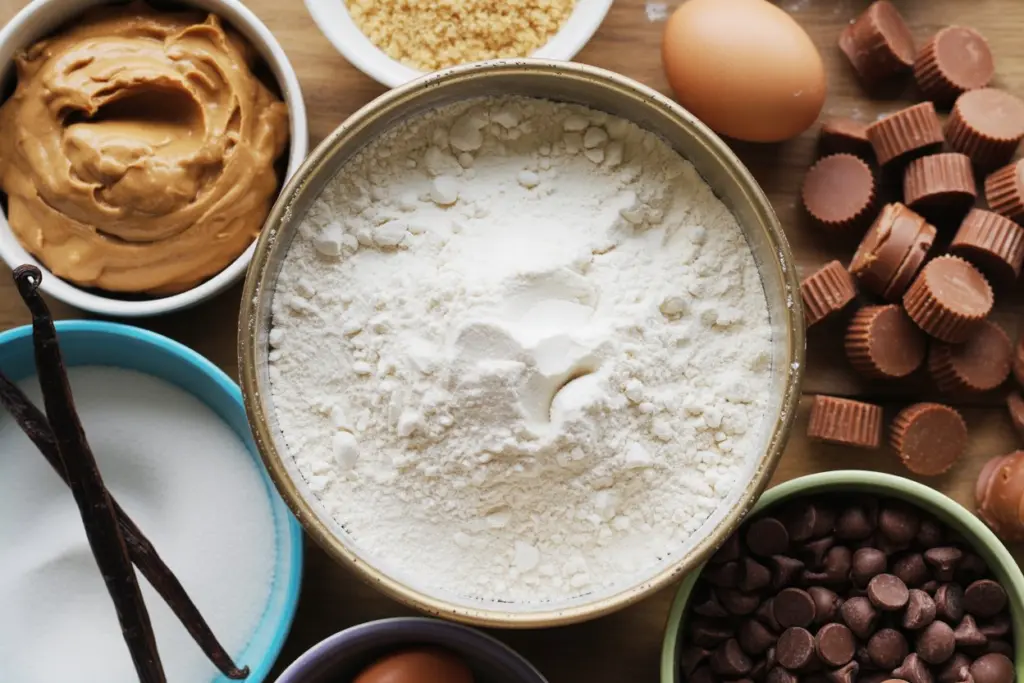
The beauty of peanut butter spider cookies is that you don’t need anything fancy-just pantry staples and a bit of Halloween spirit. Below is a complete ingredient list along with helpful swaps if you’re working around allergies or dietary needs.
| Ingredient | Substitution or Note |
|---|---|
| 1 cup creamy peanut butter | Swap with almond or sunflower butter for nut-free versions. |
| 1 cup granulated sugar | Use coconut sugar for a richer, lower-glycemic flavor. |
| 1 large egg | Replace with 1 tbsp flaxseed + 3 tbsp water for vegan baking. |
| 1 tsp vanilla extract | Adds classic cookie aroma; almond extract offers a fun twist. |
| 1 ¼ cups all-purpose flour | Swap with gluten-free flour blends for celiac-friendly cookies. |
| ½ tsp baking soda | Helps lift cookies slightly; keep it fresh for best results. |
| ½ tsp baking powder | Adds extra rise and fluffiness to the peanut butter base. |
| ¼ tsp salt | Balances sweetness; omit if using salted peanut butter. |
| 12 mini Reese’s cups | Mini peanut butter cups from other brands work fine. |
| 24 candy eyes | DIY with white chocolate chips and dark chocolate dots. |
| ½ cup chocolate chips | Dark, milk, or semi-sweet all melt beautifully for drizzle. |
These ingredients make a small batch, perfect for family baking nights. You’ll find similar pantry-friendly treats in my no-bake Pumpkin No Bake Cookies and fall cookie -proof that homemade baking doesn’t have to mean complicated.
Step-by-Step for Perfect Cookies
Now that you’ve got all your ingredients ready, it’s time to bring these peanut butter spider cookies to life. The process is simple, fun, and quick-ideal for family baking or last-minute Halloween cookies for a party.
Start by preheating your oven to 350°F (175°C) and lining two baking sheets with parchment paper. This prevents sticking and ensures even browning. In a large bowl, combine the peanut butter, sugar, and egg. Beat the mixture until it’s creamy and smooth, then stir in vanilla extract for that warm, classic flavor.
In a separate bowl, whisk together the flour, baking soda, baking powder, and salt. Slowly mix the dry ingredients into the wet mixture until a soft dough forms. If your dough feels too sticky, refrigerate it for 15-20 minutes-chilled dough helps control spreading and creates beautifully rounded cookies.
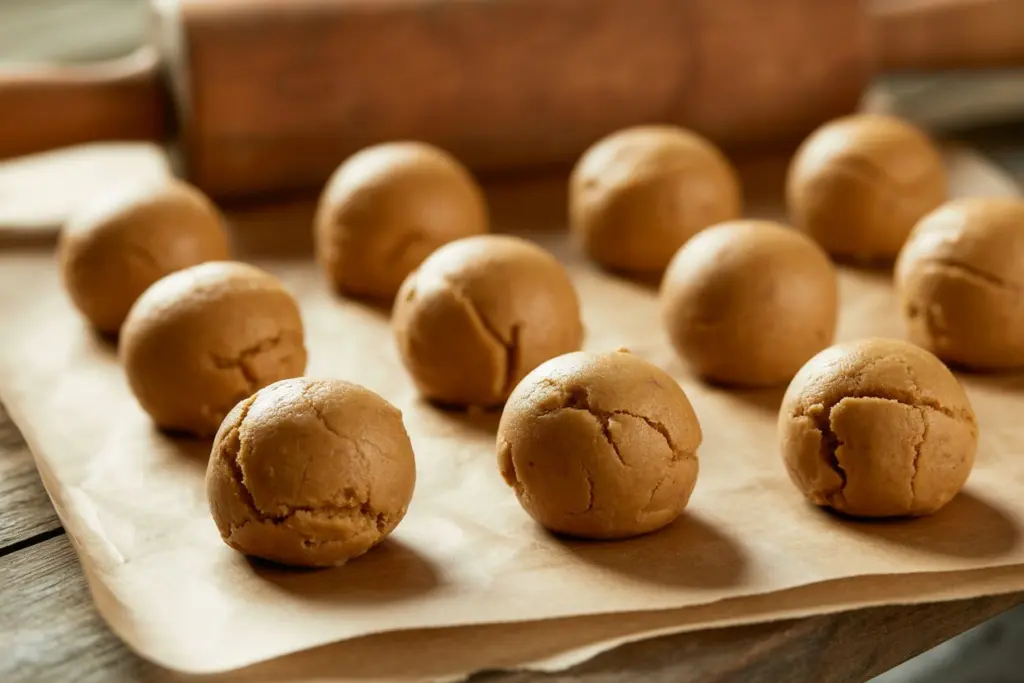
Scoop about a tablespoon of dough, roll it between your palms into a smooth ball, and place it on the prepared baking sheet. Leave about two inches between cookies for proper airflow. For that signature peanut butter cookie look, press each ball lightly with a fork to create a crisscross pattern.
Bake for 8-10 minutes, just until the edges are lightly golden. The centers should still appear slightly soft-they’ll firm up as they cool. Here comes the fun part: immediately press a mini Reese’s cup into the center of each warm cookie. The heat will help it “set” into the dough, forming your spider’s chocolate body.
Allow the cookies to cool completely on the sheet before decorating. This step is crucial-if they’re too warm, your chocolate drizzle will melt and smear. For extra inspiration on achieving bakery-quality results, check out my Breakfast Baked Pumpkin Chocolate Chip Oatmeal Cups guide and Pumpkin Cheesecake Cookies for other seasonal variations.
When your cookies are cool, you’ll be ready for the best part-turning them into spooky-cute spiders.
Baking tip: always use room-temperature peanut butter and eggs for smoother mixing, parchment paper for easy cleanup, and patience-cool cookies decorate best!
Decorating & Baking Tips
Bringing the Spiders to Life
Here’s where your peanut butter spider cookies transform from ordinary treats into spooky showstoppers. Once the cookies have cooled completely, gather your decorating tools-a small zip-top bag or piping bag for the chocolate drizzle, a bowl of melted chocolate chips, and a handful of candy eyes.
To make the chocolate “legs,” melt your chocolate chips in the microwave using short, 15-20 second bursts. Stir between intervals until the chocolate is glossy and smooth. Transfer the melted chocolate into your piping bag (or use a plastic bag and snip a tiny corner). Then, starting at the base of each Reese’s cup “body,” pipe four legs on each side, gently curving them outward for that classic spider shape.
Work slowly-steady hands and patience make all the difference here. Allow the drizzle to set slightly before adding the candy eyes. A tiny dab of melted chocolate acts as “glue,” securing each eye in place. The trick for neat, defined chocolate lines is cooling; if your cookies are even slightly warm, the drizzle will melt into the surface instead of sitting cleanly on top.
And if you’re baking with kids, make sure to check my Pumpkin Snickerdoodle Cookies -they’re filled with hands-on fun and mess-friendly ideas.
Common Mistakes to Avoid
Even simple Halloween cookies can turn tricky without a few smart tips. If your cookies are spreading too much, it usually means the dough was too warm. The fix? Chill it for at least 15 minutes before baking. For unevenly melted chocolate, microwave in short bursts and stir each time to keep it smooth and silky.
Remember, this recipe is all about fun, not perfection. A few wobbly spider legs or off-center eyes only make them more charming. The joy comes from creating, laughing, and watching your spooky cookies come to life-just as every Halloween baking session should be.
Variations, Serving, and Storage
Fun Twists for Any Party
What makes peanut butter spider cookies so lovable is their flexibility-you can adapt them for any event or taste. For a nut-free twist, swap peanut butter with sunflower seed butter or almond butter for a more subtle flavor. Using a gluten-free flour blend makes these cookies perfect for those with sensitivities, and they still bake up soft and chewy.
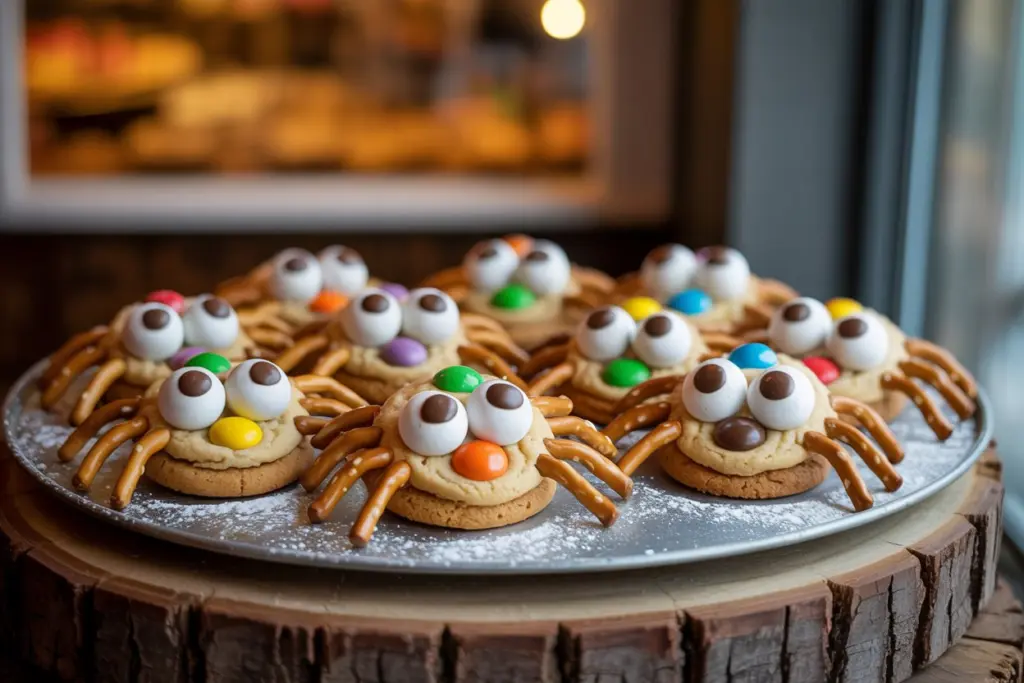
If you want to switch things up visually, try replacing the candy eyes with mini M&Ms or small chocolate pearls for a colorful, playful look. Feeling a little festive? Add a pinch of pumpkin spice to the dough for cozy fall flavor or drizzle your spiders with caramel instead of chocolate for a buttery, golden touch. These simple changes turn a Halloween favorite into a year-round hit.
For more inspiration, my holiday Chocolate Chip Pumpkin Cake share creative spins for every celebration, while Pumpkin Spice Donuts explore ways to repurpose your leftover sweets into something special. With a little imagination, your cookie tray can look like it came straight from a bakery window.
Serving Tips and Ideas
When it’s time to show off your Halloween cookies, presentation is everything. Arrange your spiders on a dark platter lined with parchment “webs,” or scatter them among candy corn and mini pumpkins for a festive party display. These cookies also make fantastic edible party favors-just wrap each one in clear cellophane and tie with a black or orange ribbon.
They’re equally perfect for bake sales or classroom parties. Pair them with milk or hot cocoa, and watch the smiles roll in. If you’re serving them outdoors or at a fall fair, keep them shaded so the chocolate drizzle doesn’t soften in the sun.
How to Store
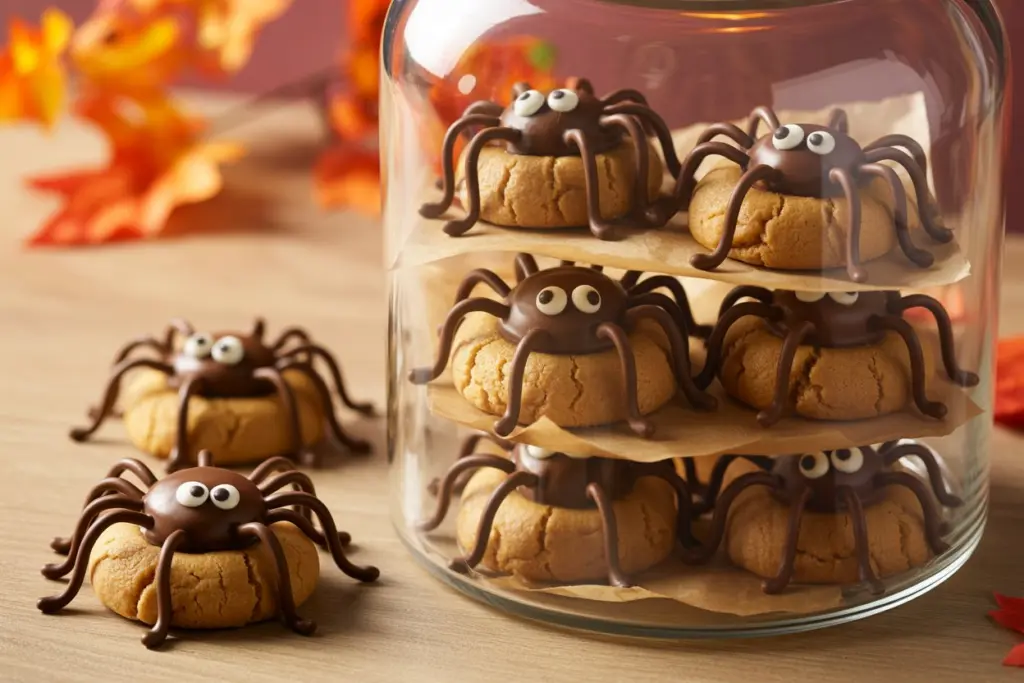
Keep your peanut butter spider cookies fresh by storing them in an airtight container at room temperature for up to 5 days. To layer them, place a piece of parchment paper between rows to prevent sticking.
If you’d like to make them ahead, freeze the undecorated cookies for up to 2 months in a sealed freezer bag. When ready to serve, thaw at room temperature, then decorate with chocolate legs and candy eyes. This way, your spiders always look freshly made-perfect for those busy Halloween weeks when time is tight but fun is essential.
FAQs
What are peanut butter spider cookies made of?
Peanut butter spider cookies start with a simple peanut butter cookie base made from peanut butter, sugar, egg, flour, and a hint of vanilla. Once baked, each cookie is topped with a mini Reese’s cup for the spider’s “body,” a drizzle of melted chocolate for the legs, and candy eyeballs for the spooky finishing touch.
How do you make spider cookies for Halloween?
Begin by baking soft peanut butter cookies, pressing a mini Reese’s cup into the center while still warm. Once cooled, drizzle on eight chocolate legs and attach candy eyes using a dot of melted chocolate. The result is a batch of adorable Halloween cookies that look like they’ve crawled right off the dessert table!
Can I use store-bought cookie dough for peanut butter spider cookies?
Absolutely! If you’re short on time, roll store-bought peanut butter cookie dough into small balls and bake as directed. The decorating steps-adding the Reese’s cup and candy eyes-stay exactly the same. It’s a quick way to make festive cookies without the prep work.
How do you keep spider cookies from spreading too much while baking?
The secret is to chill the dough for at least 15-20 minutes before baking. Cold dough keeps its shape better and prevents the cookies from spreading too thin. Also, make sure your baking soda and powder are fresh for proper lift.
Halloween has always been one of my favorite times to get creative in the kitchen. These peanut butter spider cookies are a perfect mix of fun and flavor-cute enough for kids, tasty enough for adults, and easy enough for anyone to bake. Whether you’re making them for a classroom party, a spooky get-together, or just a cozy night at home, they’re guaranteed to spark smiles (and maybe a few giggles).
So, tie on that apron, crank up some spooky tunes, and turn your kitchen into a Halloween cookie lab. Trust me-when the smell of peanut butter and chocolate fills the air, you’ll know you’ve made something truly special.
