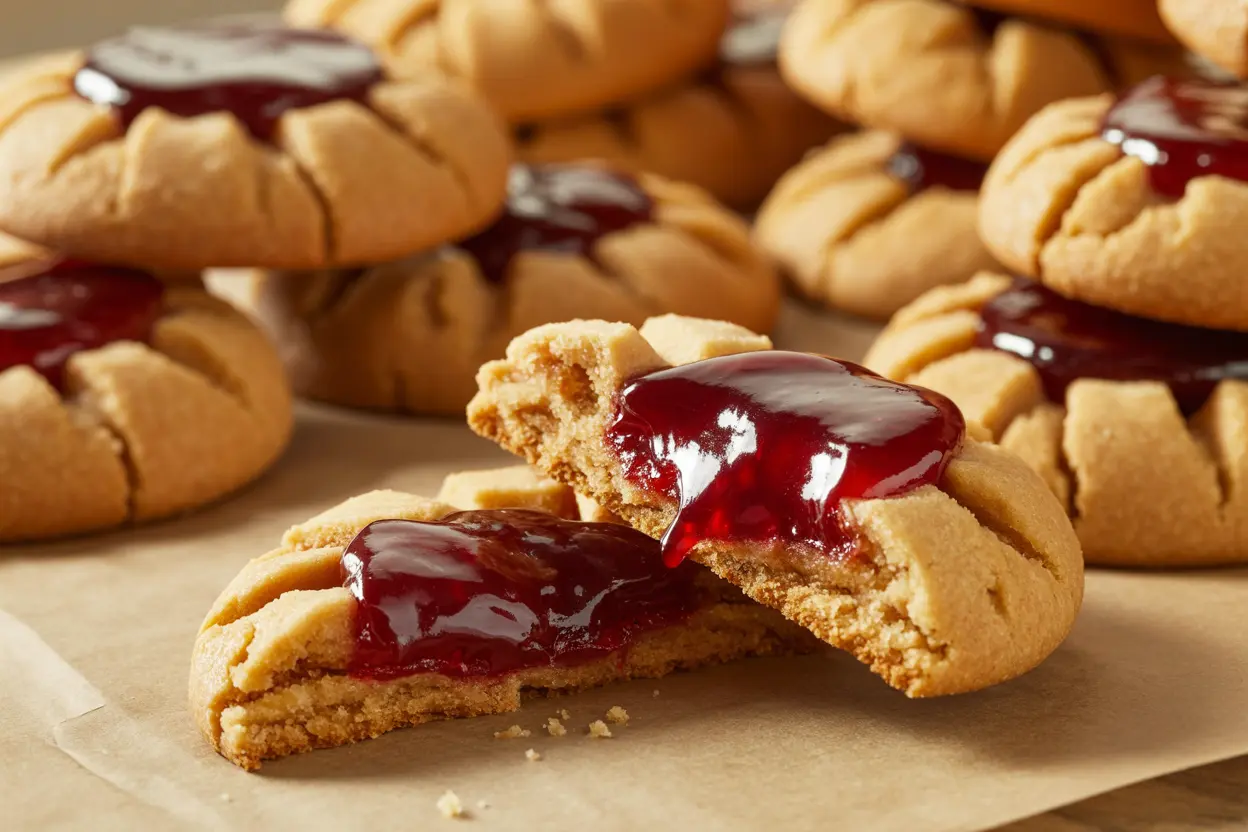
If there’s one cookie that brings childhood right back into focus, it’s peanut butter and jelly cookies. This nostalgic twist on the classic sandwich pairs salty, rich peanut butter with gooey, fruit-filled centers for a bite that’s both comforting and crave-worthy. Whether you’re making a batch for lunchbox treats, weekend baking fun, or just for the love of a good PB&J, this recipe delivers soft, crackly cookies that are as fun to look at as they are to eat.
Table of Contents
Why Peanut Butter and Jelly Still Wins
Peanut butter and jelly isn’t just for kids. It’s a flavor duo that works because it feels complete. The saltiness of peanut butter amplifies the jelly’s sweetness, while the texture of a well-baked cookie adds depth you don’t get from a sandwich.
In these cookies, the peanut butter base is soft but not crumbly. It melts on the tongue, but the edges have a slight crispness that adds just the right bite. The jelly in the center isn’t just decoration, it’s the main event. When baked just right, it turns glossy and jammy, giving you that sticky-sweet finish you’ll want to sink your teeth into again and again.
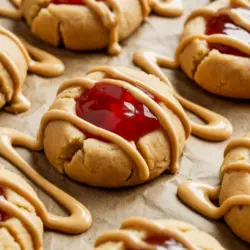
And let’s talk visual appeal: between the crinkled surface, golden hue, and that pop of jewel-toned jelly, they’re practically begging for a photo. If you want to take it even further, drizzle with peanut butter glaze like in our peanut butter sandwich cookie variation, coming later in this post.
One thing’s for sure: this classic combo isn’t going anywhere. It just got a little tastier.
Every time you bake these, someone says, “This tastes like my childhood, but better.” If you’re already a fan of gooey peanut butter chocolate chip cookies or want something more nostalgic than your usual fudgy peanut butter brownie cookies, these belong on your must-bake list.
Making the Perfect Peanut Butter Dough
Choosing the Right Peanut Butter
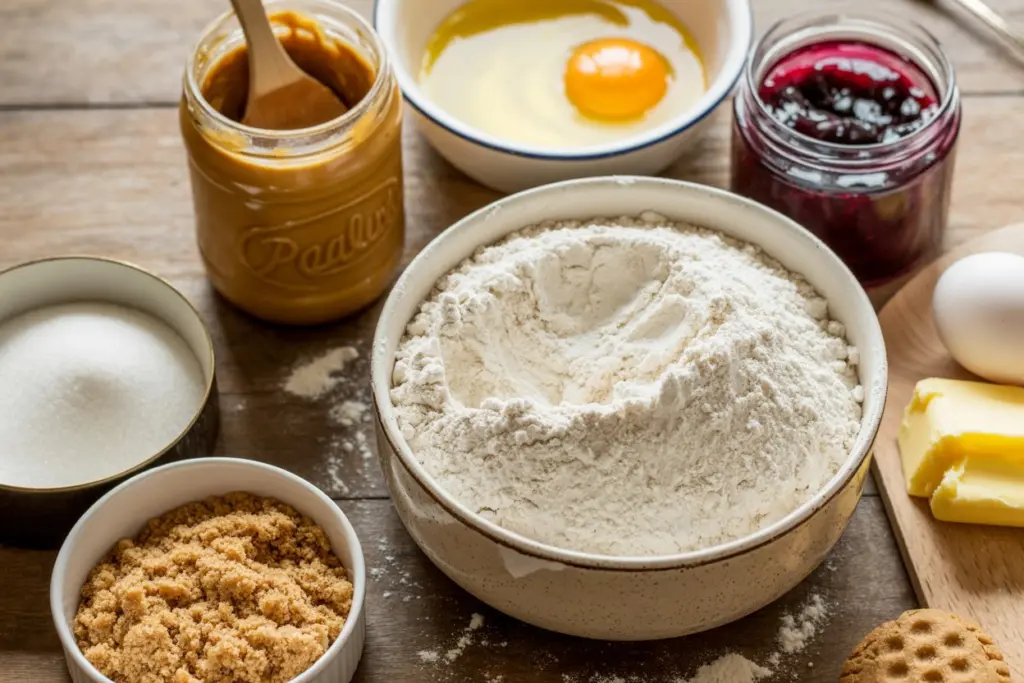
When it comes to baking peanut butter and jelly cookies, not all peanut butters are created equal. I’ve tested this recipe with everything from natural, oily kinds to the classic processed jars we all know, and here’s the truth: processed peanut butter gives the best results. Why? Because it’s thicker, more stable, and doesn’t separate like natural brands do, which means your dough holds up better, your cookies keep their shape, and your jelly stays put.
Creamy peanut butter is the gold standard here. It blends seamlessly into the dough and creates that classic soft-baked texture. If you’re adventurous, you can swap in crunchy peanut butter for a bit of added texture, but be prepared for a slightly different, more rustic cookie. It won’t be quite as smooth, but some folks love that extra nutty bite.
Also, steer clear of “natural” varieties that need stirring. The oil separation can cause your dough to spread unpredictably in the oven. The goal is a cookie that holds its thumbprint center without flattening into a pancake. That starts with the right peanut butter.
Looking for more peanut-forward inspiration? Try these chocolate peanut butter cookies or level up with gooey s’mores peanut butter cookies.
Mixing Tips for Consistency
Let’s talk technique. You’ll start by creaming softened butter with brown and white sugars until light and fluffy, usually around 2 to 3 minutes. Don’t rush this step; it builds the structure of the cookie and helps incorporate air for a light texture. Once you add your egg and vanilla, the dough should look smooth and cohesive.
Now comes the peanut butter. Add it slowly and make sure it blends fully before adding the dry ingredients. This prevents clumps and ensures even distribution of that rich, nutty flavor. When adding flour, baking soda, and a pinch of salt, stir just until combined. Overmixing at this stage toughens the dough.
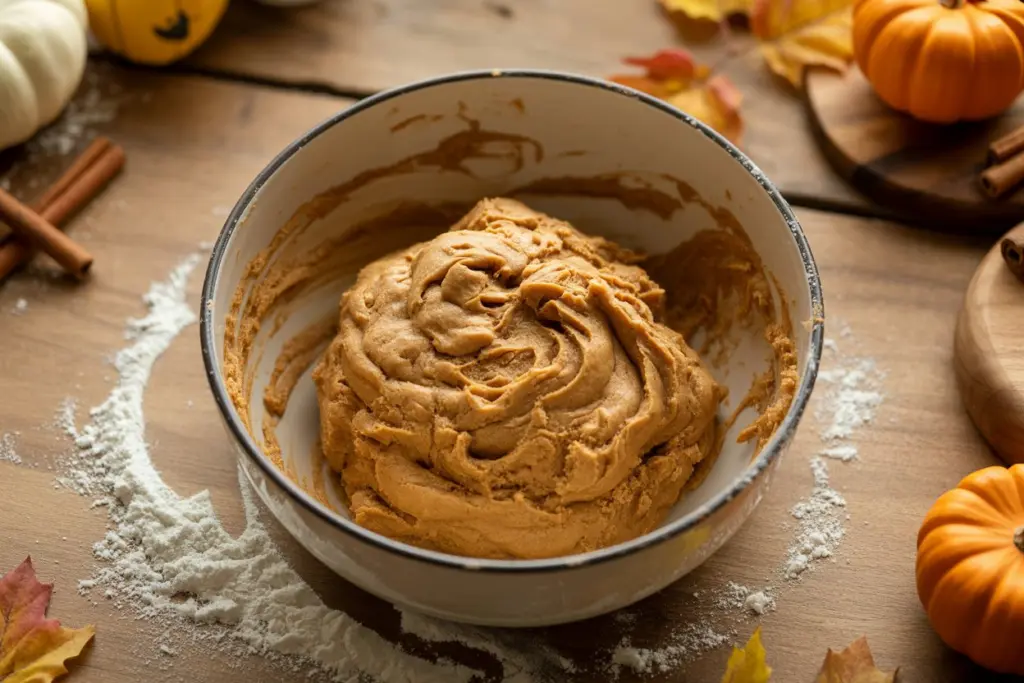
Here’s a tip that changes everything: chill the dough. Just 30 minutes in the fridge helps the fats firm up so your cookies don’t spread too much during baking. It also makes rolling and shaping a breeze.
A well-made dough is the backbone of every perfect cookie. Treat it with care, and you’ll taste the payoff in every bite.
Shaping & Filling Thumbprints
Getting the Thumbprint Right
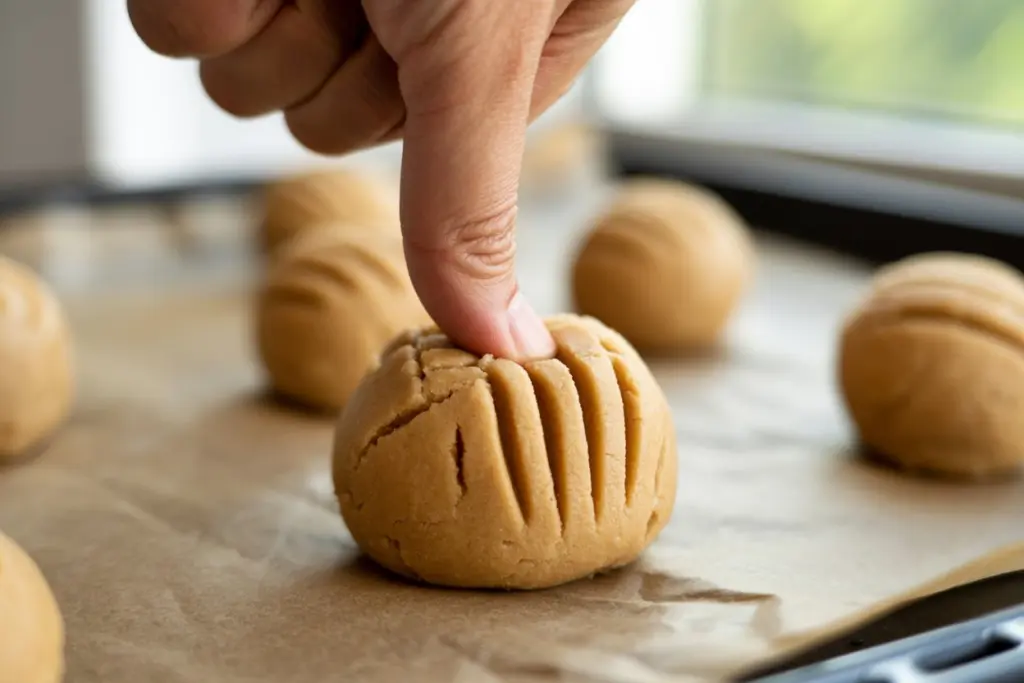
Creating that signature “thumbprint” isn’t as simple as pressing your thumb into a ball of dough, at least not if you want even, crack-free cookies that look as good as the ones in the photo. The key is to roll the dough into uniform balls, about 1 to 1.5 inches in diameter. Then, using your thumb or the back of a measuring spoon, gently press the center. You want a deep enough indent to hold jelly, but not so deep that you crack the sides or hit the baking sheet.
If you find the dough cracking, warm it slightly between your palms to soften it. Or, press the indentation after baking for 5 minutes if your dough is particularly firm. This trick helps you maintain that neat center pocket while keeping the cookie’s outer structure intact.
Another tip? Bake the cookies on parchment paper or silicone mats for consistent bottoms and easy release. That way, you don’t lose any of that golden, crisp edge when transferring them to a cooling rack.
This shaping method is also perfect for recipes like our peanut butter sandwich cookies or these chewy oatmeal peanut butter cookies, both favorites that depend on dough precision.
Best Jelly Choices & When to Add
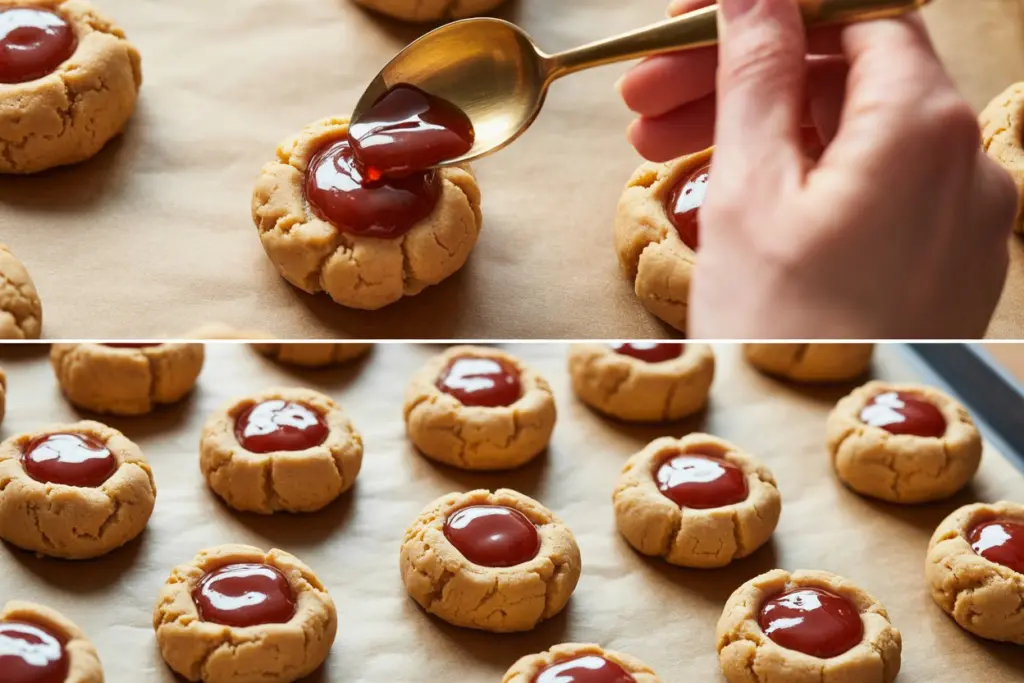
Here’s where the real fun begins: choosing your jelly. You can stick with the classic grape or strawberry, or go bold with raspberry or even a tart blackberry. Whichever you choose, make sure it’s smooth and seedless for the cleanest finish. Chunky preserves or jam can overflow or melt unevenly.
You’ve got two filling options:
- Before baking – Add about ½ teaspoon of jelly to the indentation, then bake. This method creates a baked-in, jammy center.
- After baking – Add jelly while the cookies are warm from the oven. The jelly melts slightly and stays vibrant and glossy (like in your photo).
For longer storage or perfect presentation, the post-bake method is best. But if you want that slightly caramelized flavor, go ahead and fill before baking. Just don’t overdo it-too much jelly will bubble over and create a sticky mess.
Want to take it further? You can swirl in peanut butter or even mini chocolate chips before baking. I’ve also made versions with dual jellies in one cookie, like a PB&J yin-yang-and they were gone in minutes.
Extra Flair & Storage Tips
Optional Drizzle & Decorating
You’ve shaped, filled, and baked your peanut butter and jelly cookies to perfection, now let’s make them pop. A little visual flair goes a long way, especially if you’re planning to share them (or just want to impress your Instagram followers).
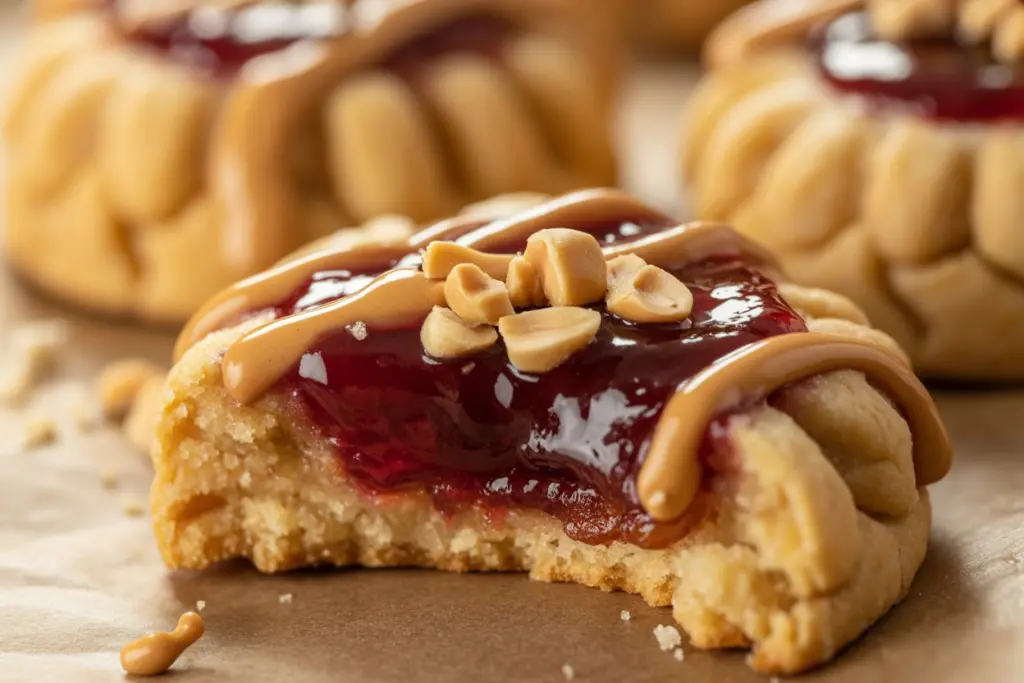
One of my favorite additions is a quick peanut butter drizzle. Just melt 2 tablespoons of peanut butter with a teaspoon of powdered sugar and a splash of milk. Drizzle it over cooled cookies in a zigzag or spiral. It hardens slightly as it sets, giving you that glossy bakery finish.
If you’re feeling bold, add a second drizzle of melted chocolate, dark or milk both pair beautifully with the peanut butter base and fruit center. Want crunch? Sprinkle crushed peanuts or freeze-dried strawberries on top before the drizzle sets.
You can even switch things up for the holidays by using different jelly colors or dusting the edges with powdered sugar. The visual contrast between the golden cookie and bright center already draws attention, but these little touches take it from homemade to next-level.
Need more ideas for dessert board-worthy cookies? Check out our peanut butter banana chocolate chip cookies or the indulgent peanut caramel chocolate chip cookie bars.
Storing & Freezing for Later
Good news-peanut butter and jelly cookies store beautifully, so you can bake ahead without losing flavor or texture. Once completely cool, keep them in an airtight container at room temperature for up to 4 days. For longer freshness, store in the fridge for up to a week.
Worried about soggy jelly centers? Just line the layers with parchment paper and don’t stack more than two high.
For freezing, you’ve got options:
- Freeze the baked cookies: Place them in a single layer on a baking sheet to freeze solid, then transfer to a zip-top bag for up to 2 months.
- Freeze the dough balls: Skip the jelly, roll and shape the dough, then freeze. When ready to bake, thaw slightly, press your thumbprint, and add jelly before or after baking.
A small bonus? The dough freezes so well, you can bake just a few cookies at a time whenever the craving hits.
Whether you’re meal-prepping desserts or saving a batch for a rainy day, these cookies are ready when you are.
FAQs
What kind of jelly is best for peanut butter and jelly cookies?
The best jelly for these cookies is smooth and seedless-grape, strawberry, or raspberry all work beautifully. For a bolder taste, go with tart raspberry. For that classic nostalgic flavor, grape jelly is always a win. Just avoid chunky preserves or jams that can bubble over during baking.
Can I freeze peanut butter and jelly cookies?
Yes! These cookies freeze well. Freeze fully baked cookies in layers, separated with parchment, inside an airtight container for up to 2 months. You can also freeze the dough (without jelly) and bake fresh when needed. Add jelly before or after baking, depending on your desired texture and look.
How do you keep thumbprint cookies from spreading?
To prevent spreading, always chill your dough for at least 30 minutes before baking. Use parchment-lined baking sheets, and avoid overmixing the dough. Press the thumbprint gently and evenly, if cracks form, reshape the dough ball slightly to smooth it out before baking.
Can I use crunchy peanut butter instead of creamy?
Absolutely, but expect a more rustic texture. Crunchy peanut butter adds extra bite and nutty crunch, but may not create the same smooth, tender cookie as creamy peanut butter. For best results, use processed peanut butter, whether creamy or crunchy, natural varieties can cause the dough to separate.
There’s something timeless about the pairing of peanut butter and jelly. These cookies take that familiar comfort and wrap it in soft, golden dough with just the right hit of sweetness in the center. Whether you’re baking with your kids, showing off for friends, or treating yourself to a nostalgic snack, these cookies strike the perfect balance between fun and flavor.
