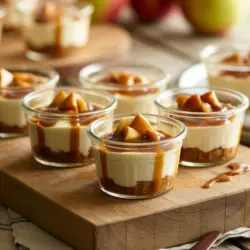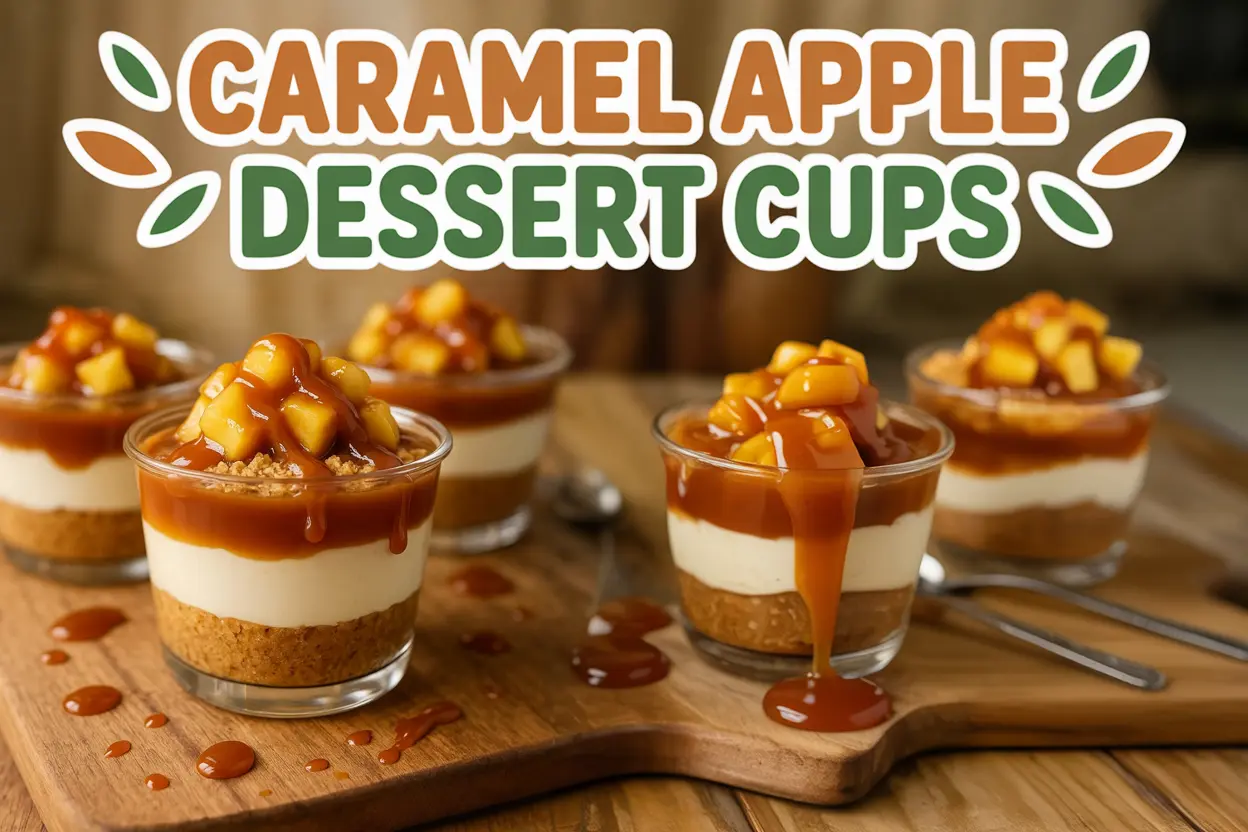
Cheesecake dessert cups are the perfect answer when you want a treat that’s rich, creamy, and easy to serve. These no-bake individual cups pack all the flavor of a classic cheesecake with none of the fuss-and when you top them with warm caramel apples, it’s like autumn in every spoonful. In this post, I’ll share my favorite version: a caramel apple cheesecake cup that layers buttery graham cracker crust, fluffy cream cheese filling, and cinnamon-sautéed apples finished with gooey caramel. It’s easy, elegant, and sure to become a go-to for cozy gatherings or weeknight indulgence.
Table of Contents
The Story Behind My Cheesecake Dessert Cups
How caramel apple cheesecake cups became my go-to fall treat
Hi there! One autumn afternoon, a bag of apples on the counter and a craving for something sweet sparked what would become one of all-time favorite treats-caramel apple cheesecake dessert cups.
It wasn’t a planned dessert. I had cream cheese softening for a dip and leftover graham crackers from a s’mores night. I just started layering-graham cracker crust, fluffy no-bake cheesecake filling, and those cinnamon-butter apples I usually save for pancakes. I spooned warm caramel over the top, took a bite, and was hooked.
These cheesecake dessert cups combine everything I love: comforting fall flavors, minimal baking, and easy prep. Plus, they look beautiful served in little jars or glasses, which makes them feel fancy even when they’re super simple to throw together. These decadent no-bake cheesecake rolls inspired me to lean into more no-bake creations, and this one is by far the most requested at my fall cooking classes.
Why dessert cups are perfect for casual dinners & entertaining
I’m a firm believer that great food doesn’t have to be complicated. Cheesecake dessert cups fit right into that philosophy. They’re pre-portioned, travel well, and don’t require slicing or plating. When I host dinner parties, I love popping them into the fridge ahead of time and pulling them out right before dessert. The contrast of chilled cream cheese and warm caramel apple topping is an unbeatable combo-kind of like my elegant white chocolate pistachio cheesecake but more laid-back.
Guests feel special because they’re getting their own cute cup of something delicious. And let’s be honest-tiny layered desserts just feel more indulgent. You don’t need fancy gear or baking skills-just a few bowls, a skillet, and a spoon.
Building the Perfect Cheesecake Cup Layers
The ideal cheesecake base: graham cracker crust tips
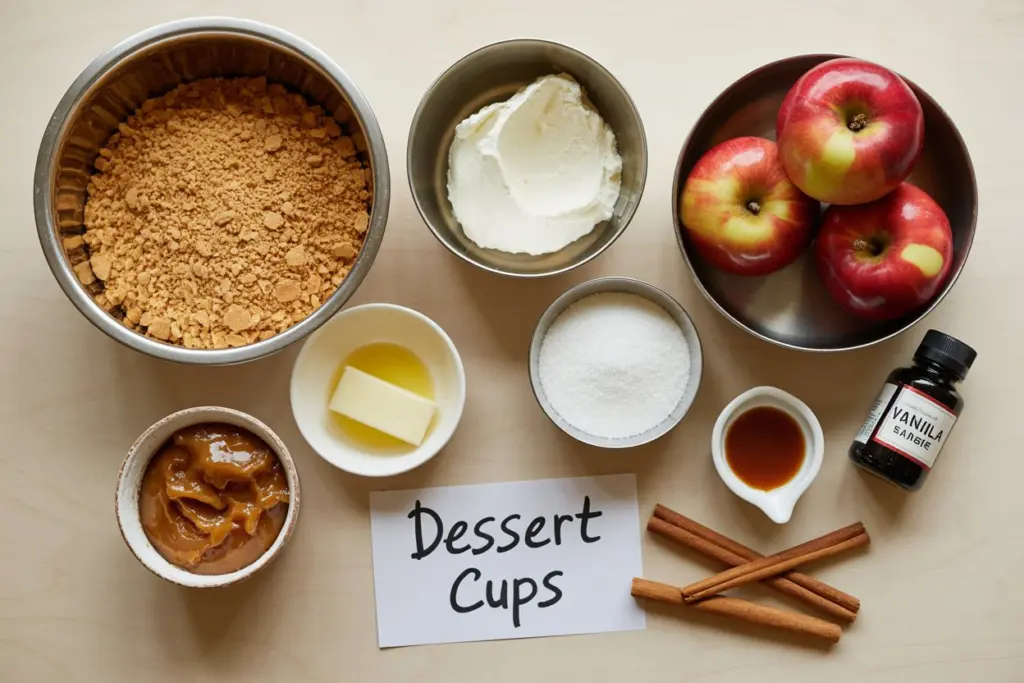
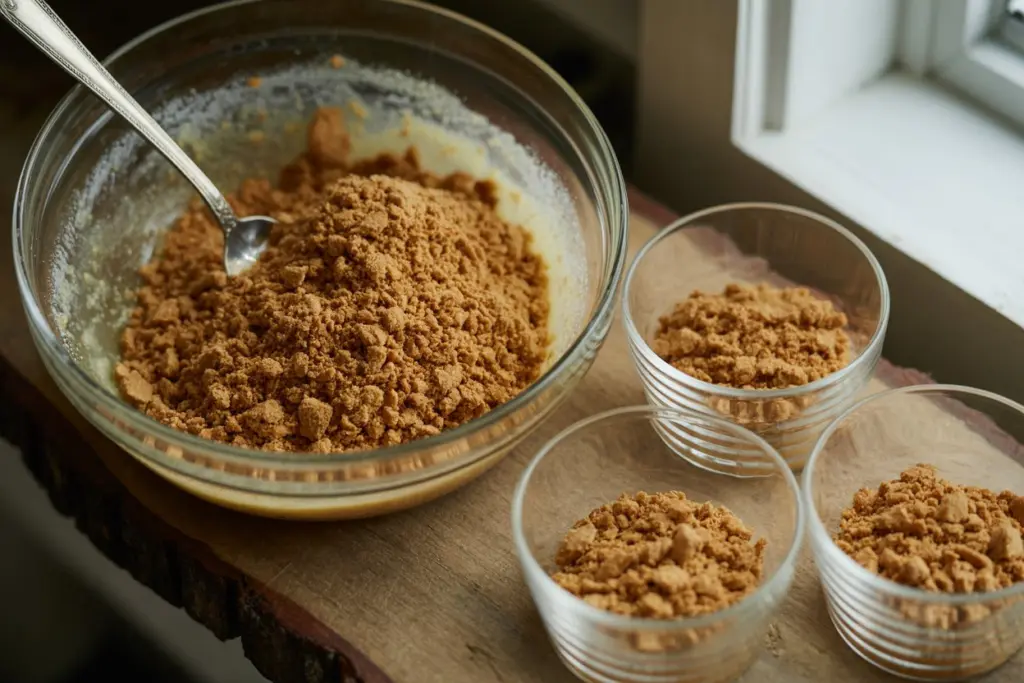
Let’s start with the foundation: the crust. It’s simple, but it makes all the difference. For these cheesecake dessert cups, I use a mix of 1 ½ cups of graham cracker crumbs, 6 tablespoons of melted unsalted butter, and 2 tablespoons of granulated sugar. The key is to stir until every crumb is coated, then press the mixture firmly into the bottom of each cup. You want it packed enough to hold its shape, but not so tight it becomes a brick.
You don’t need to bake it-just chill the cups for a few minutes while you prep the filling. The butter will set and give the base a satisfying, buttery crunch. It’s a similar process to what I used in my Butterfinger Caramel Crunch Mini Pies, and it works like a charm here, too.
This crust isn’t just a supporting role-it adds texture, a hint of salt, and that nostalgic graham cracker flavor that balances the rich filling and sweet toppings.
The no-bake cheesecake filling: smooth, creamy, and easy
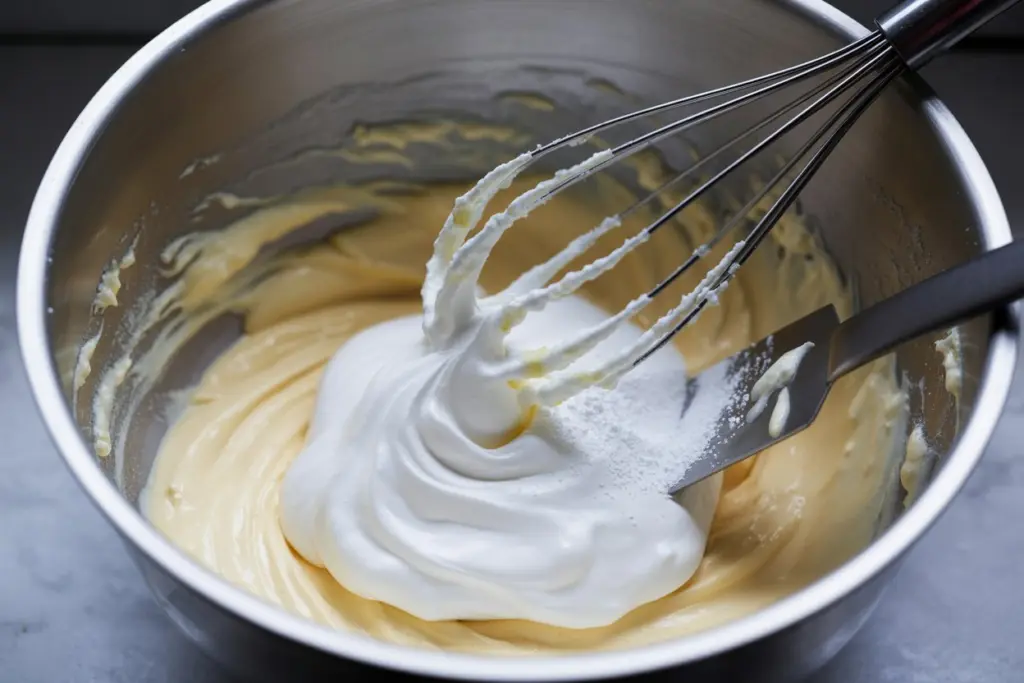
Now for the star: the filling. This no-bake cheesecake layer is airy, creamy, and super simple to make. Just beat 2 cups of softened cream cheese until smooth, then mix in ½ cup of powdered sugar and 1 teaspoon of vanilla extract. Once that’s combined, gently fold in 1 cup of freshly whipped cream. I like to whip my cream by hand-there’s something satisfying about watching it transform-but a hand mixer works fine too.
The result is a fluffy, silky mixture that scoops easily into each cup over the crust. I use a spoon or piping bag to keep things neat, especially if I’m prepping these for guests. The filling sets up beautifully in the fridge and creates a perfect base for layering on toppings.
It’s the same texture I aim for in my zesty lemon meringue cheesecake, but the vanilla flavor here keeps it neutral so it complements any topping-from caramel apples to fresh berries or chocolate drizzle.
Flavor-Packed Toppings & Variations
The caramel apple topping: fall’s best combo in a spoon
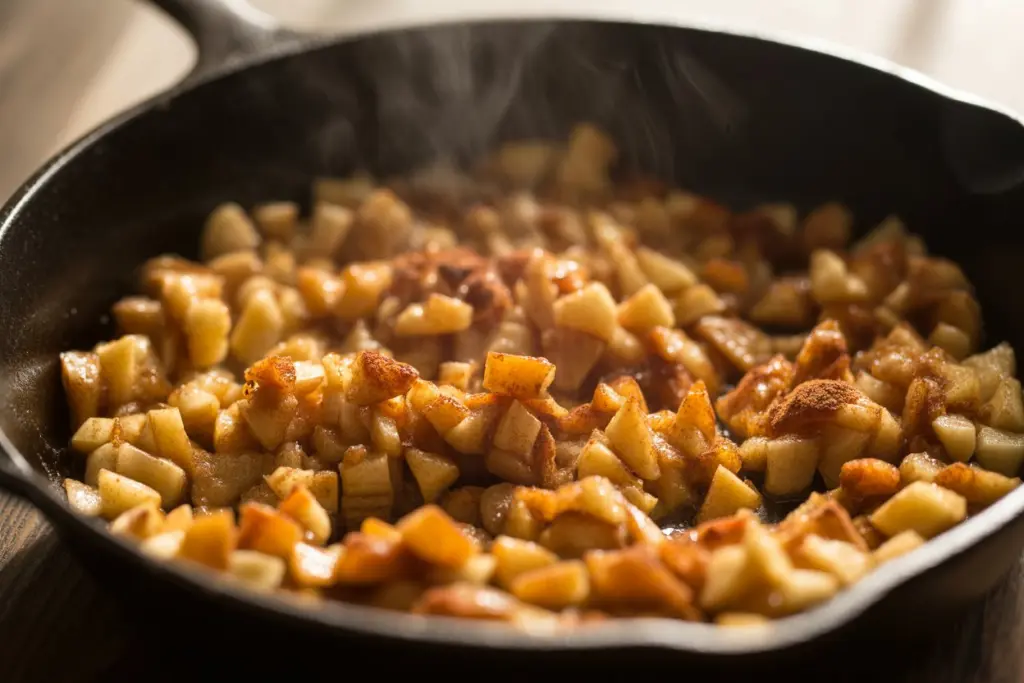
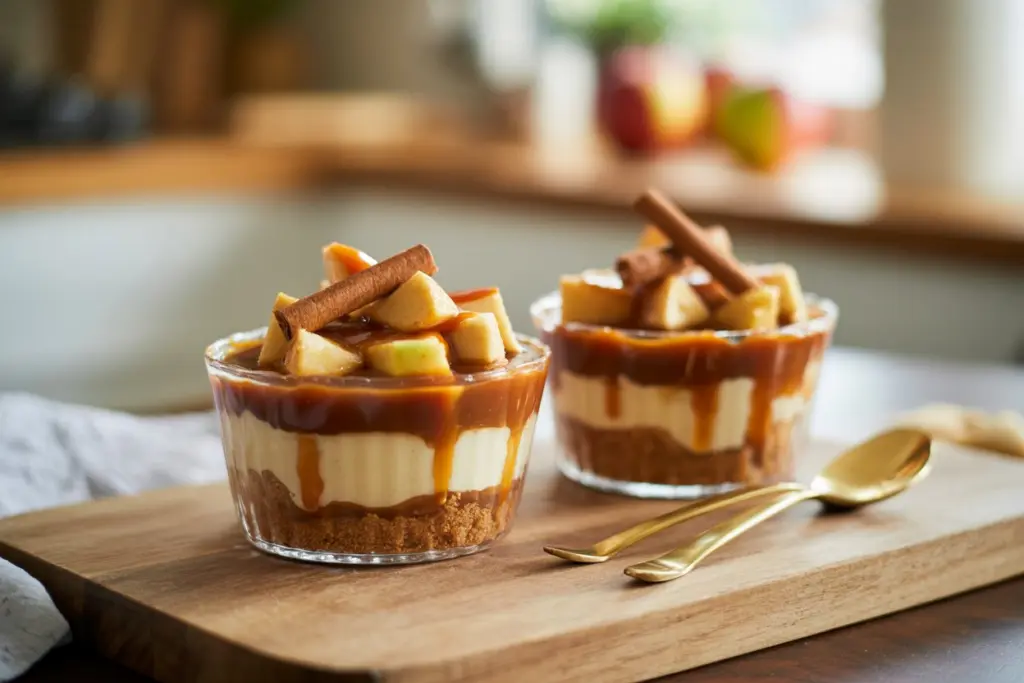
Nothing screams cozy fall dessert like cinnamon-sautéed apples swimming in buttery caramel. For these cheesecake dessert cups, I dice up about 2 cups of peeled apples (Honeycrisp or Granny Smith are great), then sauté them in a skillet with 2 tablespoons of butter, 2 tablespoons of brown sugar, and ½ teaspoon of cinnamon. In just 5-7 minutes, the apples turn soft, glossy, and beautifully golden.
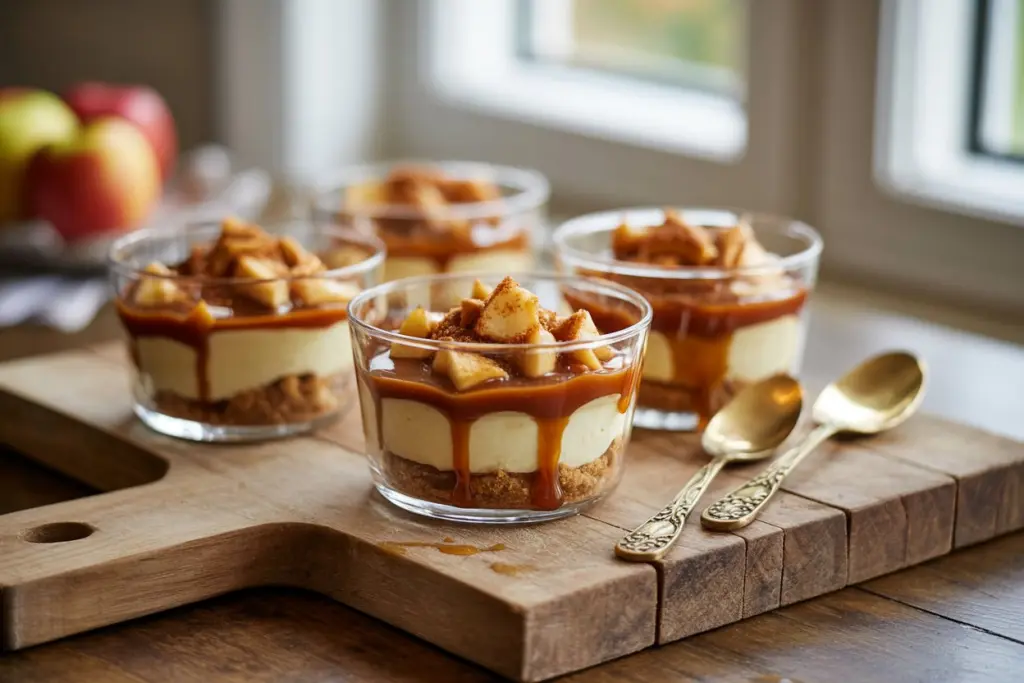
Once slightly cooled, they go straight on top of the cheesecake layer. Then comes the fun part: pour 1 cup of caramel sauce right over the apples. Let it cascade over the edges-this dessert was made to be a little messy. A final drizzle of caramel and a tiny sprinkle of leftover graham cracker crumbs seal the deal.
This step reminds me of the layering I do in my healthy apple crisp recipe, but with a creamier twist. The warm apple-caramel combo is insanely good against the chilled cheesecake layer. You can even heat the apples just before serving for that warm-cold contrast that feels like a hug in a cup.
Fun flavor twists: berries, lemon, and peanut butter ideas
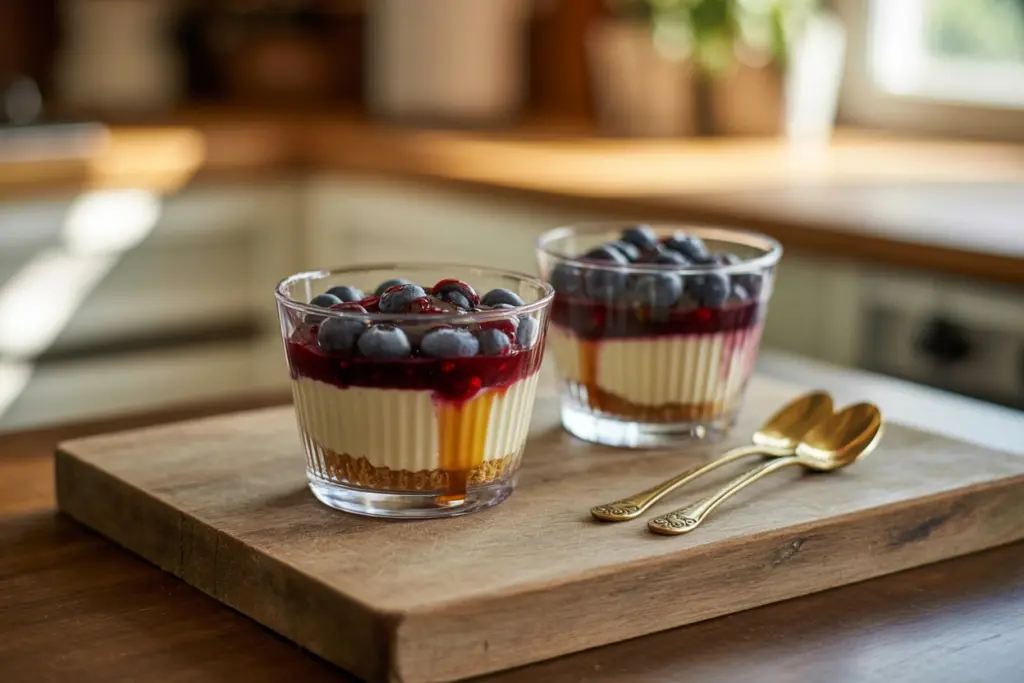
Don’t get me wrong-caramel apple is a standout. But once you master the base recipe, you can riff on it however you like. Swap the apples for strawberries or blueberries, skip the caramel and go for a berry compote or even a chocolate ganache. I’ve even made a peanut butter version by mixing peanut butter into the filling and topping it with crushed peanuts and mini chocolate chips.
If you’re in a citrus mood, fold in some lemon zest to the filling and top with lemon curd-like a mini version of my lemon poke cake meets cheesecake.
One reader even used this recipe as inspiration to layer it into a trifle bowl instead of individual cups. That’s what I love about cheesecake dessert cups-they’re endlessly adaptable. Just like my easy chocolate zucchini cake, you can remix this with what you have in your pantry and it’ll still taste amazing.
Storage, Make-Ahead, and Serving Tips
How to prep & store cheesecake dessert cups without soggy crusts
One of the best parts about cheesecake dessert cups is that they’re fridge-friendly and low-maintenance. But here’s the catch-no one wants a soggy crust. The secret? Build the crust and cheesecake layers ahead of time, but hold off on the caramel and apple topping until just before serving.
If you’re prepping for a party, you can make the crust and filling up to 2 days in advance. Store the cups covered in the fridge. Keep the apple topping in a separate airtight container, and reheat gently when you’re ready to serve.
Once assembled, the fully layered dessert cups are best enjoyed within 48 hours. That way, you preserve the texture of the graham cracker crust and the freshness of the apples. This is the same strategy I use for my red velvet poke cake-prep in stages, assemble just in time.
Want to freeze them? Stick to just the crust and filling layers. Wrap the cups tightly and freeze for up to a month. Thaw in the fridge overnight, then top with fresh fruit or caramel before serving.
Serving ideas for holidays, parties, and weeknight cravings
These cheesecake dessert cups are pure magic at fall gatherings, potlucks, or even as a casual weeknight treat. Serve them in mini mason jars, shot glasses, or even wine glasses if you’re going for elegance. Add a cute spoon, a sprinkle of cinnamon, or even a dollop of whipped cream for extra flair.
If you’re hosting, line them up on a wooden board like a dessert charcuterie spread. You can even offer a few flavor options-apple caramel, lemon berry, and peanut butter chocolate. It’s like a build-your-own cheesecake bar, and it’s always a hit.
And for those nights when you’re just craving something sweet after dinner? Keep a couple of pre-filled cups in the fridge and drizzle them with caramel when the moment strikes. It’s faster than baking a pie and just as satisfying.
FAQs
Can I freeze cheesecake dessert cups?
Yes, but with a caveat. Only freeze the crust and filling layers. Wrap the dessert cups tightly in plastic wrap and store for up to 1 month. Let them thaw overnight in the fridge, then top with fresh fruit, caramel, or chocolate just before serving. Freezing with the toppings already added may result in a soggy texture or separation.
What toppings go well with cheesecake cups?
The options are endless. Caramel apples are a fall favorite, but you can also try berry compote, chocolate ganache, lemon curd, crushed Oreos, or chopped nuts. Think of it like building a sundae-cheesecake cups work with both fruity and chocolatey toppings. If you’re inspired, try something from my white chocolate pistachio cheesecake or go tropical with toasted coconut and mango.
Can you make cheesecake dessert cups ahead of time?
Absolutely! That’s one of the best things about this dessert. You can prep the crust and cheesecake layers up to 2 days in advance. Keep them refrigerated in sealed jars or dessert glasses. Just store the toppings separately and assemble them shortly before serving for maximum texture and flavor.
How long do cheesecake dessert cups last in the fridge?
Cheesecake dessert cups can last up to 3-4 days in the refrigerator when stored in an airtight container. For best results, keep the crust and filling layered but wait to add toppings like fruit or caramel until closer to serving. This helps prevent the crust from getting soggy and keeps the flavors fresh.
These caramel apple cheesecake dessert cups are the kind of recipe that brings people back for seconds-and not just because they’re cute. They’re layered with familiar flavors, easy to make ahead, and adaptable for any occasion. Whether you’re prepping for a cozy fall dinner, a family gathering, or just a Tuesday night sweet tooth, this recipe delivers on comfort and flavor every time.
I’ve always believed that cooking should feel good-not like a chore. And with recipes like this one, I hope you feel inspired to keep things simple, delicious, and joy-filled in your kitchen. So grab a spoon and dive into your new favorite fall dessert. It’s waiting in the fridge.
