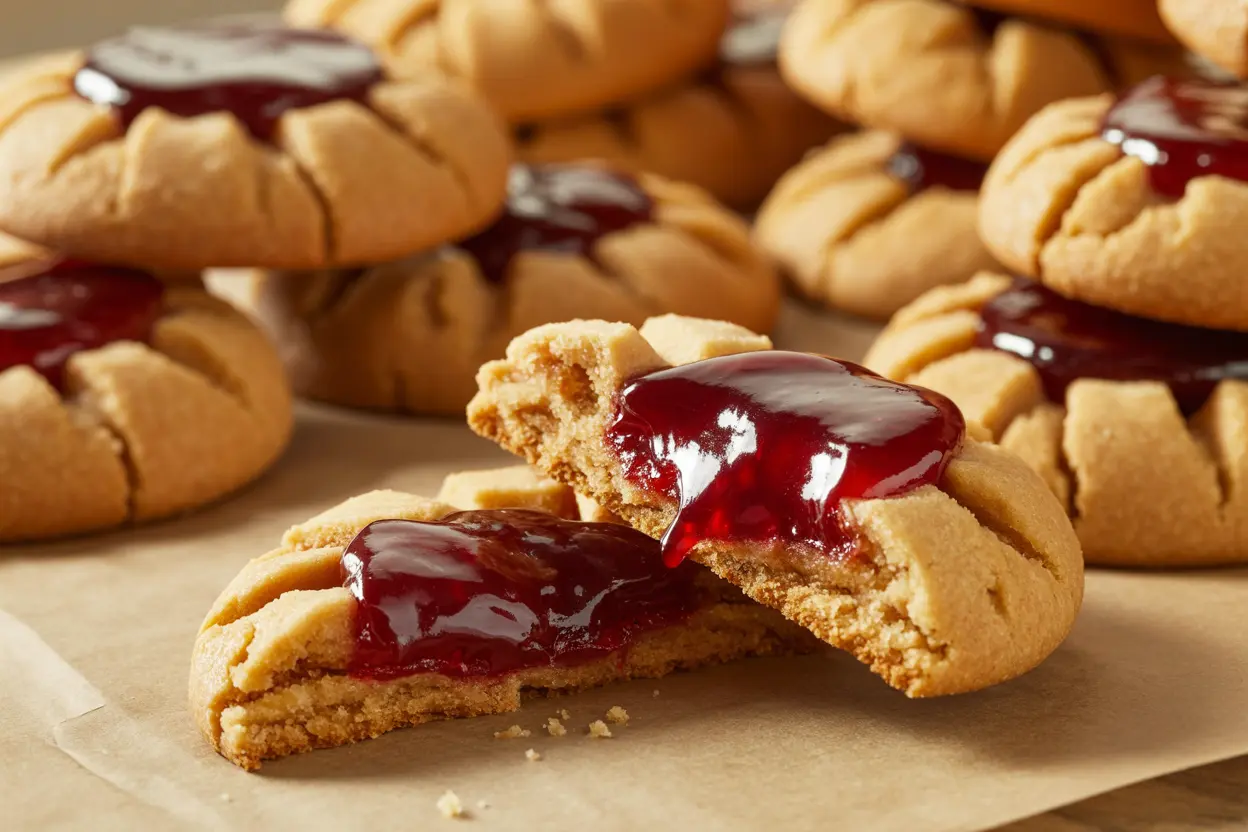
Hello, food lovers! I’m Meriem, your go-to chef for recipes that bring joy to every table. Today, I’m thrilled to share my take on Festive Italian Easter Cookies with Lemon Glaze, a delightful treat that screams springtime and celebration. These soft, buttery cookies, infused with zesty lemon and topped with a vibrant glaze, are a staple in Italian households during Easter. Whether you’re baking for a holiday gathering, a family brunch, or just craving something sweet and festive, this recipe will become your new favorite. With a perfect balance of flavors and a fun, colorful presentation, these cookies are as beautiful as they are delicious.
Table of Contents
Why You’ll Love This Recipe
- Burst of Flavor: The lemon extract in the dough and the tangy glaze create a refreshing, citrusy kick.
- Festive & Fun: Bright glazes and colorful sprinkles make these cookies a showstopper for Easter or any spring event.
- Easy to Make: With simple ingredients and clear steps, this recipe is beginner-friendly yet impressive.
- Customizable: Swap ingredients or experiment with glaze colors to match your style or occasion.
- Perfect for Sharing: This recipe yields 24 cookies, ideal for gifting or serving at gatherings.


Festive Italian Easter Cookies with Lemon Glaze
Ingredients
- 2 ½ cups all-purpose flour
- 1 tbsp baking powder
- ½ tsp salt
- ½ cup unsalted butter softened
- ¾ cup granulated sugar
- 3 large eggs
- 1 tsp lemon extract
- 2 tbsp milk
- 1 ½ cups powdered sugar
- 2 tbsp lemon juice
- 2-3 drops food coloring your choice of color, e.g., pink, yellow, or blue
- ¼ cup colorful sprinkles
Instructions
- Preheat your oven to 350°F (175°C) and line a baking sheet with parchment paper.
- In a bowl, whisk together flour, baking powder, and salt. Set aside.
- In a separate bowl, cream the butter and sugar until light and fluffy. Add eggs, lemon extract, and milk, mixing until combined.
- Gradually add the dry ingredients to the wet mixture, stirring until a soft dough forms. Roll the dough into 1-inch balls and place on the baking sheet.
- Bake for 10-12 minutes until lightly golden. Let cool completely. Mix the glaze ingredients (powdered sugar, lemon juice, and food coloring) until smooth, dip each cookie in the glaze, and top with sprinkles.
What You Will Need & Substitutions?
Here’s everything you need to whip up these delightful cookies. I’ve included substitutions and their uses to make this recipe accessible for all.
- 2 ½ cups all-purpose flour
Purpose: Provides structure and a tender crumb.
Substitution: Use 1:1 gluten-free flour for a gluten-free version. Ensure it contains xanthan gum for proper texture. Alternatively, replace ½ cup with almond flour for a nutty flavor (note: this may slightly alter texture).
Tip: Sift the flour to avoid clumps and ensure a smooth dough. - 1 tbsp baking powder
Purpose: Gives the cookies a light, slightly cakey texture.
Substitution: Use ¾ tsp baking soda + 1 ½ tsp cream of tartar if you’re out of baking powder.
Tip: Check the expiration date to ensure maximum leavening power. - ½ tsp salt
Purpose: Enhances flavors and balances sweetness.
Substitution: Use kosher salt in the same amount, but avoid table salt as it’s finer and saltier.
Tip: Whisk salt evenly with dry ingredients for consistent flavor. - ½ cup unsalted butter, softened
Purpose: Adds richness and a buttery texture.
Substitution: Use coconut oil for a dairy-free option (same amount) or margarine for a vegan version. Coconut oil adds a subtle tropical note.
Tip: Soften butter at room temperature for 30-60 minutes for easy creaming. - ¾ cup granulated sugar
Purpose: Sweetens the cookies and aids in browning.
Substitution: Swap with coconut sugar for a caramel-like flavor or a 1:1 sugar substitute like monk fruit for a lower-sugar option.
Tip: Ensure sugar is finely granulated for smooth creaming. - 3 large eggs
Purpose: Bind the dough and add moisture.
Substitution: For an egg-free version, use 3 tbsp flaxseed meal mixed with 9 tbsp water (let sit for 5 minutes). This works well but may slightly change the texture.
Tip: Use room-temperature eggs for better emulsification. - 1 tsp lemon extract
Purpose: Infuses the cookies with a bright, citrusy flavor.
Substitution: Use 1 tbsp fresh lemon zest or ½ tsp lemon oil. Avoid lemon juice, as it adds moisture and alters texture.
Tip: Adjust to taste if you prefer a milder or stronger lemon flavor. - 2 tbsp milk
Purpose: Softens the dough for a tender texture.
Substitution: Use almond milk, oat milk, or any plant-based milk for a dairy-free option.
Tip: Warm the milk slightly to prevent curdling when mixed.
For the Lemon Glaze
- 1 ½ cups powdered sugar
Purpose: Creates a smooth, sweet glaze.
Substitution: Make your own by blending granulated sugar until fine, or use a sugar-free powdered sweetener for a low-sugar glaze.
Tip: Sift to remove lumps for a silky texture. - 2 tbsp lemon juice
Purpose: Adds tanginess and thins the glaze.
Substitution: Use lime juice for a twist or 1 tbsp water + 1 tsp lemon extract for a milder flavor.
Tip: Use freshly squeezed juice for the best flavor. - 2-3 drops food coloring (pink, yellow, or blue)
Purpose: Adds a festive, vibrant look.
Substitution: Use natural colorings like beet juice (pink), turmeric (yellow), or spirulina (blue/green). Adjust drops for desired hue.
Tip: Start with less and add more to avoid overly bright colors. - ¼ cup colorful sprinkles
Purpose: Adds crunch and a playful aesthetic.
Substitution: Use crushed nuts, edible glitter, or mini chocolate chips for variety.
Tip: Choose sprinkles that match your event’s theme or color scheme.

Equipment Needed
- Mixing bowls (2): One for dry ingredients, one for wet.
- Whisk and spatula: For mixing and folding dough.
- Electric mixer or stand mixer: For creaming butter and sugar (a whisk works if mixing by hand).
- Measuring cups and spoons: For precise measurements.
- Baking sheet: A standard 13×18-inch sheet works well.
- Parchment paper or silicone baking mat: Prevents sticking.
- Cooling rack: For even cooling post-baking.
- Small bowl: For preparing the glaze.
- Spoon or piping bag: For applying glaze.
Tip: If you don’t have a cooling rack, place cookies on a clean, dry surface, but avoid stacking until fully cooled to prevent sticking.
Step-by-Step Directions & Tips
Let’s make these cookies step by step. I’ve added extra details, tips, and steps to ensure success, even for first-time bakers.
- Preheat the Oven
- Set your oven to 350°F (175°C) and allow it to fully preheat (about 10-15 minutes).
- Why? A consistent temperature ensures even baking and prevents dense cookies.
- Tip: Use an oven thermometer to verify the temperature, as some ovens run hot or cold.
- Prepare the Baking Sheet
- Line a baking sheet with parchment paper or a silicone baking mat.
- Why? This prevents cookies from sticking and makes cleanup a breeze.
- Tip: If using parchment, ensure it lies flat to avoid uneven baking.
- Mix Dry Ingredients
- In a medium bowl, whisk together 2 ½ cups all-purpose flour, 1 tbsp baking powder, and ½ tsp salt until evenly combined.
- Why? Whisking distributes leavening agents and salt, ensuring consistent texture and flavor.
- Tip: Sift the flour if it’s lumpy to avoid grainy dough. Set this bowl aside.
- Cream Butter and Sugar
- In a large bowl, use an electric mixer (or whisk by hand) to cream ½ cup softened unsalted butter and ¾ cup granulated sugar until light, fluffy, and pale yellow (about 2-3 minutes).
- Why? Creaming incorporates air, giving the cookies a tender, airy texture.
- Tip: Scrape down the bowl’s sides with a spatula to ensure even mixing. If the butter is too cold, it won’t cream properly-soften it first.
- Add Wet Ingredients
- Add 3 large eggs one at a time, mixing well after each addition. Then, mix in 1 tsp lemon extract and 2 tbsp milk until fully combined.
- Why? Adding eggs gradually prevents curdling, and lemon extract adds a vibrant flavor.
- Tip: If the mixture looks slightly curdled, don’t worry-it will come together when you add the dry ingredients.
- Combine Wet and Dry Ingredients
- Gradually add the dry ingredient mixture to the wet ingredients, mixing on low speed or stirring with a spatula until a soft, cohesive dough forms.
- Why? Adding dry ingredients slowly prevents overmixing, which can make cookies tough.
- Tip: Stop mixing as soon as the dough comes together to avoid a dense texture.
- Shape the Cookies
- Scoop tablespoon-sized portions of dough and roll them into 1-inch balls. Place them on the prepared baking sheet, spacing them 2 inches apart.
- Why? Proper spacing allows for slight spreading and even baking.
- Tip: For uniform cookies, use a cookie scoop. Lightly flour your hands if the dough is sticky.
- Bake the Cookies
- Bake for 10-12 minutes, or until the edges are lightly golden and the tops are set but still soft.
- Why? Underbaking slightly keeps the cookies soft and chewy.
- Tip: Rotate the baking sheet halfway through for even browning. Check – Tip: Check doneness by gently pressing the center of a cookie-it should spring back slightly.
- Cool the Cookies
- Remove the baking sheet from the oven and let the cookies cool on the sheet for 5 minutes before transferring them to a cooling rack to cool completely.
- Why? Cooling on the sheet sets the cookies, while the rack prevents sogginess.
- Tip: Avoid glazing warm cookies, as the glaze will slide off.
- Prepare the Lemon Glaze
- In a small bowl, whisk together 1 ½ cups powdered sugar, 2 tbsp lemon juice, and 2-3 drops of food coloring until smooth. Adjust consistency with more juice (for thinner glaze) or sugar (for thicker glaze).
- Why? A smooth glaze ensures an even coating and vibrant color.
- Tip: Test the glaze on one cookie to check consistency before glazing the batch.
- Glaze and Decorate
- Dip the top of each cooled cookie into the glaze or use a spoon to drizzle it over. Immediately sprinkle with ¼ cup colorful sprinkles before the glaze sets.
- Why? Sprinkles adhere best to wet glaze, creating a festive look.
- Tip: Work in small batches to prevent the glaze from hardening in the bowl.
- Let the Glaze Set
- Place the glazed cookies on a cooling rack or parchment paper and let the glaze harden for about 30 minutes.
- Why? This ensures the glaze is set and won’t smudge when stored.
- Tip: Place cookies in a single layer to avoid sticking.

Topping Suggestions
Elevate your cookies with these creative topping ideas:
- Edible Flowers: Add dried lavender or rose petals for a sophisticated touch.
- Chopped Nuts: Sprinkle finely chopped pistachios or almonds for crunch.
- White Chocolate Drizzle: Melt white chocolate and drizzle over the glaze for decadence.
- Zest: Add extra lemon or orange zest for a citrusy pop.
- Themed Sprinkles: Use Easter egg-shaped or bunny sprinkles for a holiday vibe.
How to Store & Reheat
- Storage: Store cookies in an airtight container at room temperature for up to 5 days or in the refrigerator for up to 10 days. Layer with parchment paper to prevent sticking.
- Freezing: Freeze unglazed cookies in a freezer-safe bag for up to 3 months. Thaw at room temperature, then glaze and decorate.
- Reheating: These cookies don’t require reheating, but if you prefer them warm, microwave for 5-10 seconds to soften. Avoid overheating, as the glaze may melt.
- Tip: Refresh stored cookies by placing them in a 300°F oven for 2-3 minutes to restore texture.
What to Serve With
Pair these cookies with beverages and sides to complete your springtime spread:
- Lemon Iced Tea: Complements the citrusy glaze.
- Hot Chamomile Tea: A calming contrast to the sweet cookies.
- Fresh Fruit Platter: Strawberries, blueberries, and kiwi add color and freshness.
- Vanilla Ice Cream: Serve cookies as a dessert sandwich with a scoop of ice cream.

FAQs
What if I don’t have lemon extract for cookies?
Substitute with 1 tbsp fresh lemon zest or ½ tsp lemon oil. Avoid lemon juice in the dough, as it can make the cookies too wet.
Can I use natural food coloring in Lemon Glaze?
Absolutely! Try beet juice for pink, turmeric for yellow, or spirulina for blue/green. Add a few drops at a time to control the intensity.
How do I prevent the lemon glaze from being too runny?
Start with less lemon juice (1 tbsp) and gradually add more until you reach a thick but spreadable consistency. If it’s too runny, add more powdered sugar, 1 tbsp at a time, until corrected.
Can I make Italian Easter cookies ahead of time?
Yes! Bake the cookies up to 2 days in advance and store them unglazed in an airtight container. Glaze and decorate them the day of serving to keep the sprinkles vibrant. You can also freeze unglazed cookies for up to 3 months.
These Festive Italian Easter Cookies with Lemon Glaze are the perfect way to celebrate spring, Easter, or any occasion that calls for a sweet, colorful treat. With their soft texture, zesty lemon flavor, and eye-catching presentation, they’re sure to impress your family and friends. This recipe is not only easy to follow but also versatile, allowing you to customize flavors, colors, and toppings to suit your taste. Whether you’re a seasoned baker or a beginner, you’ll love how simple and rewarding this recipe is. So, grab your ingredients, preheat your oven, and let’s bake some happiness! Don’t forget to share your creations with me on social media-I’d love to see your colorful cookies!